Let me ask you some questions…
- Do you need name resolution back to your house?
- Do you have an IPv4 address that is allocated via DHCP? (Dynamic Host Configuration Protocol)
- Does your ISP (Internet Service Provider) charge you for a Static IP address?
- Do you need an A record for name resolution? (not a CNAME or alias record as provided by the likes of dyndns etc)
- Do you have some form of always on compute? (if you are running a website/service then I assume yes)
If you answered yes to all of the above questions, then read on. This website and other services I rely on daily, is hosted from my house and yes, my IP address changes from time to time, but my services are reliable. From my VPN to Home Assistant, this website and beyond I need a means to access my house remotely.
automation.baldacchino.net is hosted in my house with a DHCP based IPv4 address.
DNS is the glue to make everything work and the memes are endless.
In a future post, I will dive deeper into what makes my house tick but for now I wanted to talk about how I handle DNS, more so, specifically for the A record, automation.baldacchino.net, which is not only used for TCP ports 80/443, but another 7 ports that are exposed (more on that later).


In this post I will illustrate how you can detect and update any IP address change by your ISP with 3 common public DNS providers within 60 seconds of a change.
The three providers I will be providing examples for is Afraid (FreeDNS), Amazon Route53 and Azure DNS. All of which I have used, and all are very reliable.
Keeping on the theme of my website of being frugal and efficient, I highly recommend FreeDNS, a simple API and they have been nothing but rock solid. Integration with DDWRT and PfSense, what’s not to love?
But why free, what’s the catch? The catch is, if you are paying nothing to host your DNS zones, there are compromises and the compromises at the time of writing (December 2023) is 5 hosted zones, but the real kicker is anyone can attach and create recordsets in your zone. Not ideal, luckily my domains were so unique its seldom somebody wanted to use them.
Today baldacchino.net is hosted using Azure DNS.
baldacchino_admin@Surface4-Baldacchino:~$ nslookup
> set type=ns
> baldacchino.net
Server:         10.0.0.1
Address:        10.0.0.1#53

Non-authoritative answer:
baldacchino.net nameserver = ns1-06.azure-dns.com.
baldacchino.net nameserver = ns2-06.azure-dns.net.
baldacchino.net nameserver = ns3-06.azure-dns.org.
baldacchino.net nameserver = ns4-06.azure-dns.info.
So, in this post I will illustrate 3 ways of detecting IP address change, connecting to your zone and updating your record set with each provider. Finally, I will show you how you can schedule this using CRON.
All 3 snippets of code are in Python and each script will require specific modules installed with PIP. For both Amazon Route53 and Azure DNS there are so many methods to update records. You can use the CLI (awscli, azcli) and there is multiple SDK‘s. I am only focusing on Python.
All of the code snippets are in effect the same. The first thing is we check our IP address that our ISP has provided us (similar to asking Google or Bing what my IP address is), we can do this with a GET to https://api.ipify.org, this returns your IP with no HTML formatting. Then we compare it against the resolution of the A record we are looking to change. If there is a mismatch, we update the DNS Zone with the IP address that we resolved by our ISP, if there is no change, we end the script.
Azure DNS and Amazon Route 53 are very similar, a higher learning curve, costed (per zone, and other dimensions) but far more flexible. There are nuances around authentication and terminology, but they are very much the same.
Worth noting as these scripts are basic. They serve my need; you could extend them and make them better.
– To the security conscious, these example hard code credentials. These could be externalised using environment variables, managed identity (Azure) or an IAM service role (AWS)
– You can improve and implement more rigorous monitoring, error handling. If I get an error, I capture it, but I do nothing with it. Ideally, I should externalise the error handling via SMTP or push it to MQTT topic in my house so Home Assistant can deal with it. I don’t because it just works.
So, use this as is, or extend upon it, the choice is up to you. On to the code.
Afraid(FreeDNS) DNS
Afraid DNS is really simple (versus AWS and Azure). There is a lot of code here, where you dont need it all, its just that I am leveraging the same pattern across all three providers. You could very well just simplify this code to post their API every 1 minute, the API has logic to determine if there is a change and will only upsert if there is a change. You need to do is obtain an API Key. To do so once logged in go to https://freedns.afraid.org/api/ and click ASCII
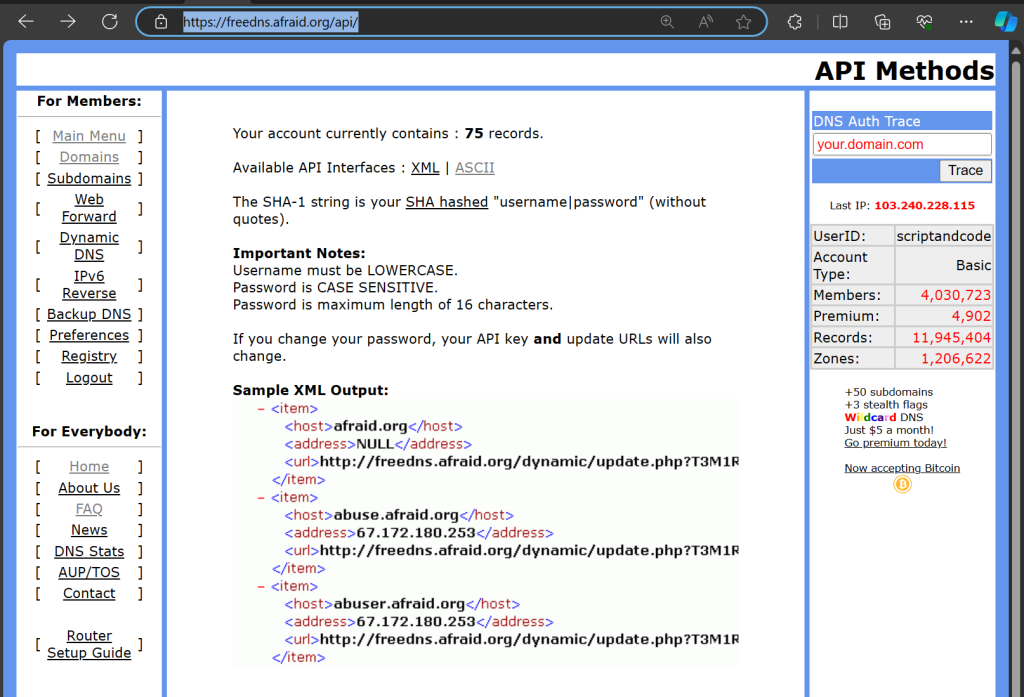
This will show all of your zones along with the API key. Copy this key to use below. We will be performing a HTTP POST against this API.
baldacchino.net|115.70.3.240|https://freedns.afraid.org/dynamic/update.php?YOUR_API_KEY
Replace YOUR_SUBDOMAIN, YOUR_DOMAIN, and YOUR_API_KEY with your actual subdomain, domain, and API key.
This code uses the requests library so be sure to install.
pip install requests
And here is our Python code.
import requests

def get_public_ip():
    response = requests.get('https://api.ipify.org')
    return response.text

def update_dns_record(ip, subdomain='YOUR_SUBDOMAIN', domain='YOUR_DOMAIN', api_key='YOUR_API_KEY'):
    url = f'https://freedns.afraid.org/dynamic/update.php?{_api_key}'
    response = requests.get(url)
    return response.text

def main():
    current_ip = get_public_ip()
    with open('last_ip.txt', 'r') as file:
        last_ip = file.read().strip()

    if current_ip != last_ip:
        print(f'IP has changed to {current_ip}. Updating DNS record.')
        update_dns_record(current_ip)
        with open('last_ip.txt', 'w') as file:
            file.write(current_ip)
    else:
        print('IP has not changed.')

if __name__ == '__main__':
    main()
Amazon Route53
With many things in AWS, we use the boto3 library to interact with Amazon Route 53. This script will check for changes in your IP address and updates the A record accordingly. Please replace 'YOUR_HOSTED_ZONE_ID', 'YOUR_DOMAIN_NAME', and 'YOUR_TTL' with your actual hosted zone ID, domain name, and TTL, along with 'YOUR_ACCESS_KEY', and 'YOUR_SECRET_KEY' for authentication.
As you can see, a bit more to it than Afraid and you are posting JSON within this script, we need to perform an UPSERT on changes.
This code uses the requests and boto3 libraries so be sure to install.
pip install requests boto3
And here is my Python code.
import requests
import boto3

aws_access_key_id = 'YOUR_ACCESS_KEY'
aws_secret_access_key = 'YOUR_SECRET_KEY'

session = boto3.Session(
    aws_access_key_id=aws_access_key_id,
    aws_secret_access_key=aws_secret_access_key
)

route53 = session.client('route53')

def get_public_ip():
    response = requests.get('http://checkip.amazonaws.com/')
    return response.text.strip()

def update_route53_record(ip_address):
    client = boto3.client('route53')
    response = client.change_resource_record_sets(
        HostedZoneId='YOUR_HOSTED_ZONE_ID',
        ChangeBatch={
            'Changes': [
                {
                    'Action': 'UPSERT',
                    'ResourceRecordSet': {
                        'Name': 'YOUR_DOMAIN_NAME',
                        'Type': 'A',
                        'TTL': YOUR_TTL,
                        'ResourceRecords': [{'Value': ip_address}]
                    }
                }
            ]
        }
    )
    return response

def main():
    current_ip = get_public_ip()
    print(f"Current IP: {current_ip}")

    try:
        with open('last_ip.txt', 'r') as file:
            last_ip = file.read().strip()
    except FileNotFoundError:
        last_ip = None

    if current_ip != last_ip:
        print("IP address has changed. Updating Route53...")
        response = update_route53_record(current_ip)
        print(response)

        with open('last_ip.txt', 'w') as file:
            file.write(current_ip)

if __name__ == "__main__":
    main()
Azure DNS
Very similar to Amazon Route53. Today this is where baldacchino.net lives.
The script uses the requests library to get my public IP address and the azure-mgmt-dns library to update the A record in Azure DNS Zone.
Replace 'your_dns_zone_name', 'your_resource_group', 'your_record_set_name', and 'your_subscription_id' with your zone values.
This code uses the requests and azure-mgmt-dns libraries so be sure to install.
pip install requests azure-mgmt-dns
And here is my Python code.
import os
from azure.mgmt.dns import DnsManagementClient
from azure.identity import DefaultAzureCredential
import requests

# Set environment variables
os.environ['AZURE_TENANT_ID'] = 'YOUR_TENANT_ID'
os.environ['AZURE_CLIENT_ID'] = 'YOUR_CLIENT_ID'
os.environ['AZURE_CLIENT_SECRET'] = 'YOUR_CLIENT_SECRET'

# Use DefaultAzureCredential for authentication
credential = DefaultAzureCredential()

# Create a DnsManagementClient
dns_client = DnsManagementClient(credential, 'YOUR_SUBSCRIPTION_ID')


# Get public IP
def get_public_ip():
    return requests.get('https://api.ipify.org').text

# Update Azure DNS
def update_dns(public_ip):
    # Set Azure details
    subscription_id = '<Your Azure Subscription ID>'
    resource_group_name = '<Your Resource Group Name>'
    zone_name = '<Your DNS Zone Name>'
    record_name = '<Your Record Name>'

    # Authenticate with Azure
    credential = DefaultAzureCredential()
    dns_client = DnsManagementClient(credential, subscription_id)

    # Create or update the A record
    dns_client.record_sets.create_or_update(
        resource_group_name,
        zone_name,
        record_name,
        'A',
        {
            'ttl': 3600,
            'arecords': [
                {
                    'ipv4_address': public_ip
                }
            ]
        }
    )

# Check if IP has changed and update DNS if necessary
def check_and_update_dns():
    public_ip = get_public_ip()
    old_ip = None

    # Load old IP from file if it exists
    if os.path.exists('old_ip.txt'):
        with open('old_ip.txt', 'r') as file:
            old_ip = file.read().strip()

    # If IP has changed, update DNS and save new IP to file
    if public_ip != old_ip:
        update_dns(public_ip)
        with open('old_ip.txt', 'w') as file:
            file.write(public_ip)

# Run the script
check_and_update_dns()
Scheduling As A Cron Job
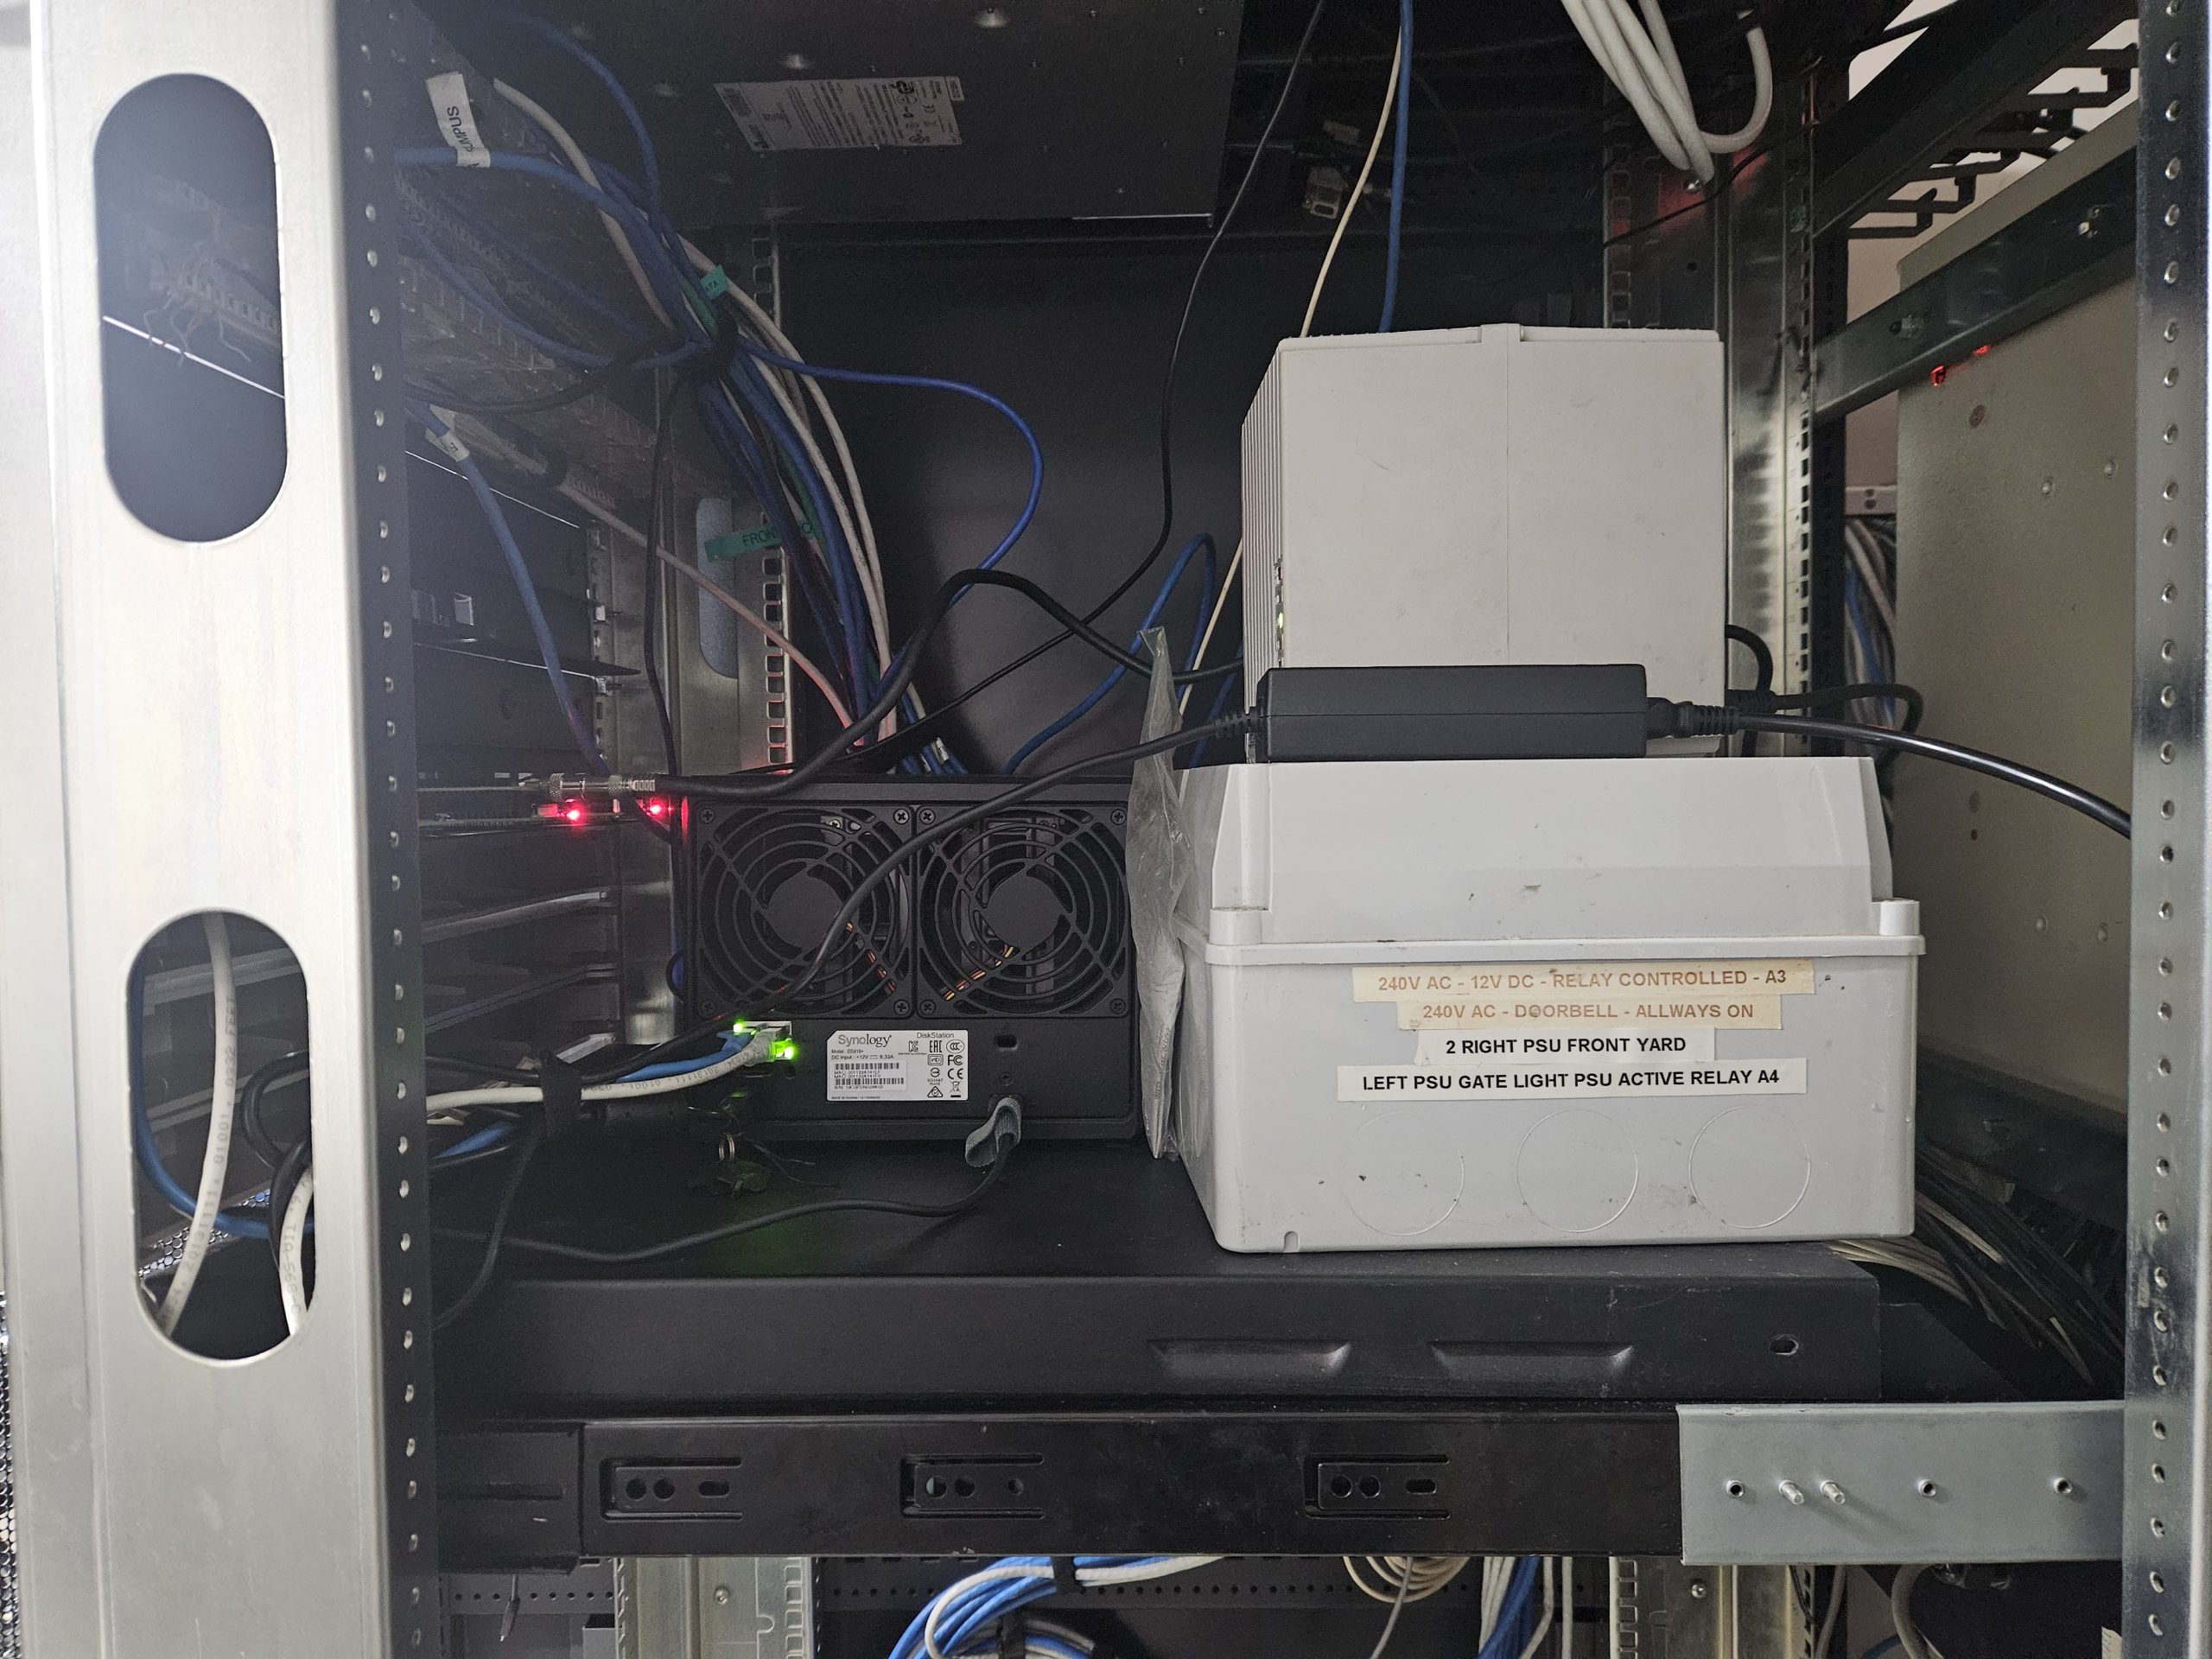
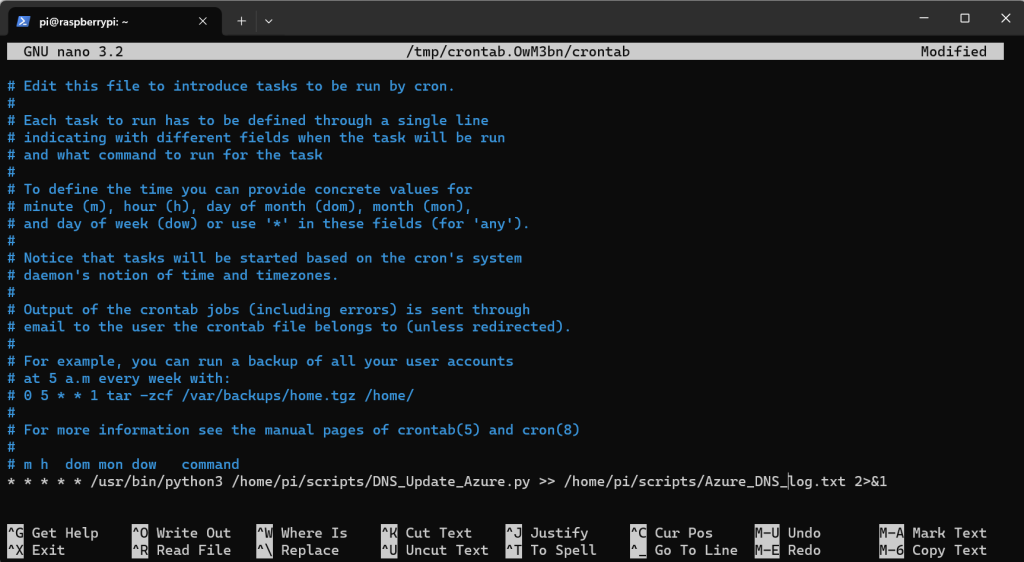
You have configured your script but you now need to make this run regularly. To do this, I am using a Raspberry Pi. You could use any Linux (or even Windows system, schtasks for Windows)
- SSH in to your Raspberry Pi or VNC. Open a terminal
- Type
crontab -eto edit the crontab file. If it’s your first time accessing crontab, it may ask you to select an editor. You can choosenanowhich is what I think the easiest. - At the end of the file, add the following line to schedule your Python script:
* * * * * /usr/bin/python3 /path/to/your_script.py >> /path/to/log.txt 2>&1
A bit of a break down (and I am by no means an expert on CRON notation, I end up using Google often)
* * * * *: The task should run every minute of every hour of every day of every month./usr/bin/python3 /path/to/your_script.py: The task to run. Replace/path/to/your_script.pywith the path to your Python script. If you are running on Windows you will need to edit this path value.>> /path/to/log.txt 2>&1: Redirects both thestdoutandstderrto a log file. Replace/path/to/log.txtwith the path to your log file.- Save and close the file. If you’re using
nano, you can do this by pressingCtrl+X, thenY, thenEnter. - To make sure your changes were saved, you can view your crontab entries with
crontab -l.
If your script is not running as expected, check the log file for any error messages. Messages will be specific to your given DNS provider.
Summary
Sharpen your saw and stop paying extra for things you can easily solve. All of these little paper cut services add up in terms of cost. DNS is a staple of everything. Modern DNS providers all have API’s, some have SDK’s support, all of which means they provide you a means to manipulate your DNS Zones programatically. This code would have taken you 10 minutes to setup, and it just works.
The snippets above will allow you to detect and update change within 1 minute allowing you to have the same look and feel of a static IP address without the associated cost of such a service.
Build on.
Thanks
Shane Baldacchino