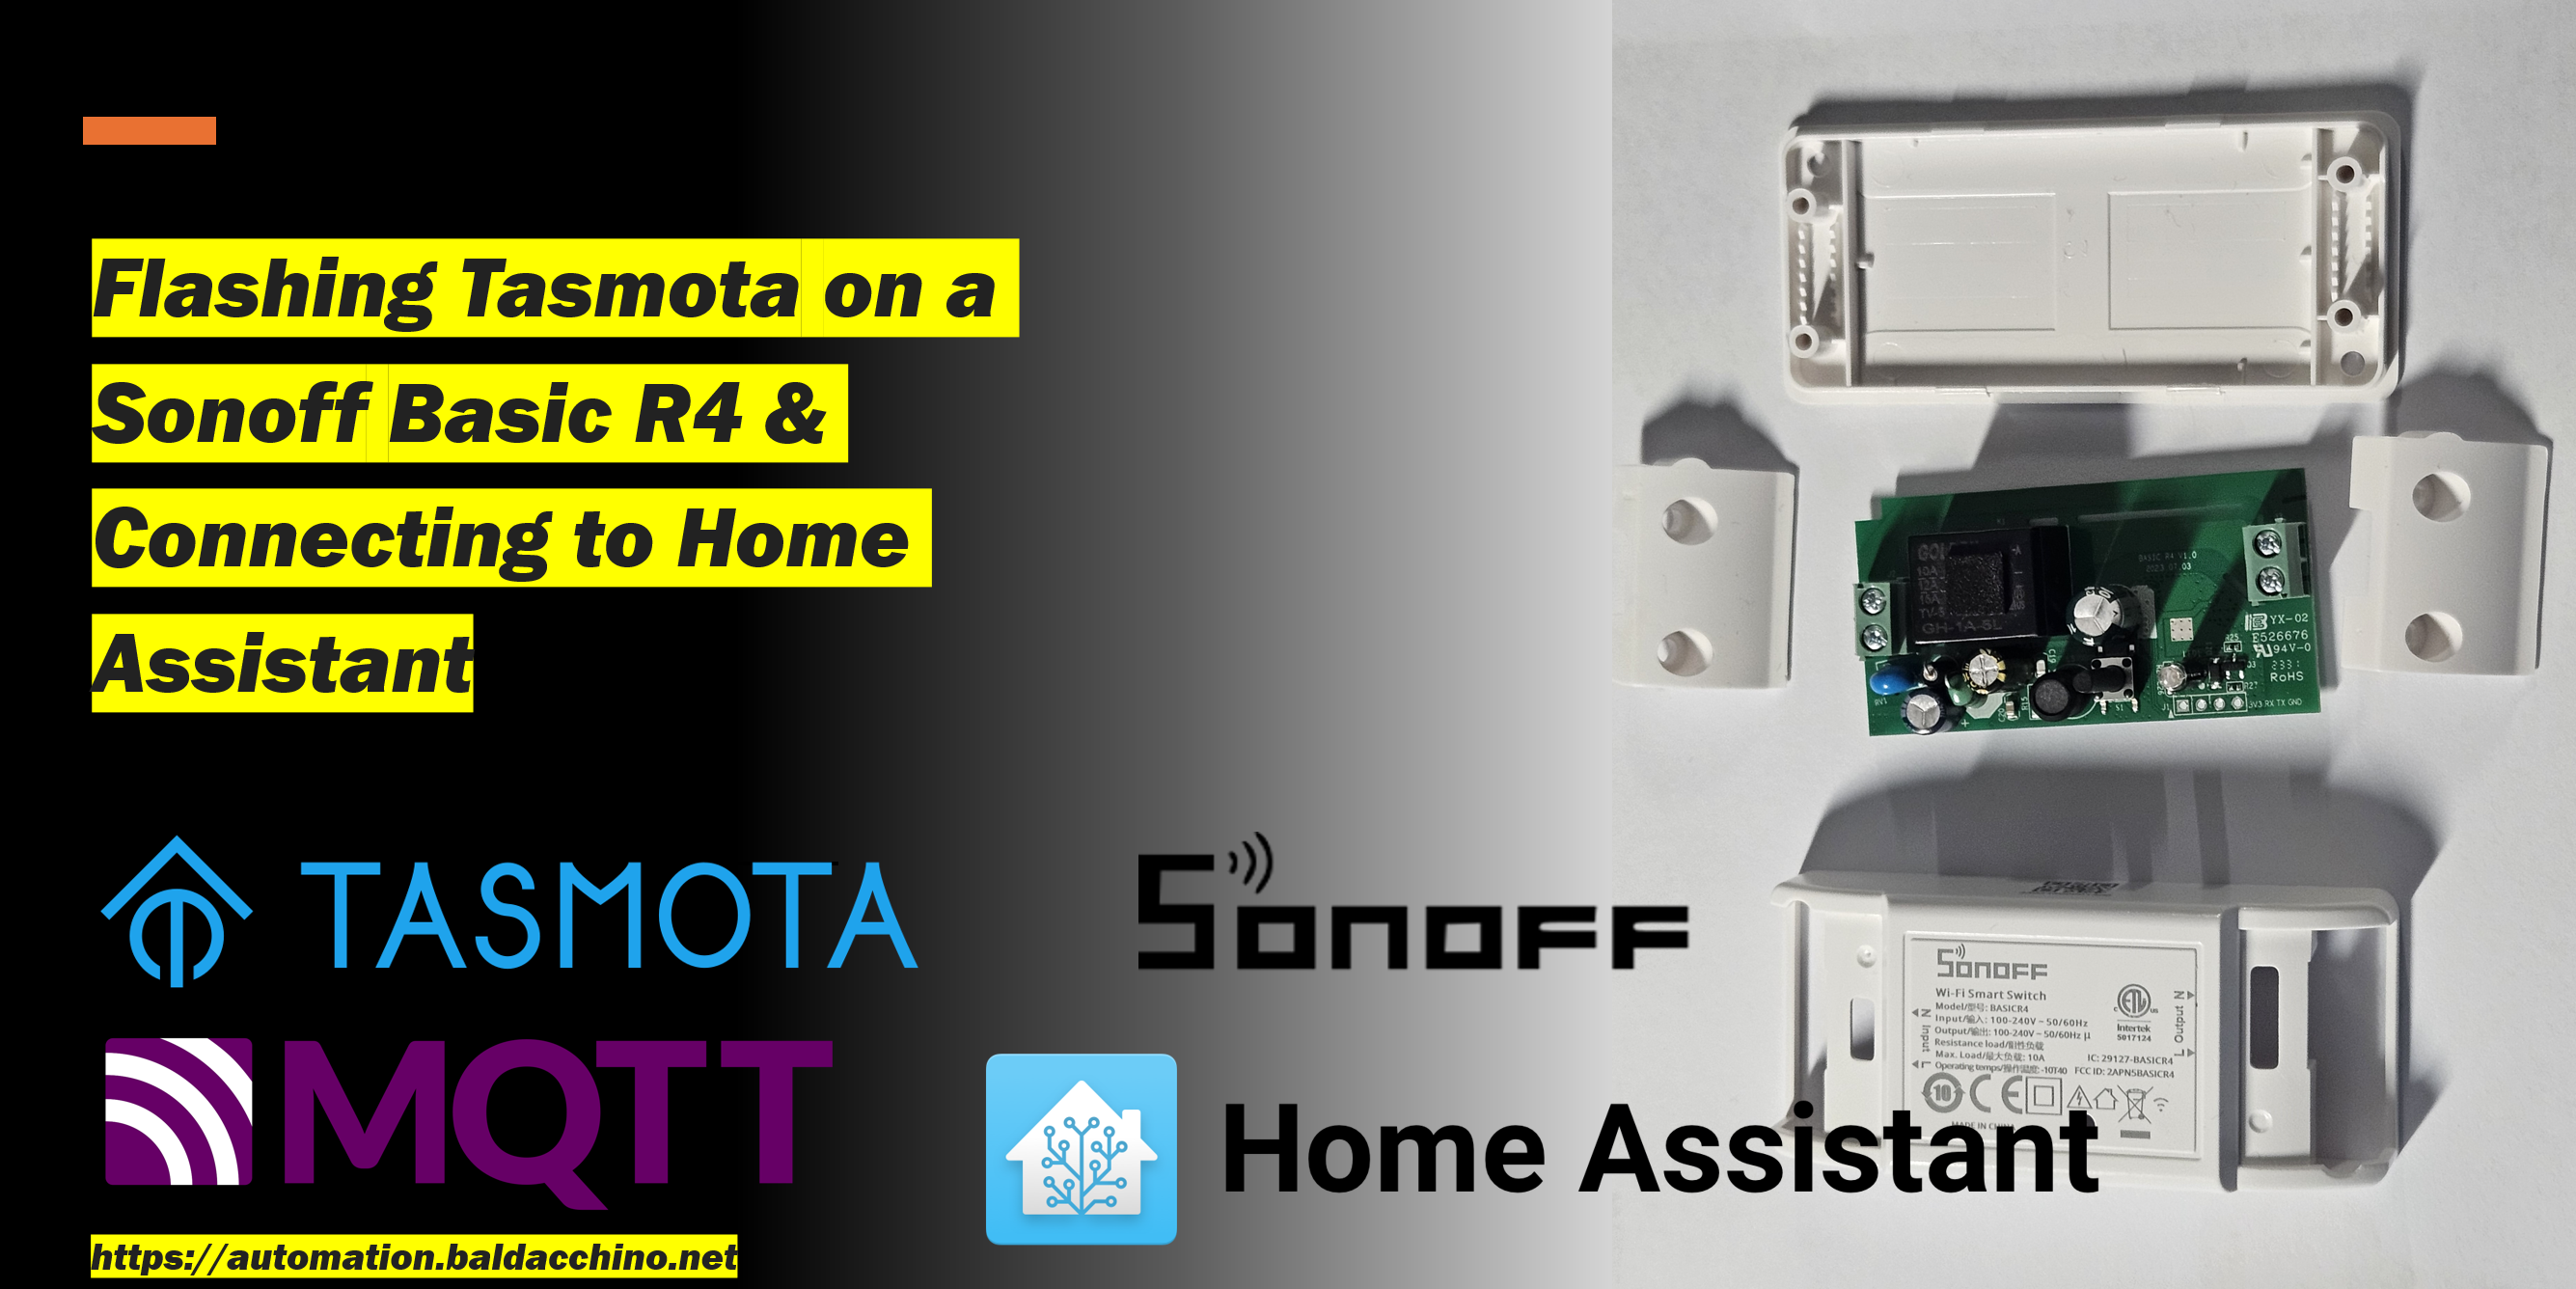
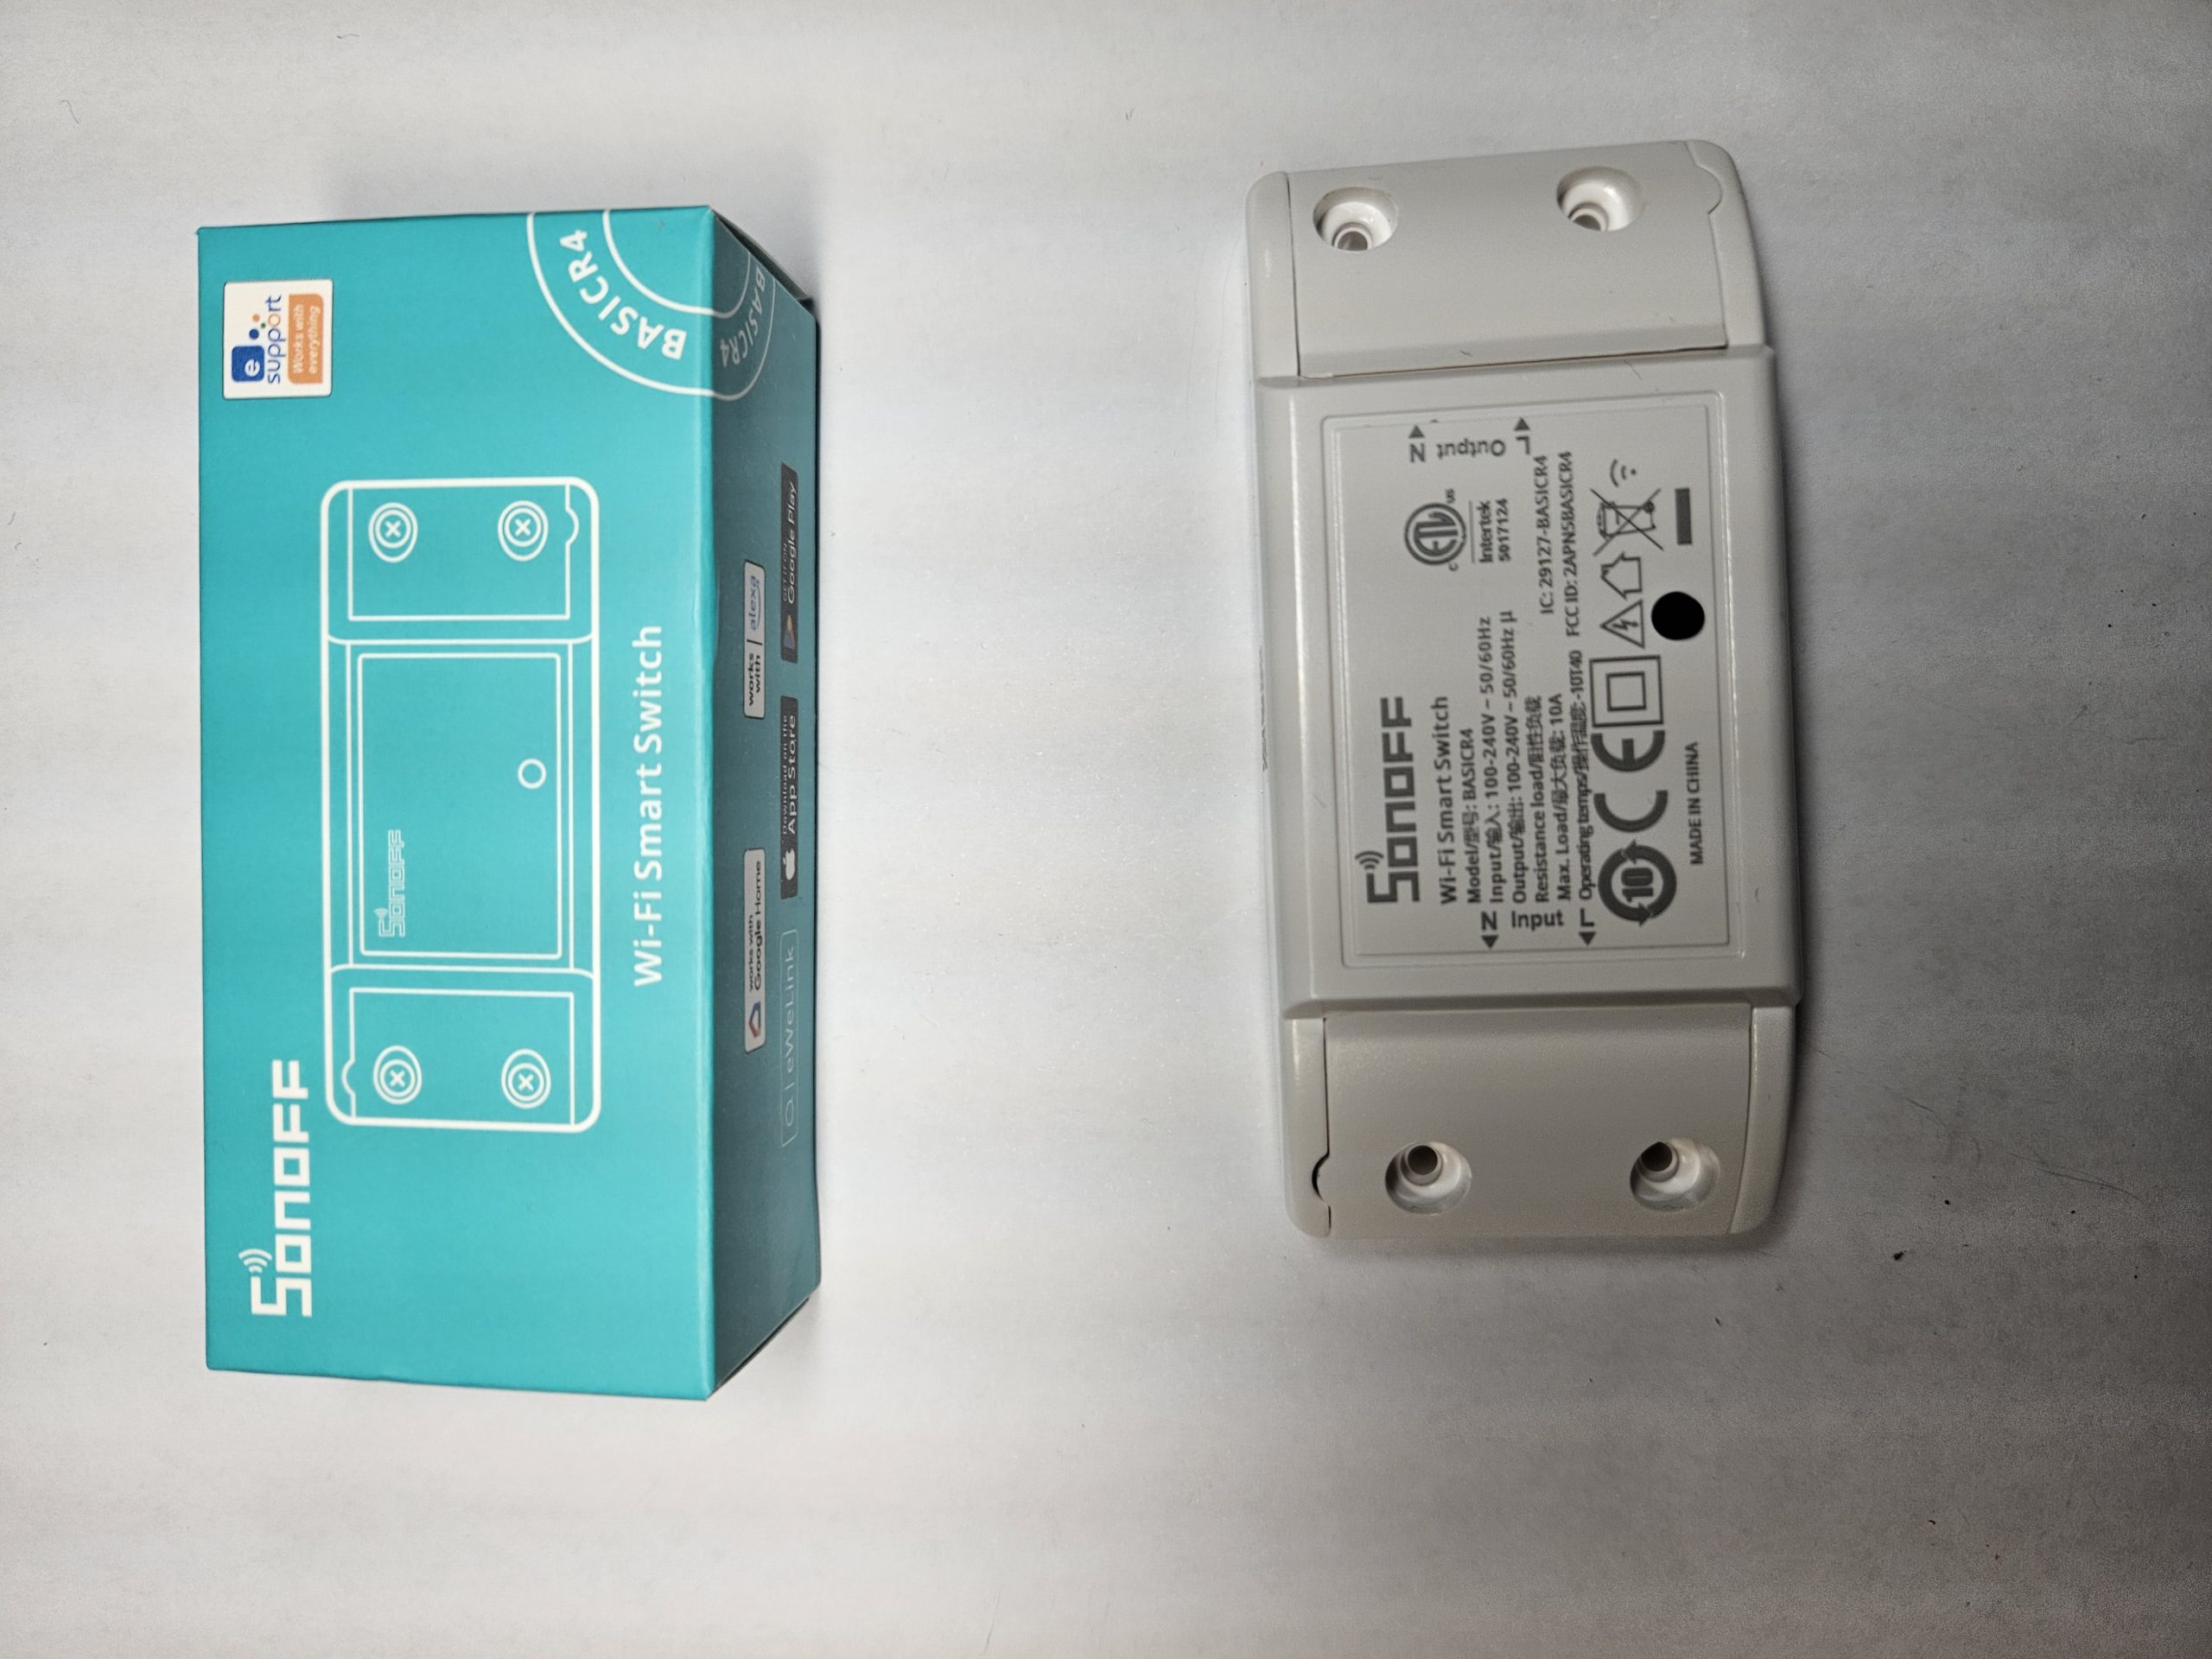
In October of 2023 Itead released their latest Sonoff Basic appliance module the Basic R4.
It is now based off an ESP32 chip, versus the ESP82xx of prior models and provides increased load capabilities at 2400w.
This appliance module is cheap and is perfect for attaching to a desk lamp, inline in a power board or an extension cord. Being external, they are an easier path to begin with on your Tasmota journey than other modules.
What’s Tasmota you may ask? If you arrived at this post, you probably are familiar with Tasmota, but if not.
Tasmota is a Open source firmware for ESP devices. Total local control with quick setup and updates. Control using MQTT, Web UI, HTTP or serial. Automate using timers, rules or scripts. Integration with home automation solutions. Incredibly expandable and flexible.
https://tasmota.github.io/docs/
Sonoff devices are great because they are cheap and the bones, the hardware underneath is great. But their firmware is less than ideal. Leveraging the EweLink is cumbersome, and even with integration to HomeAssistant, its not reliable.
Flashing Tasmota releases this device from the shackles of Itead and it does not get much easier than the Basic R4.
So in this post I will walk you through the process of flashing Tasmota on a Sonoff Basic R4 and interfacing with Home Assistant.
Tools used
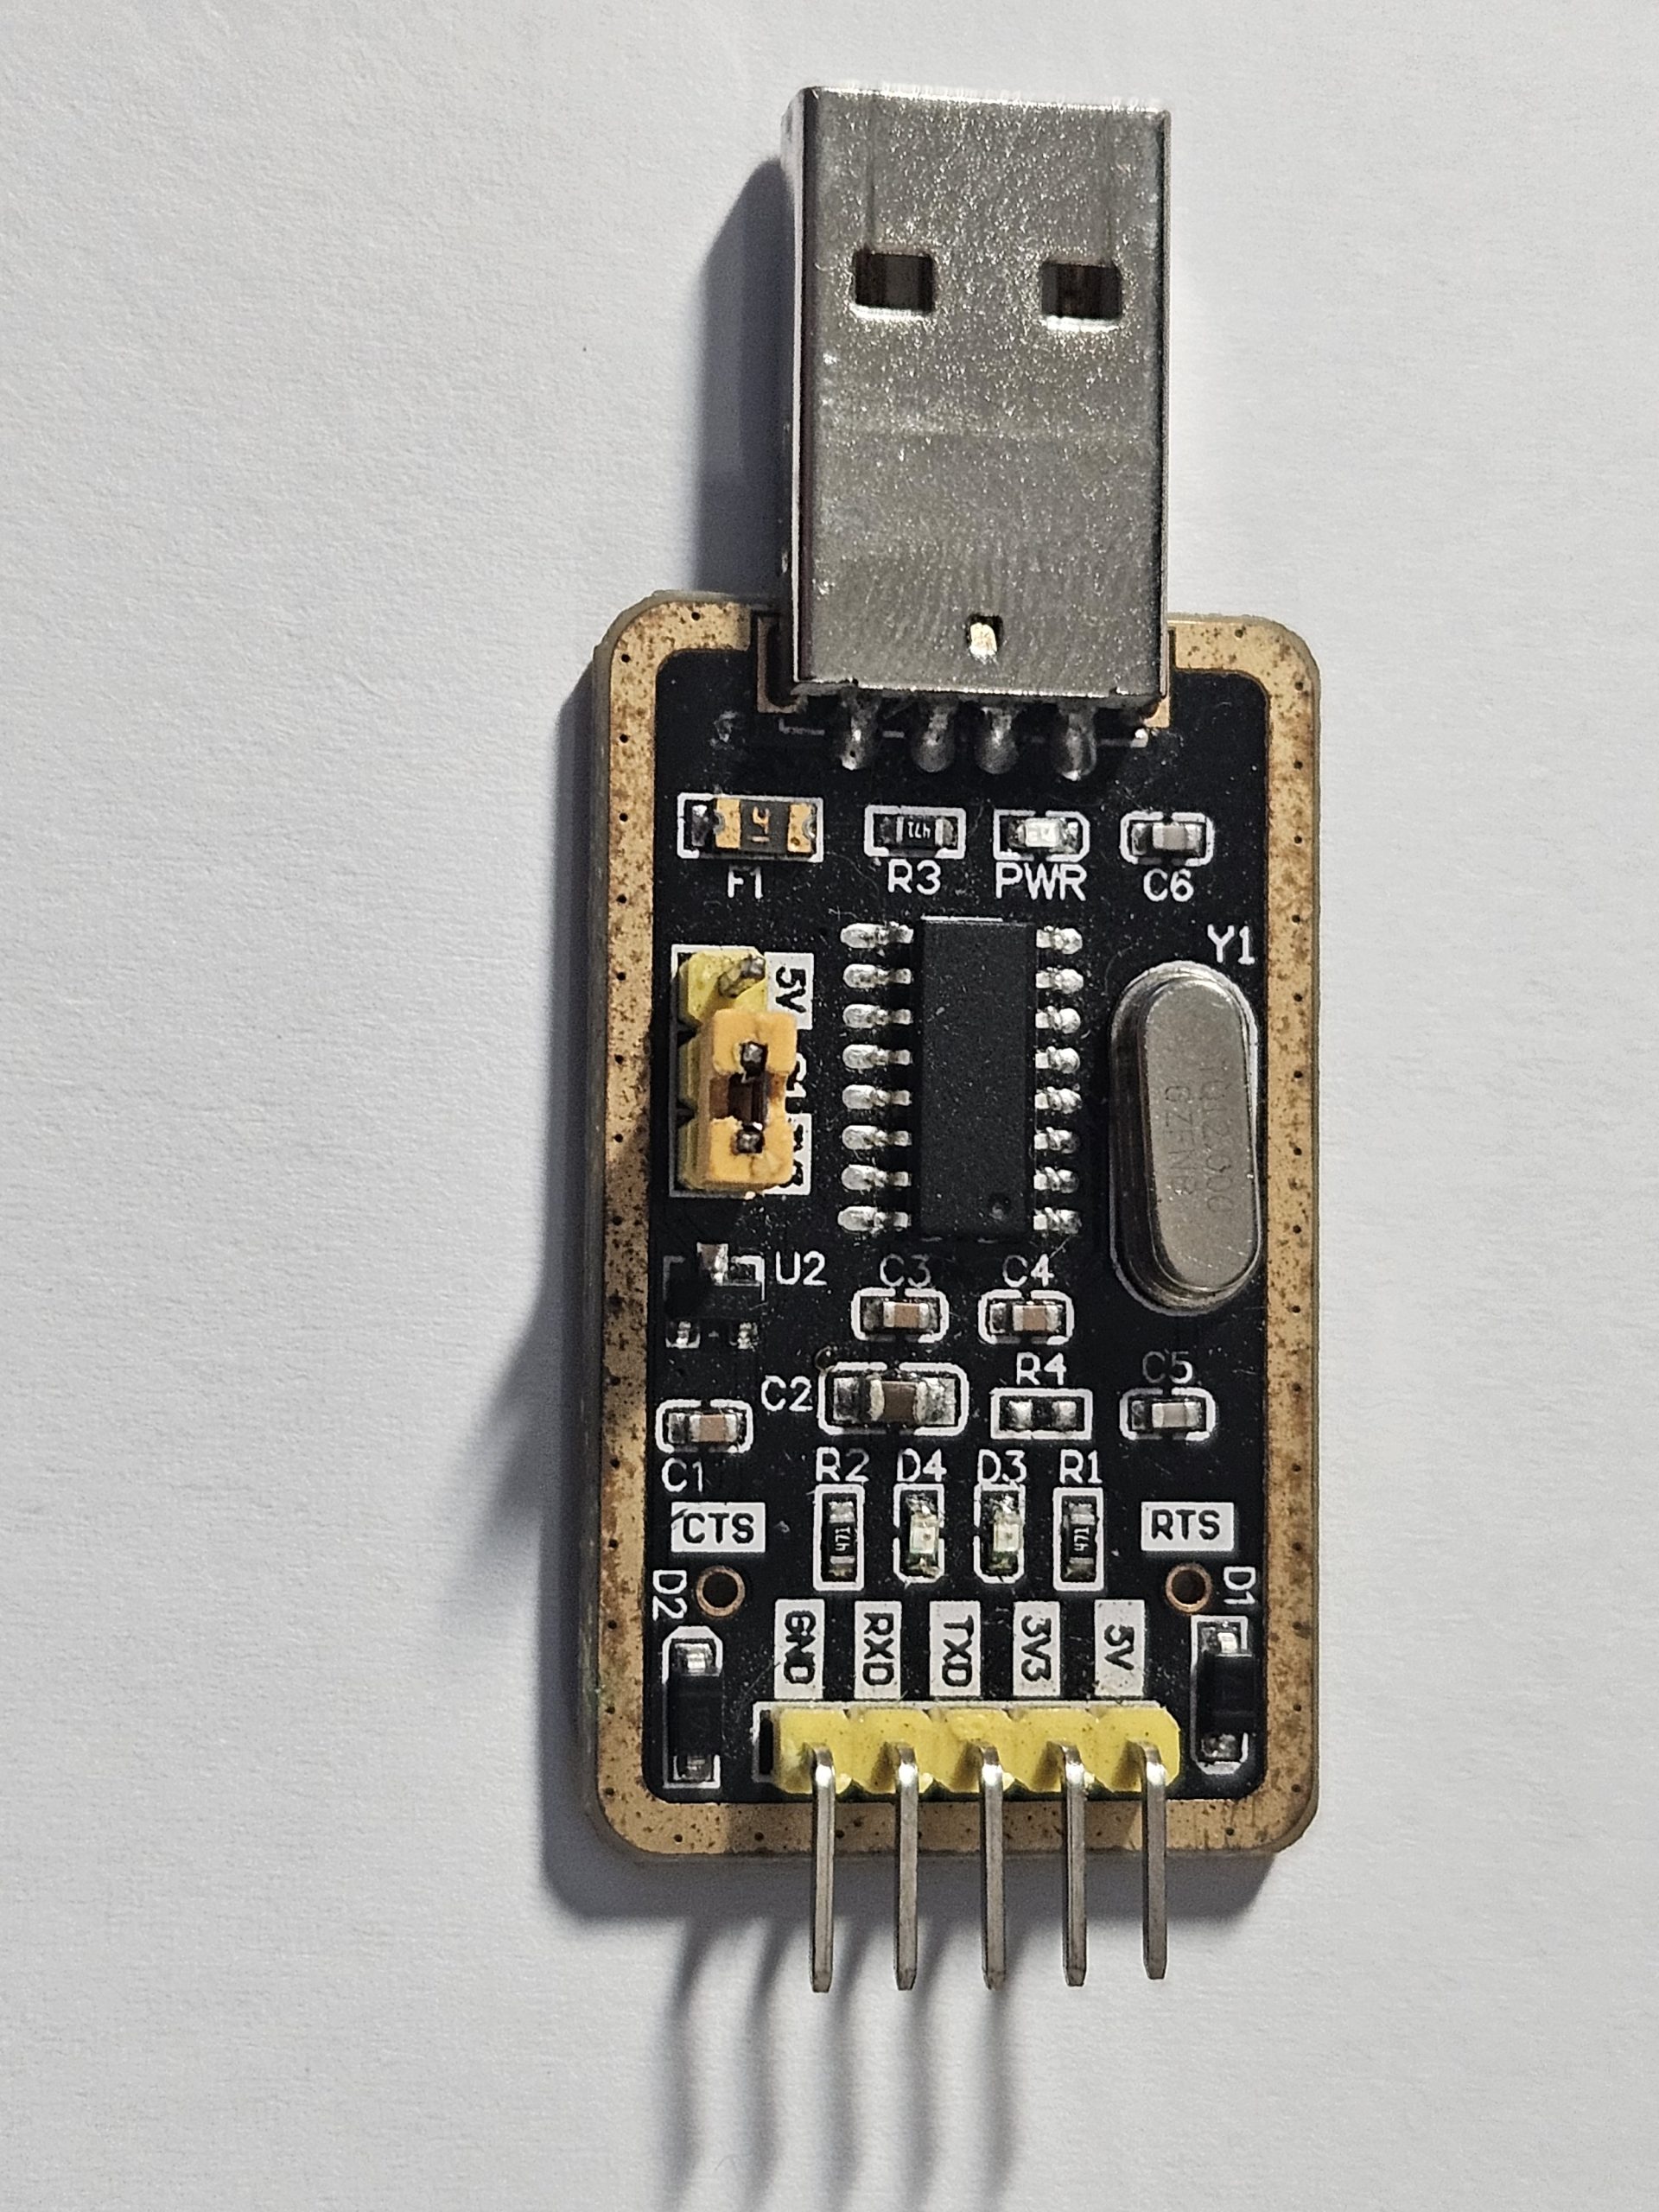
– USB TTL (USB CH340)
– 4 x Dupont Jumper wire – (Female to Male)
Software Required
– Web Browser (Chromium Based)
WARNING Do not attempt this guide with the Sonoff Basic R4 connected to mains AC power. The USB TTL 3.3v is all that is required to power the ESP32 to which we will be flashing.
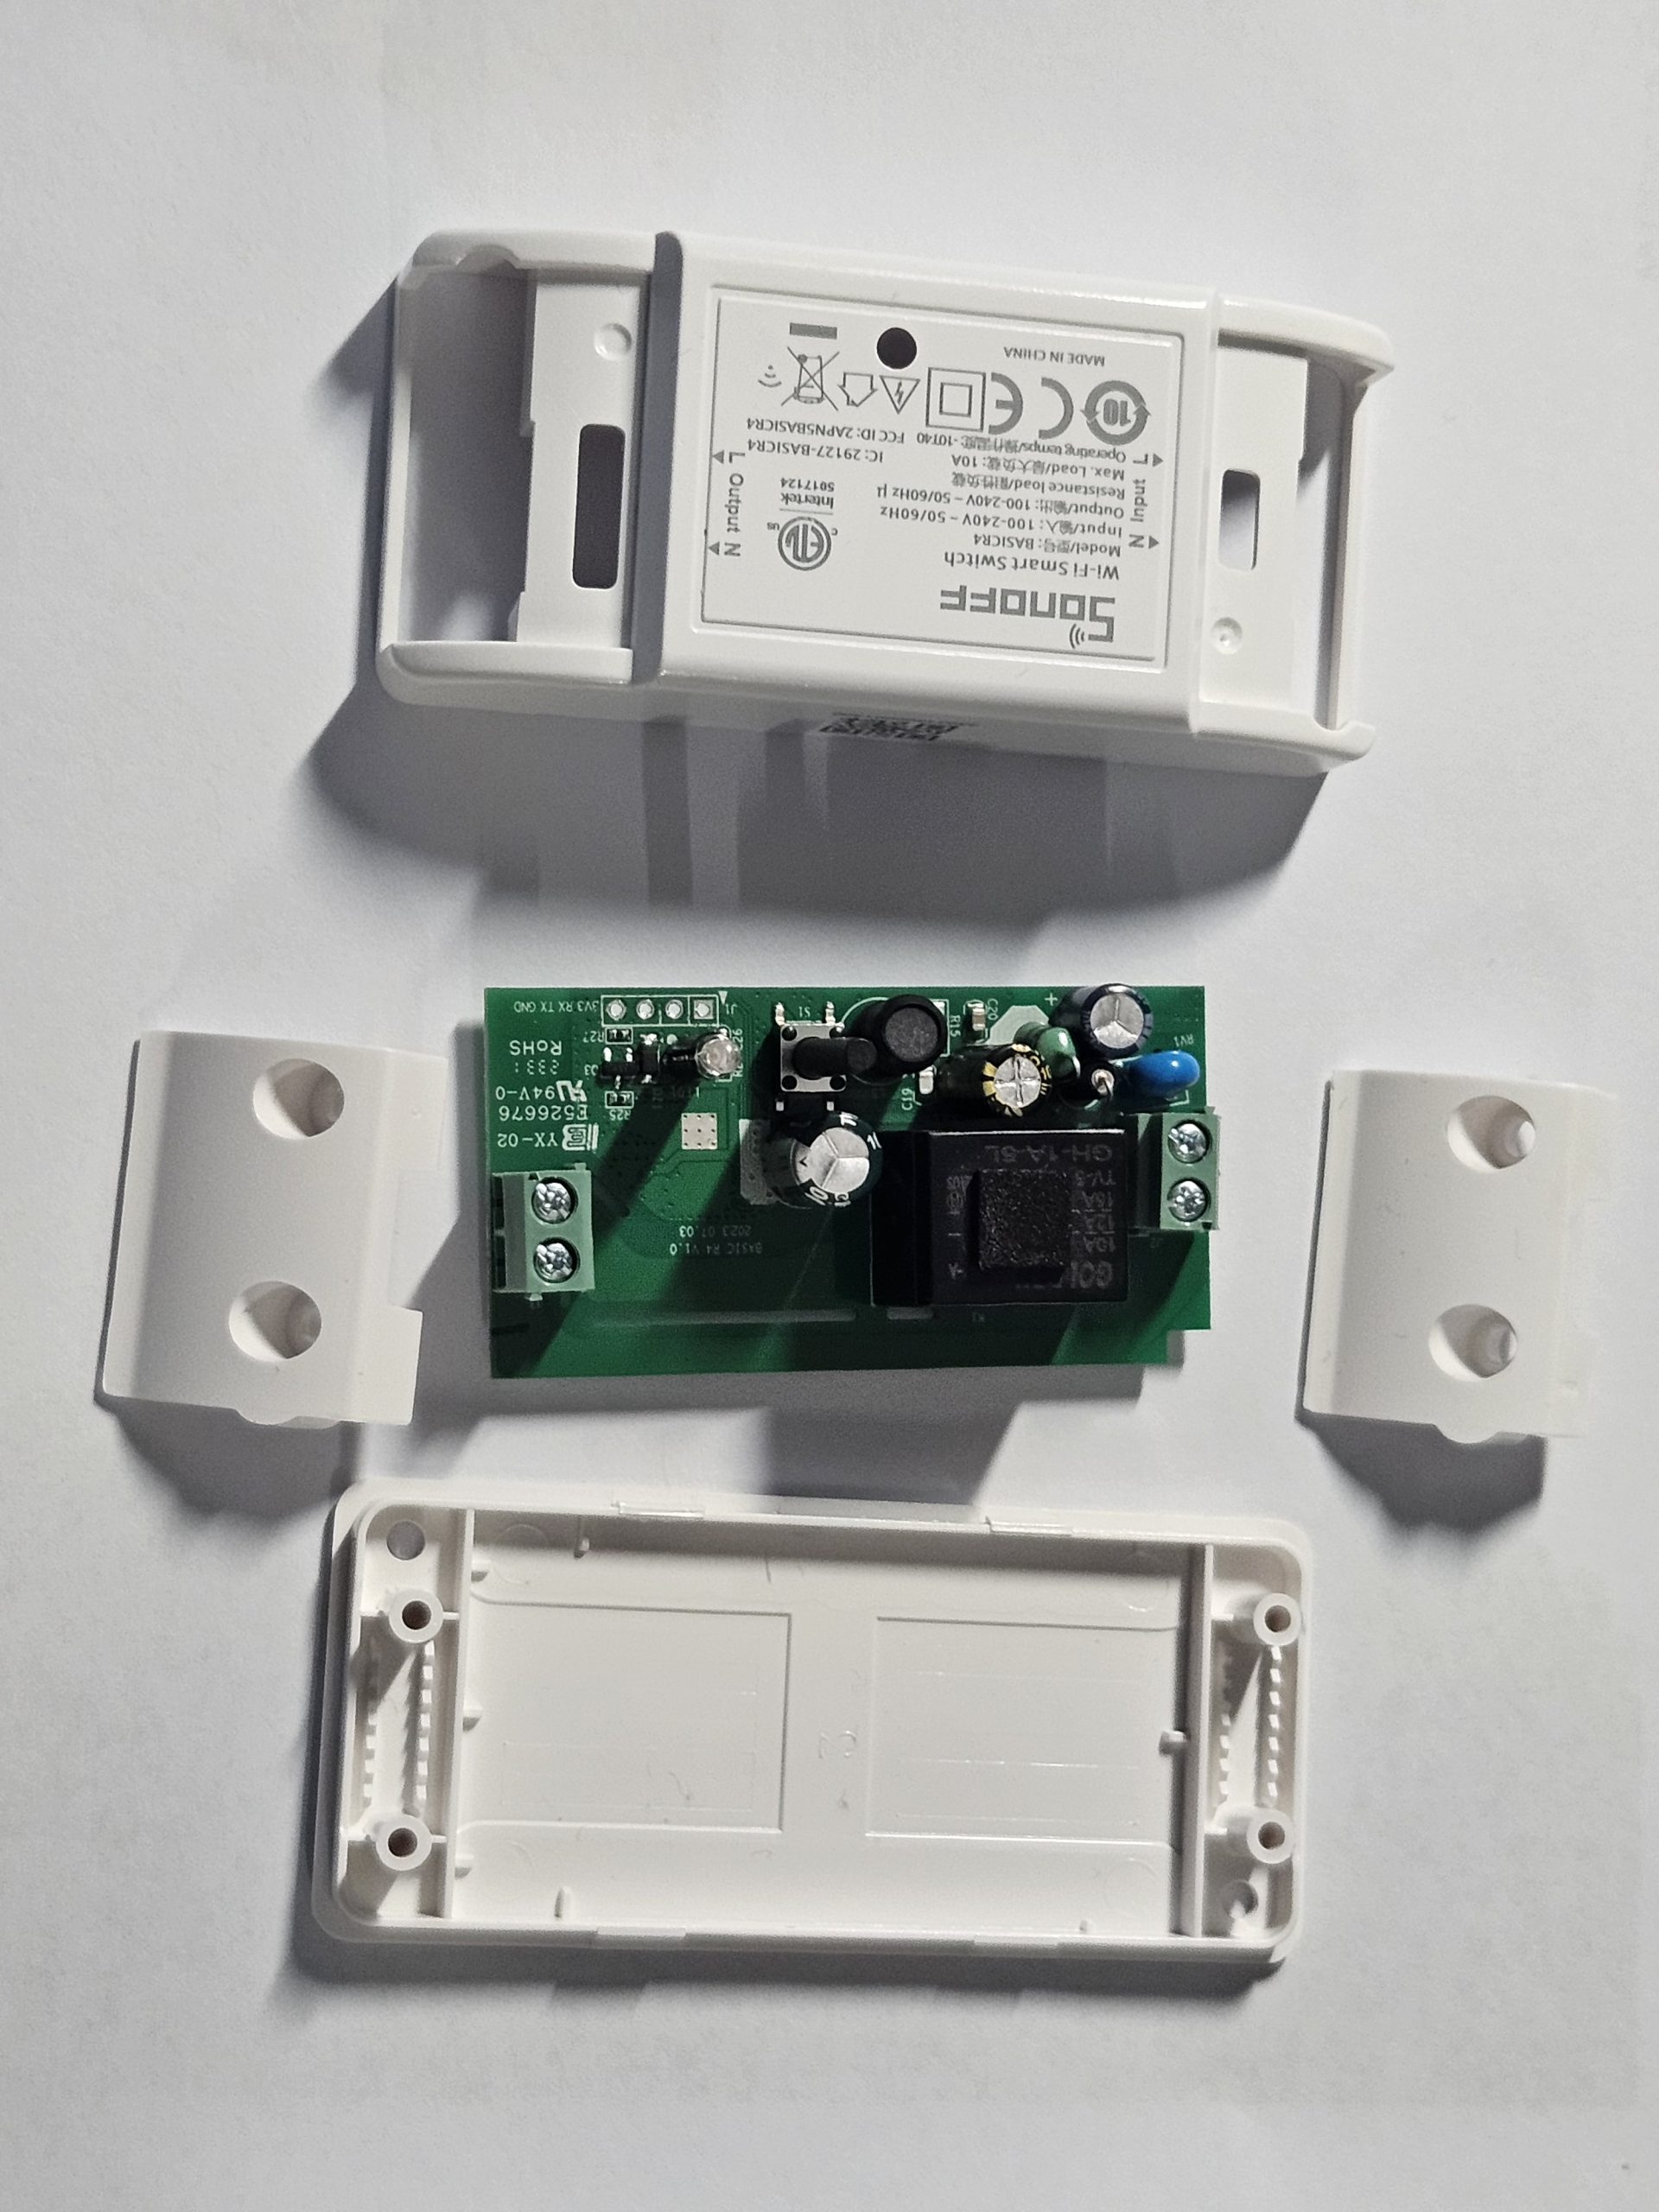
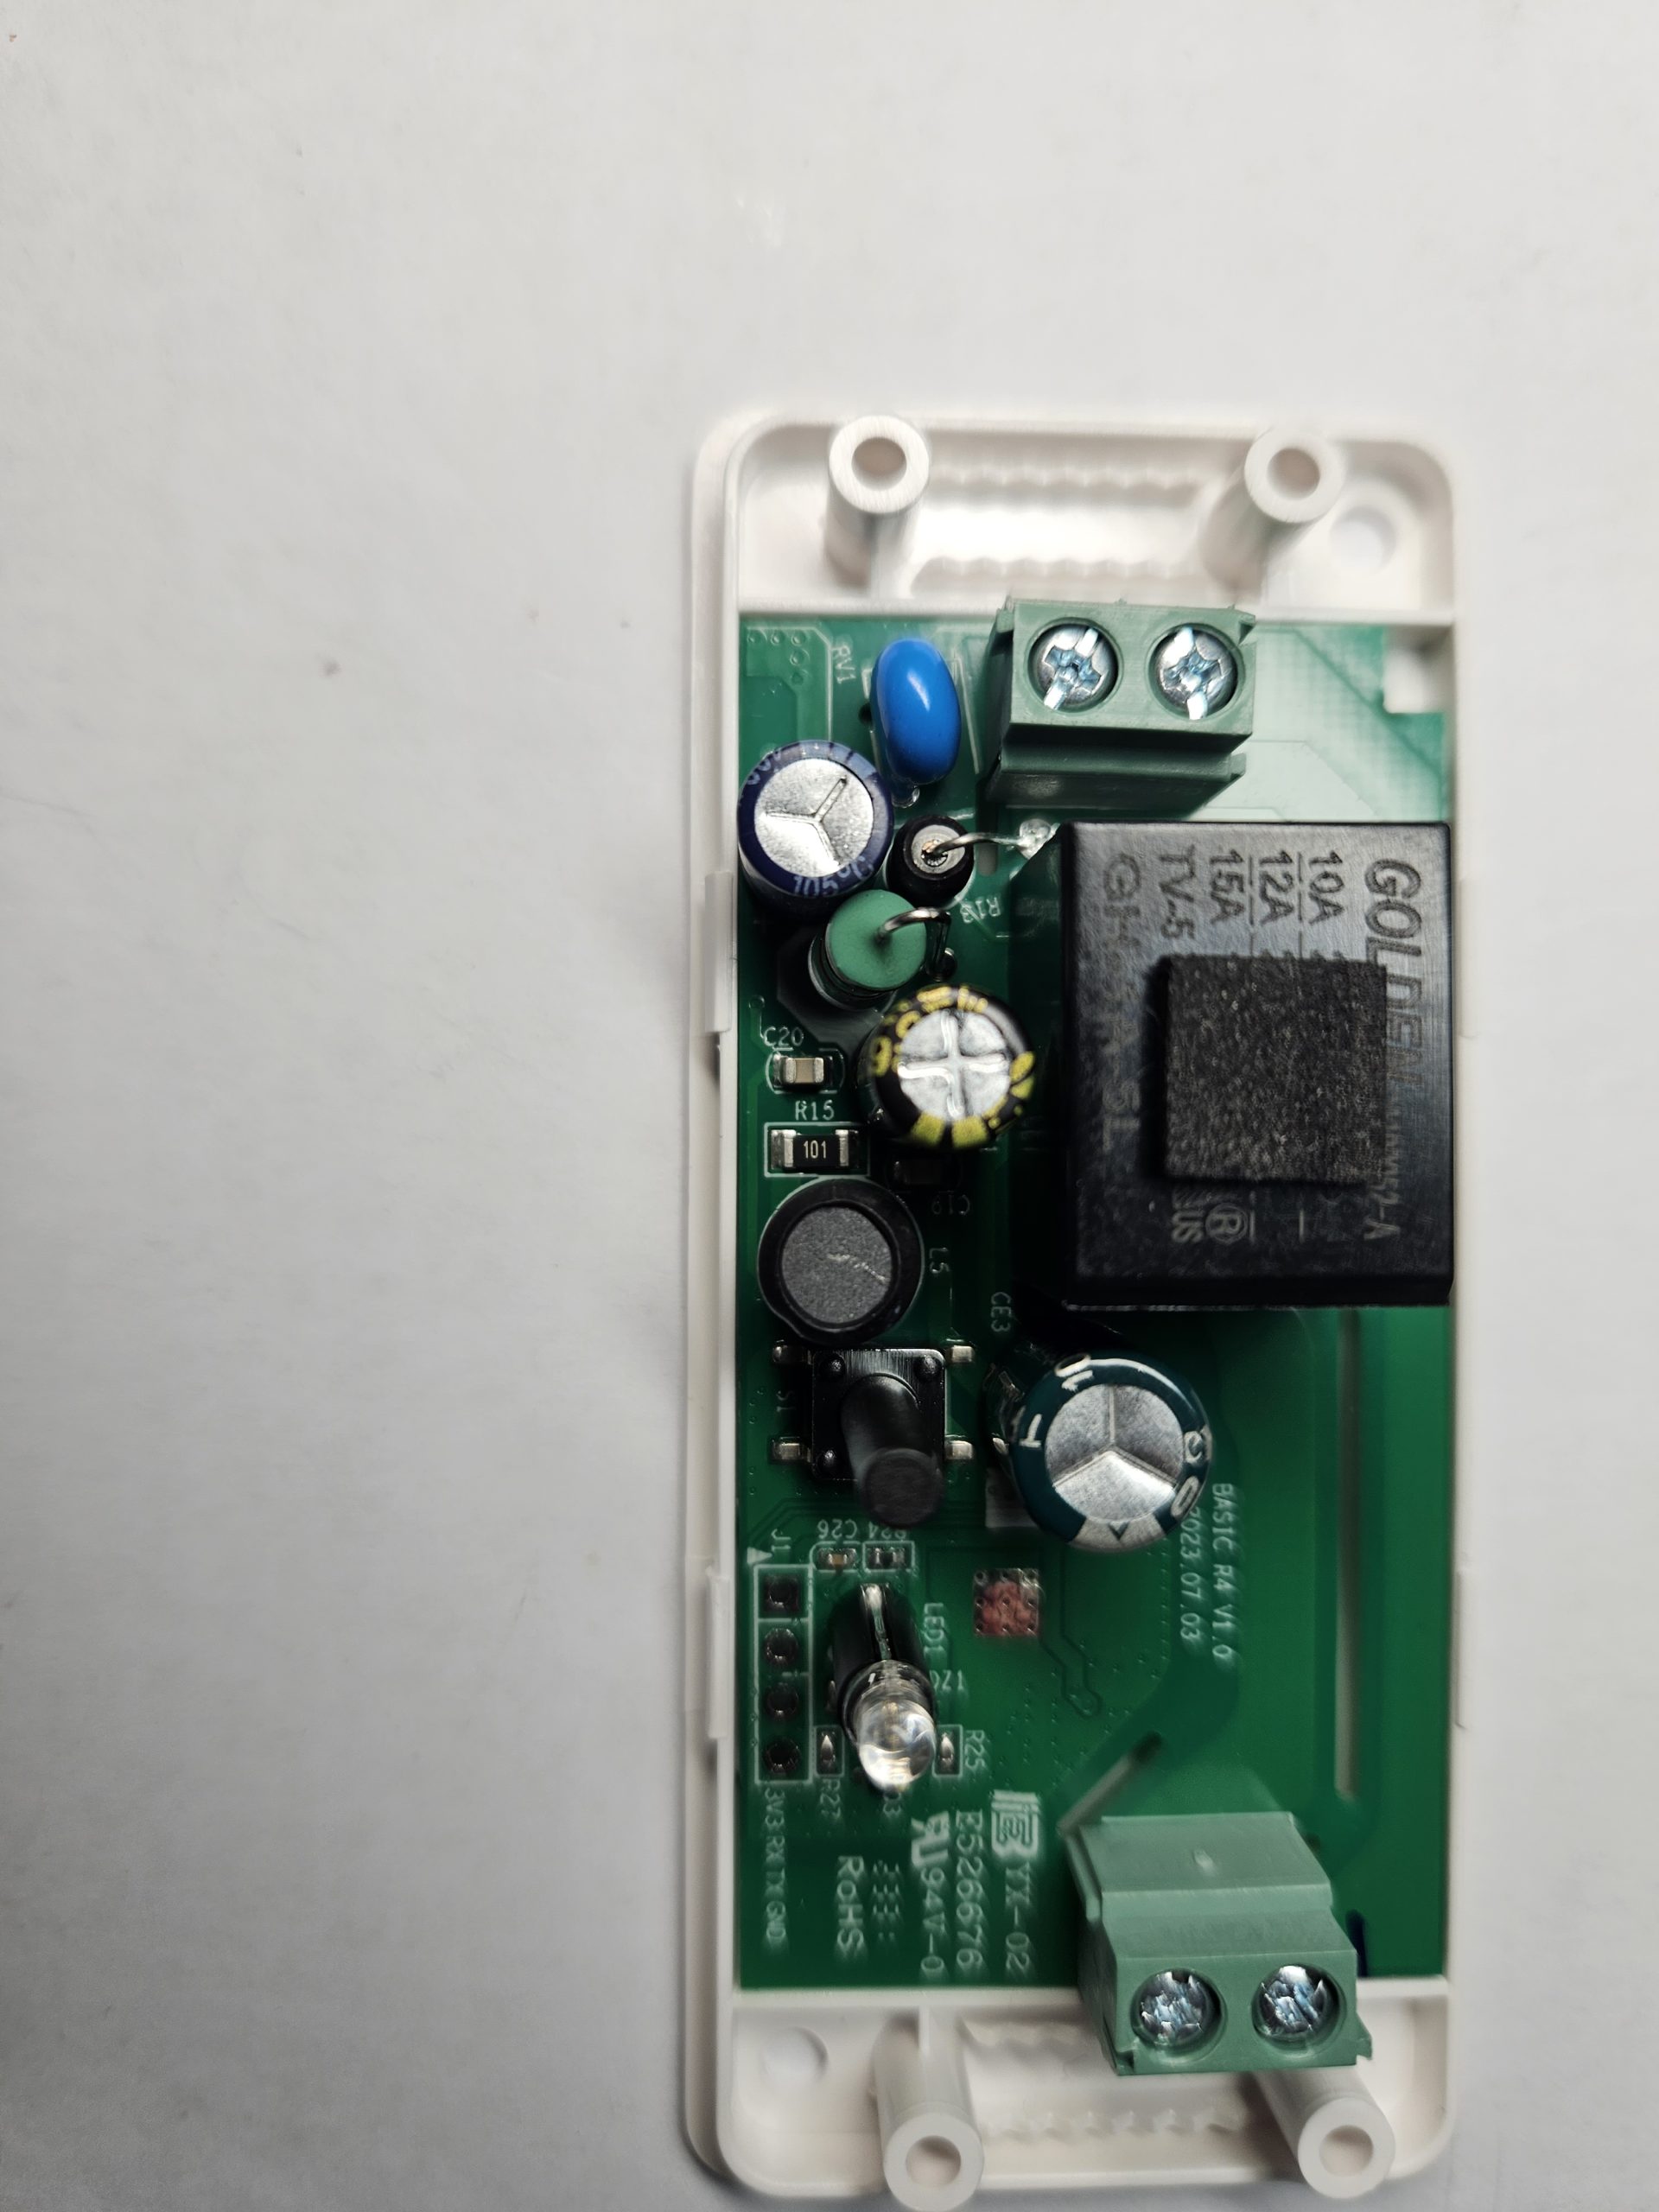
Step 1: Dissemble
You will need to dissemble the Basic R4. No tools are required, use your fingernail to pull the base off. It is held in via 4 plastic tabs. Be careful, it is plastic afterall.
Step 2: Flashing Tasmota
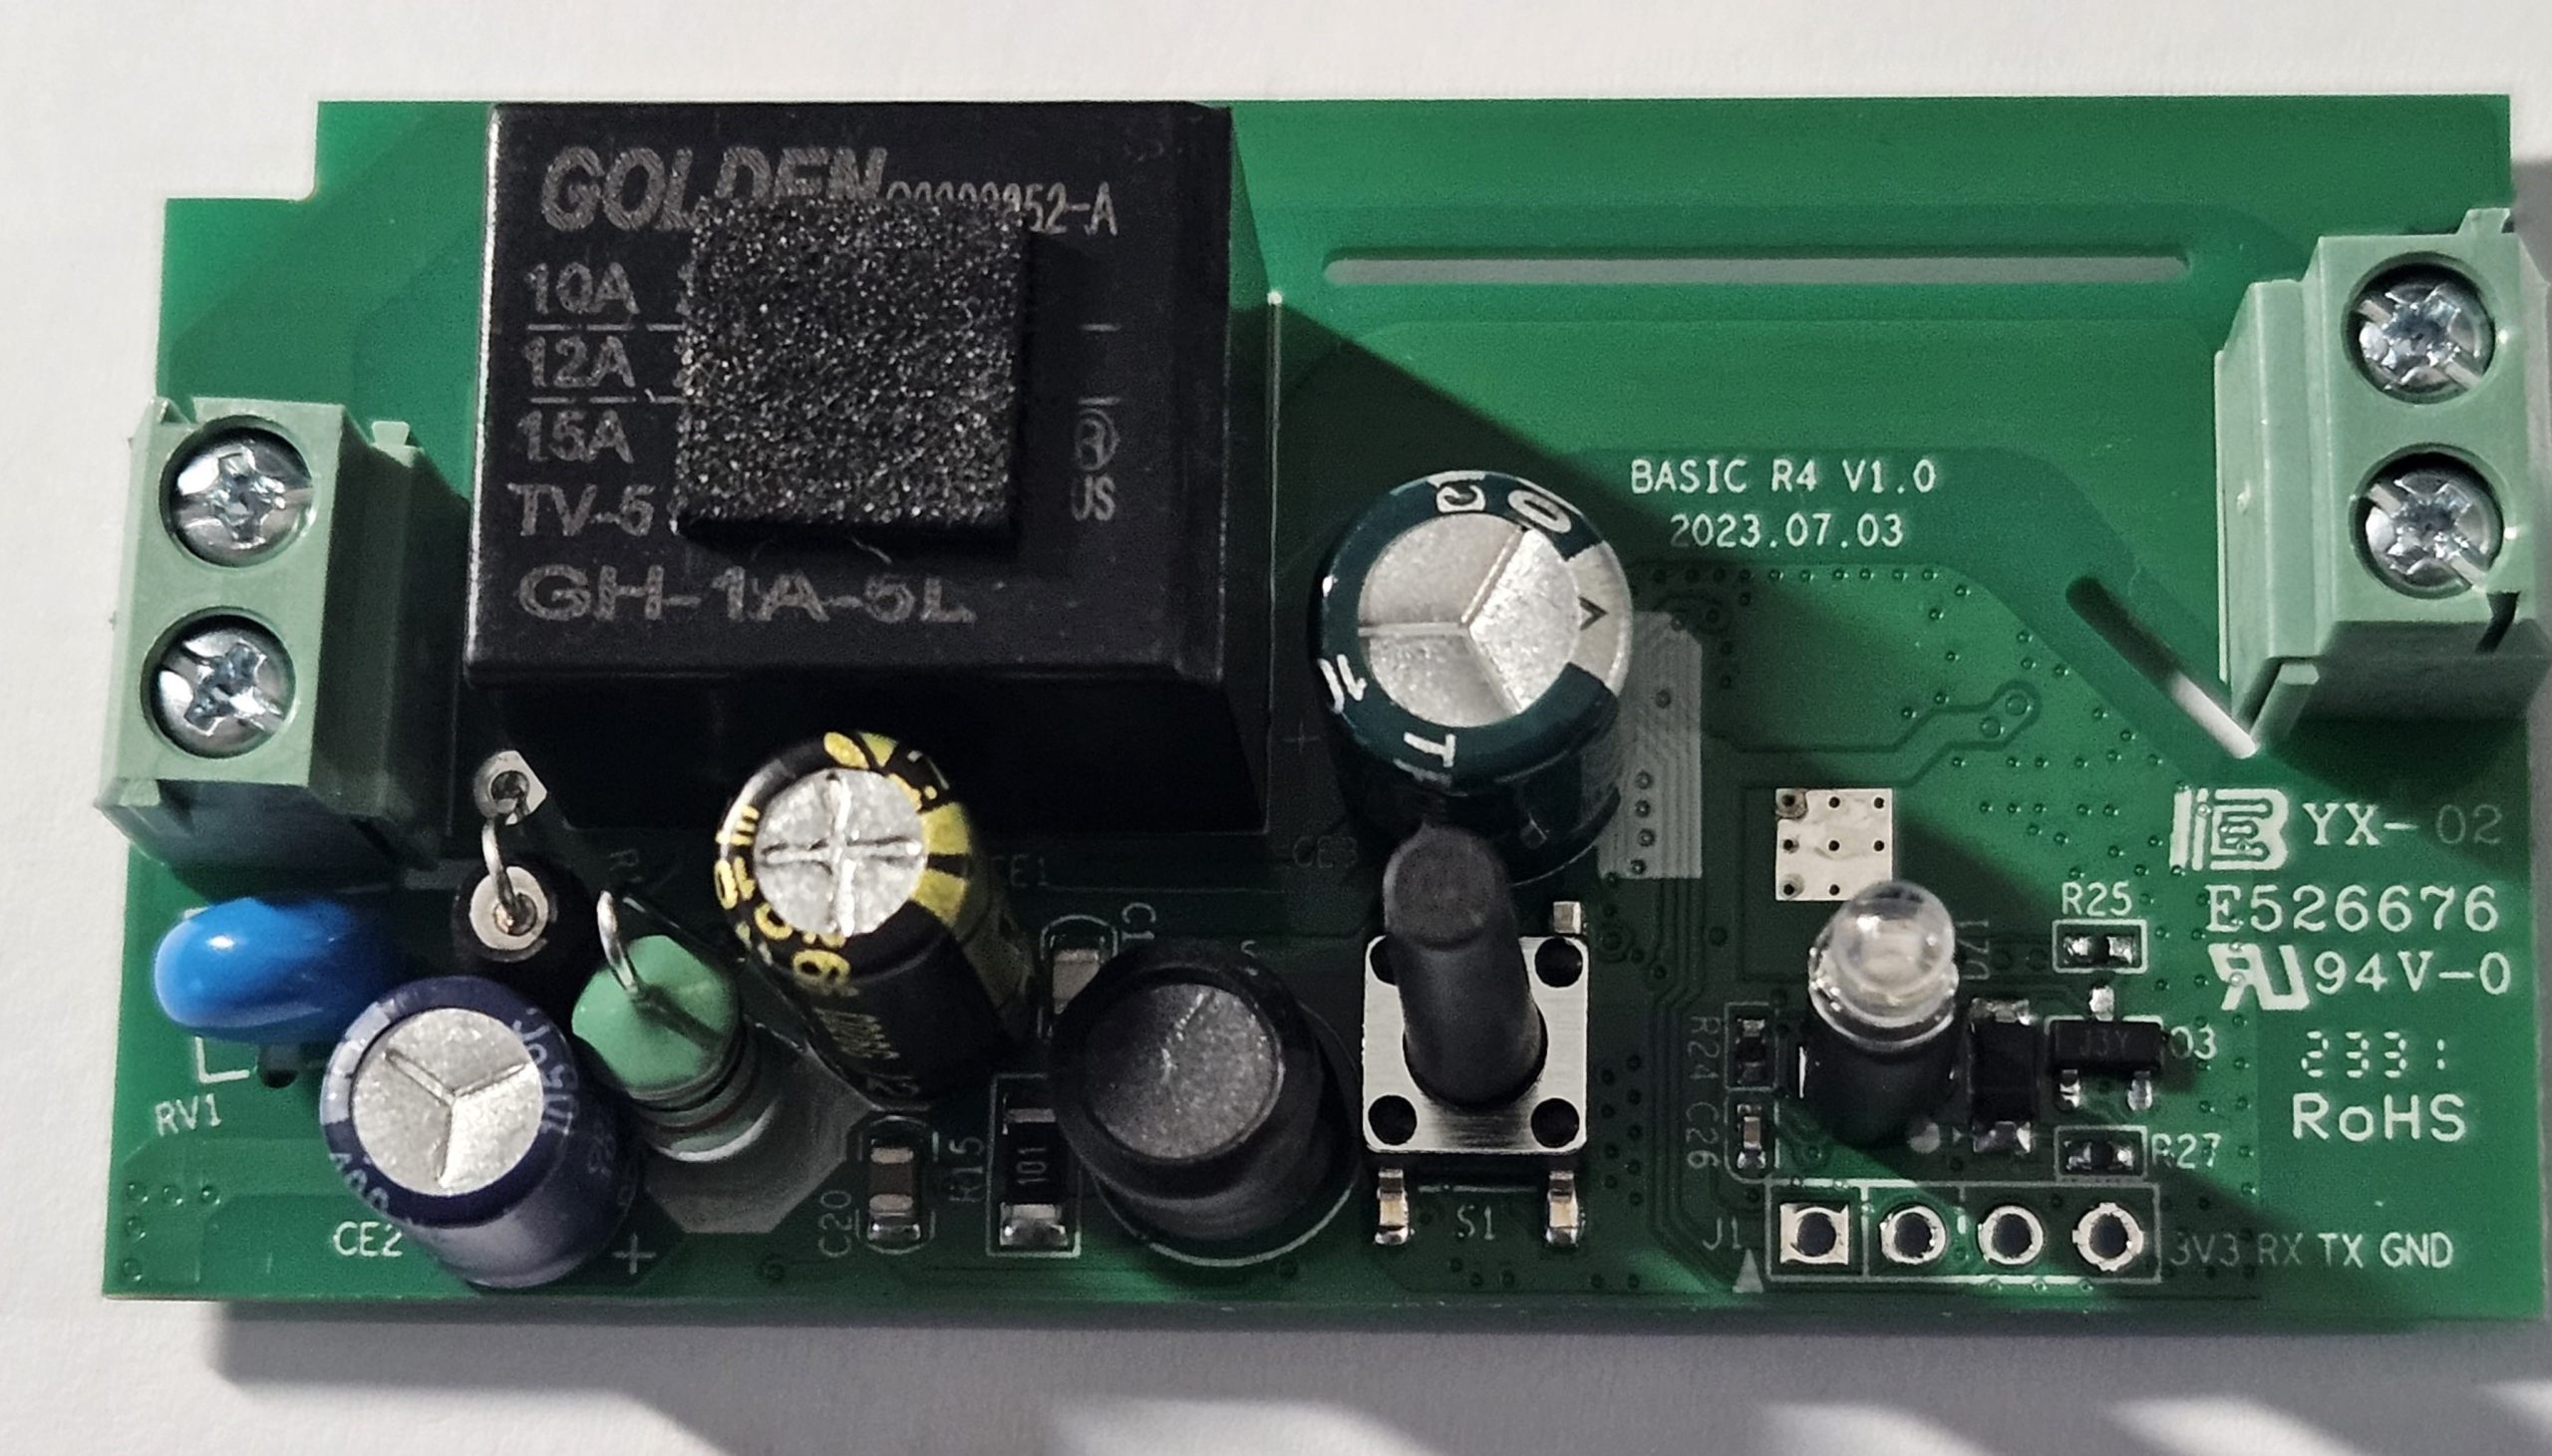
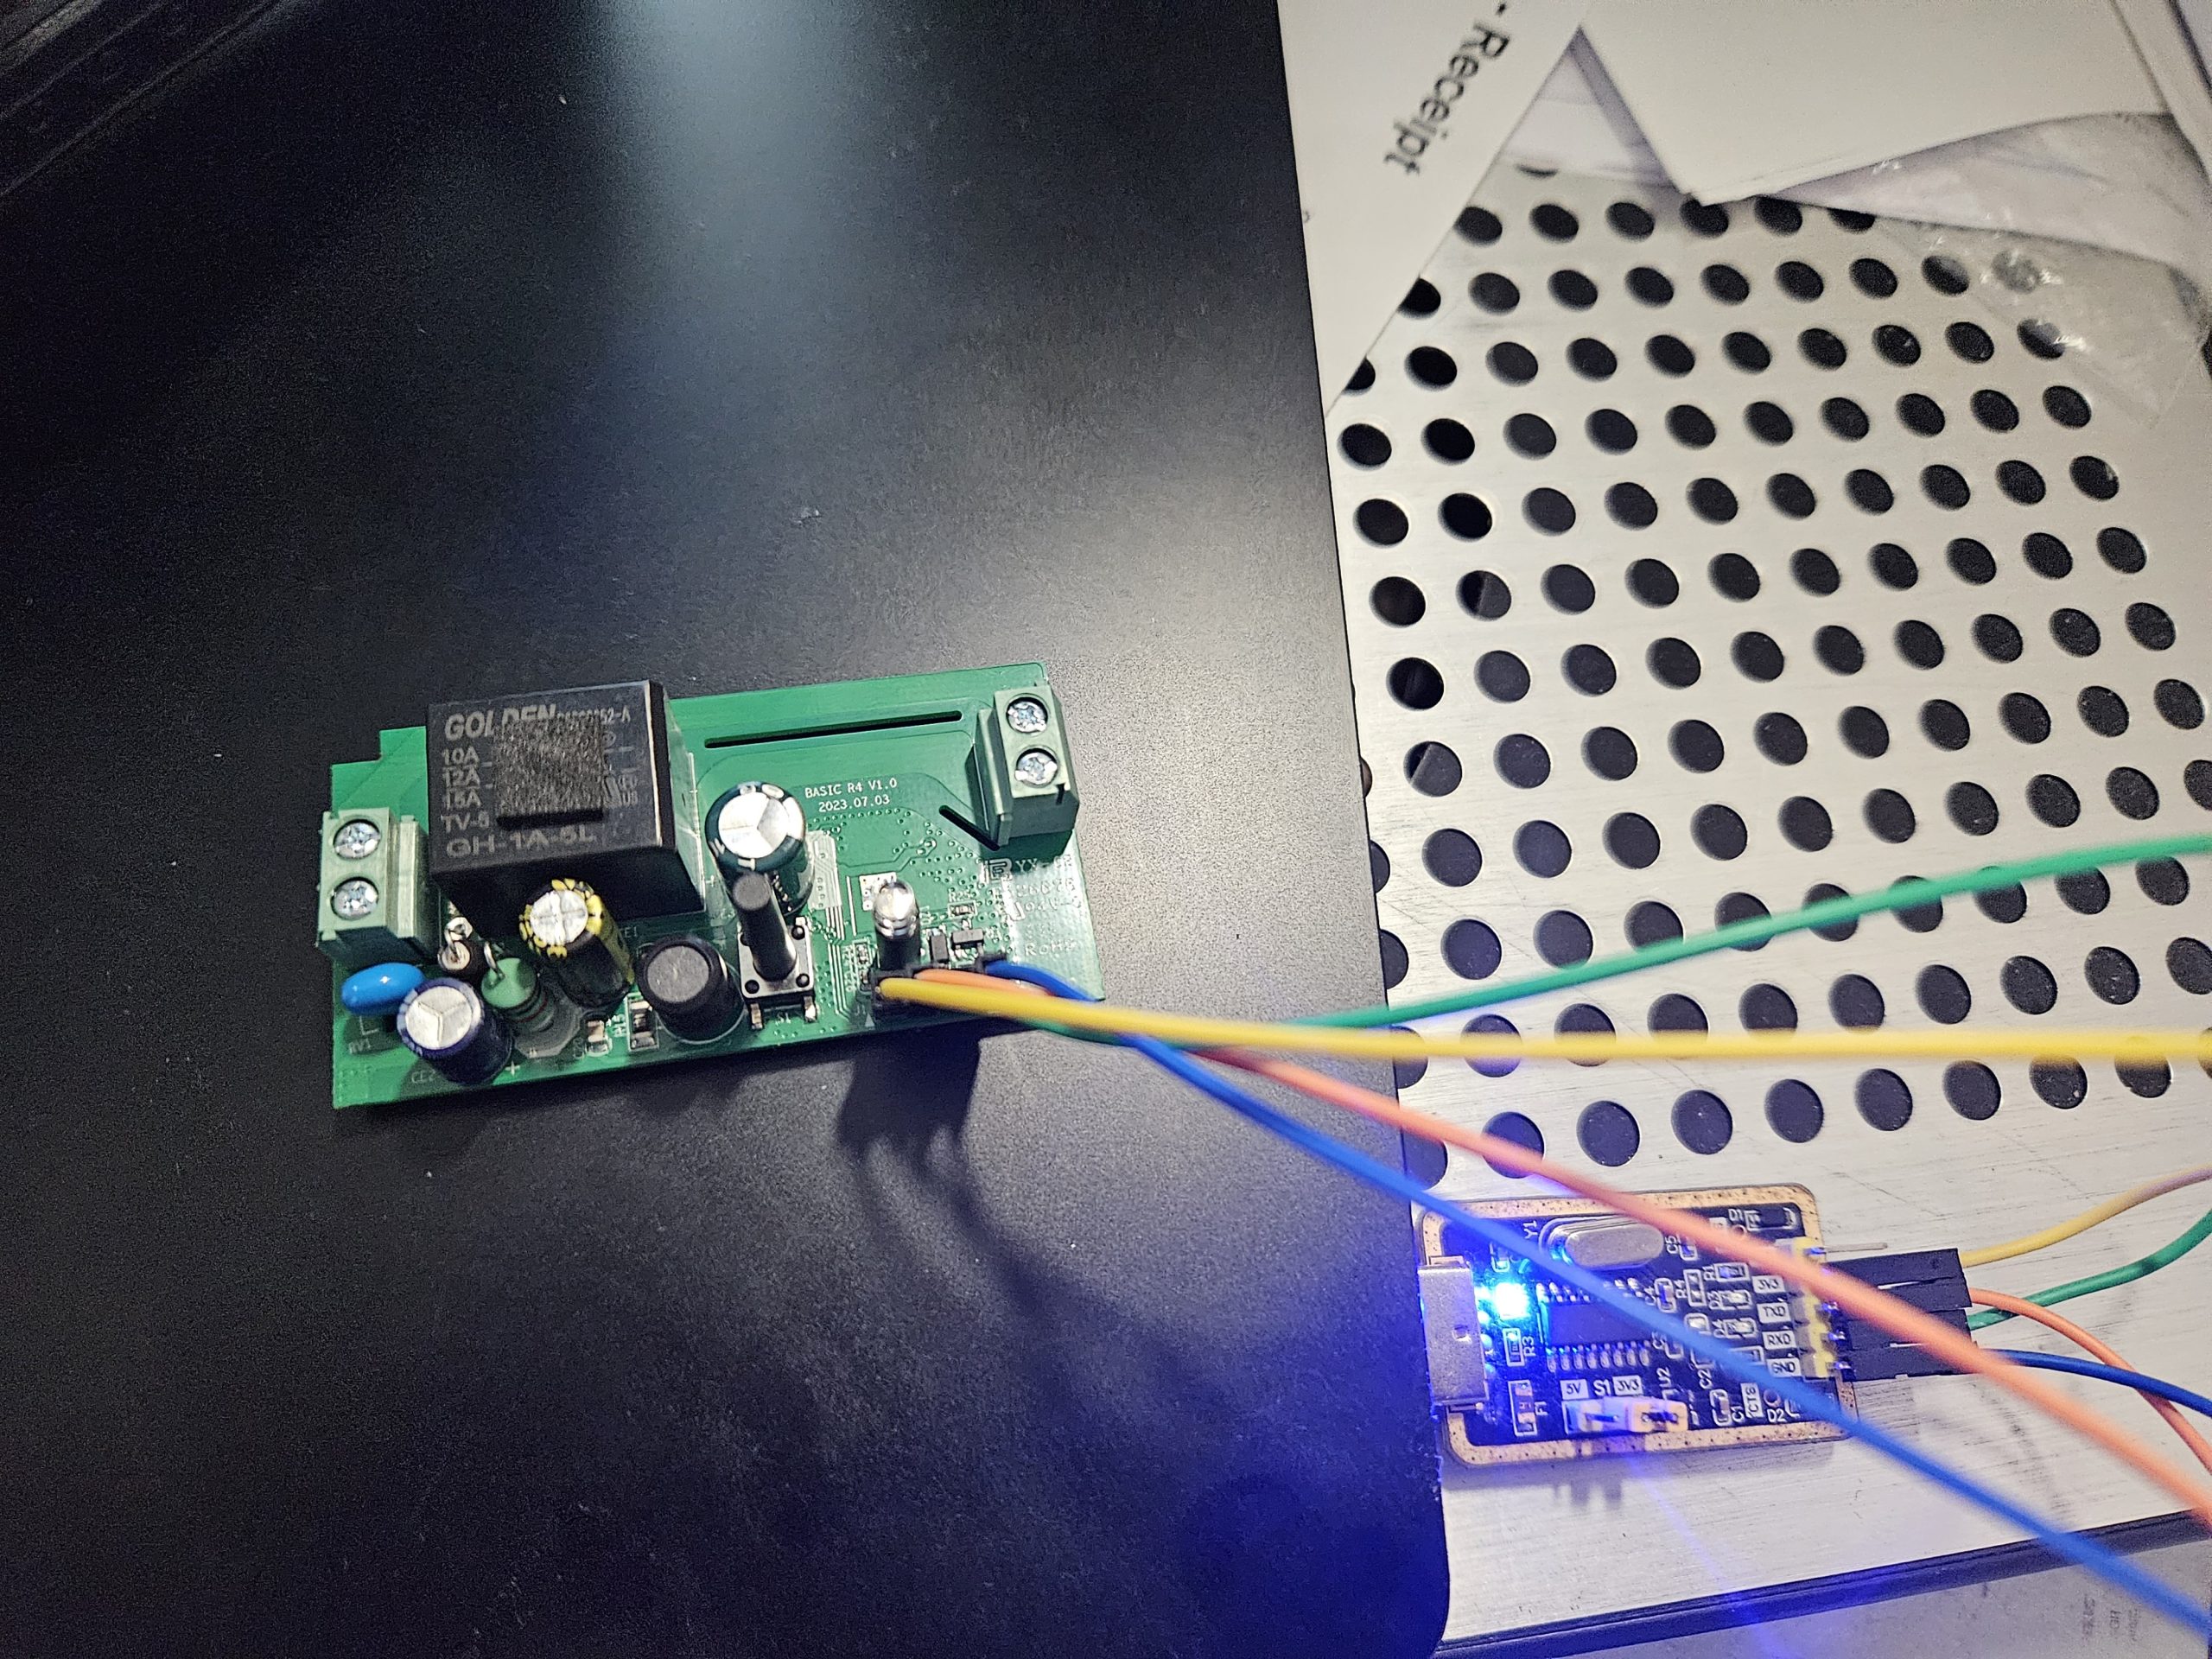
Connect your USB TTL to your computer. I am using a USB CH340, but a genuine FTDI will also suffice .As per the table below connect the Sonoff Basic R4 via a USB TTL, being sure to reverse the RX and TX pins. If your USB flasher has a 5v and 3.3v mode, ensure VCC is set to 3.3v
To place the Sonoff Basic R4 in a state where it can be flashed mode, you need to connect the onboard GPIO (the button) to GND. Holding the push button in whilst applying power will place the Sonoff Basic R4 in to flashing mode.
| Sonoff Basic R4 | USB TTL |
| Vcc / 3.3v | Vcc / 3.3v |
| GND | GND |
| RX | TX |
| TX | RX |
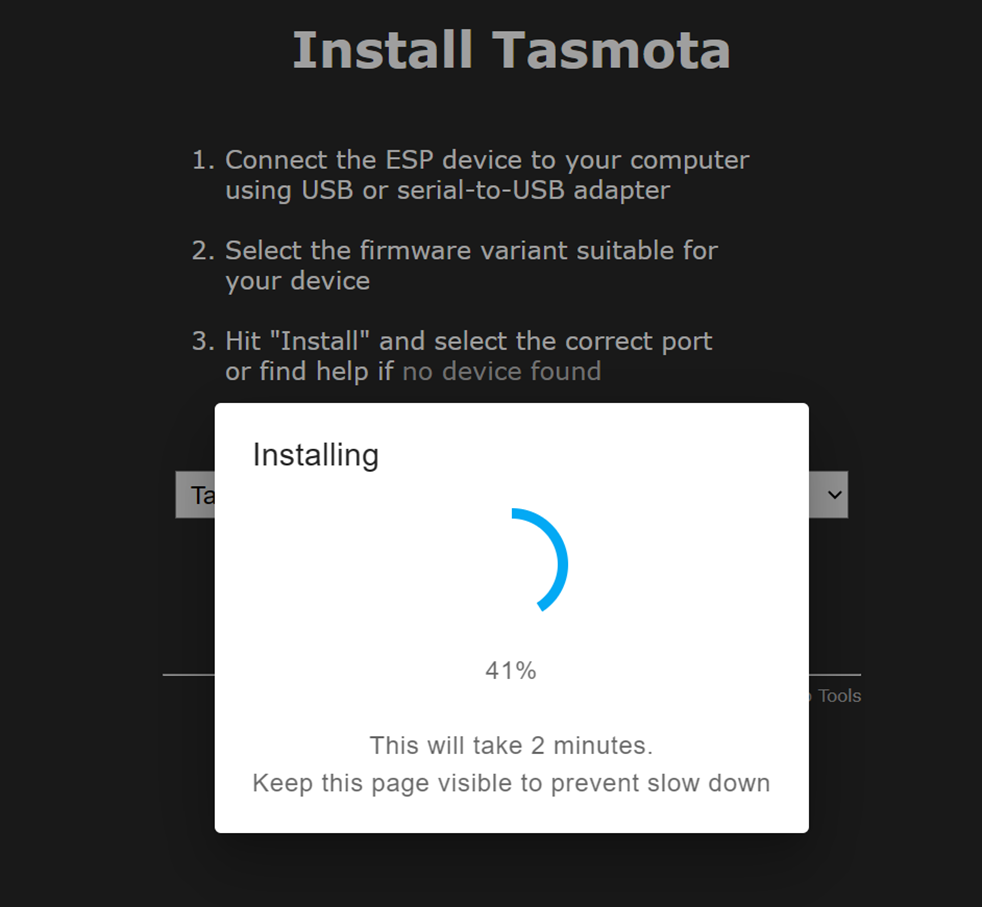
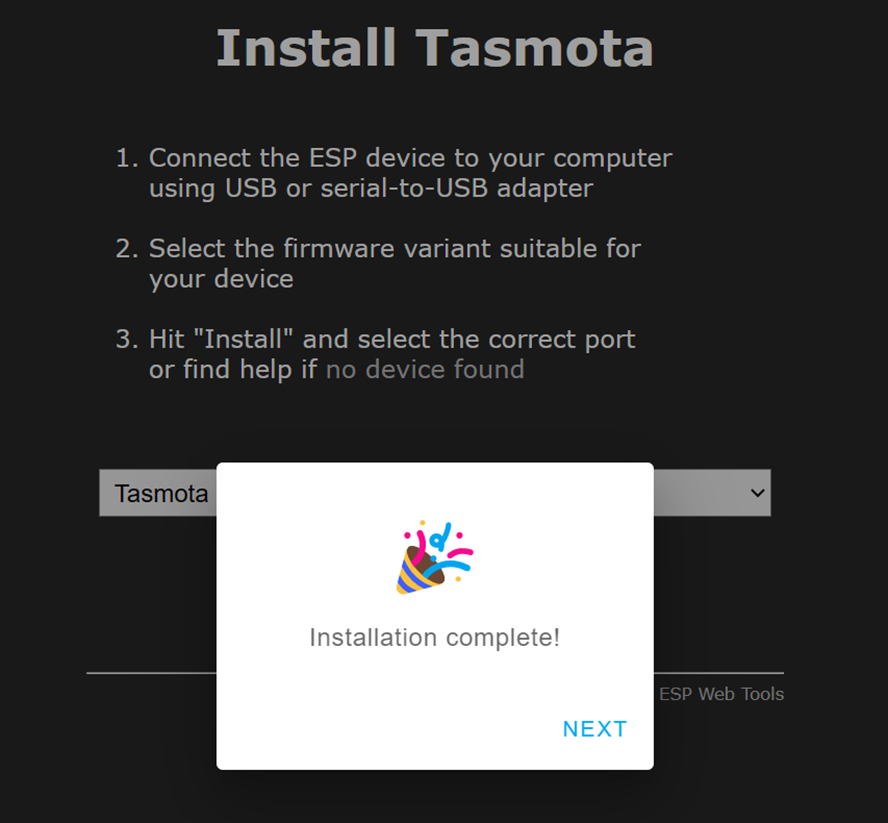
As the Sonoff Basic R4 is not based on an ESP8266, you can’t use Tasmotizer. It is based on the newer ESP32 an as such you need either ESP Flasher or the Tasmota Web Installer. I use the Tasmota Web Installer as it generally just works without issue. You can download a binary and then use ESP Flasher

The Tasmota Web Installer requires a Chromium web-browser (Chrome, Edge etc). Visit https://tasmota.github.io/install/ and have your USB TTL inserted to your USB port. You will need to grant access to the serial device on your system.
Ensure if you have multiple USB serial devices you pick the correct device other wise you could erase another devices firmware. I have actually done this on an ESP32 I have running on my desk.
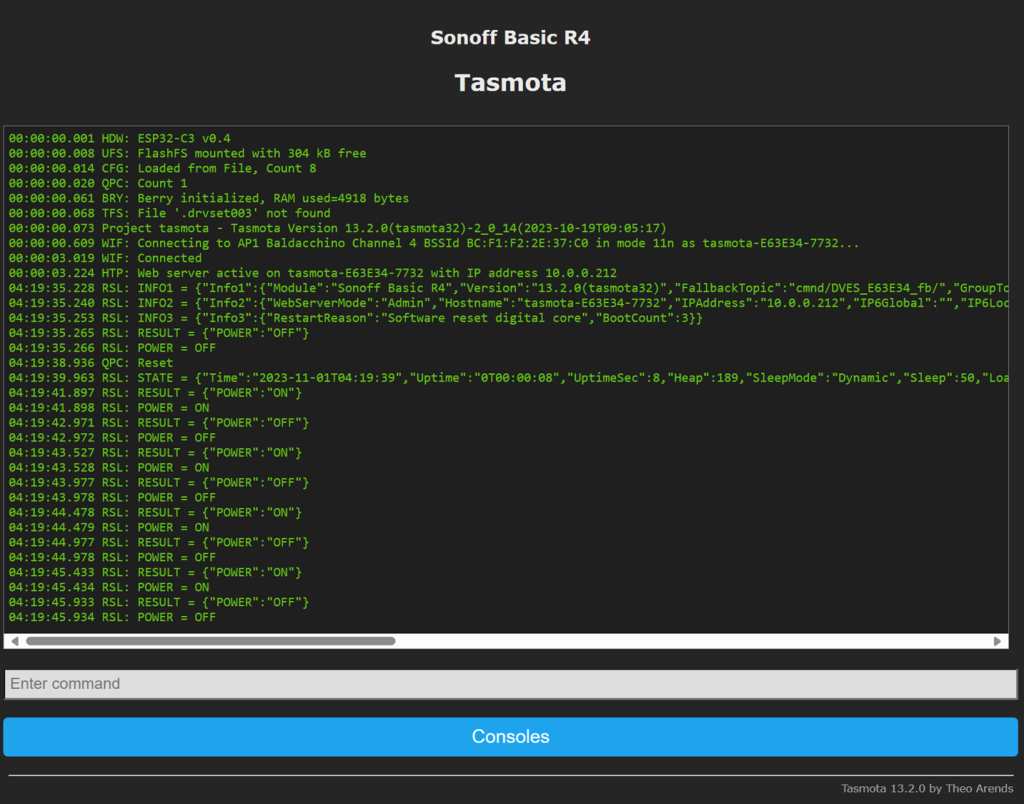
The Sonoff Basic R4 should now have a blue led, and it was powered on whilst having the push button depressed.
Follow the prompts to flash. This process will start with downloading of the most current firmware, erasing the device and an upload. This process end-2-end will take about 3 minutes.
Step 3 : Connecting To The Local Access Point
After the flashing is complete, reboot the device and use a device (even a phone) to connect to the Wifi Access Point running on the Sonoff Basic R4. Once connected visit http://192.168.4.1 and configure your WiFi details. Your local DHCP will assign an IP address to the device on your LAN. Connect to this IP address via HTTP.
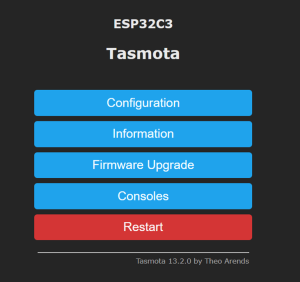
Step 4 : Configuring Tasmota
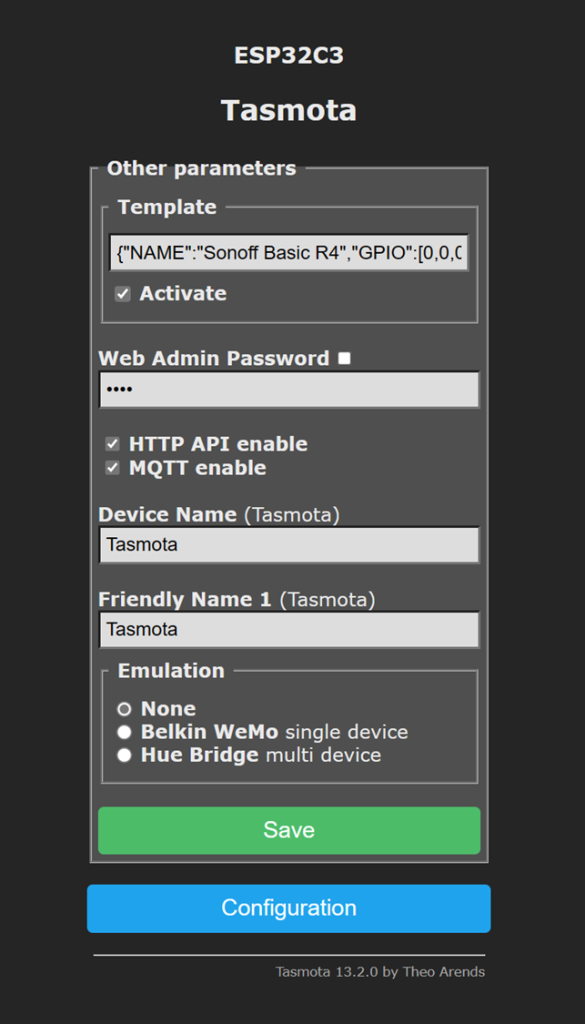
Tasmota at the time of this post (November 2023), version 13 of Tasmota does not know about the Sonoff Basic R4, and as such you will need to apply the following template to Tasmota.
On the main menu select ‘Configuration –> Configure Other’. Paste in the configuration below and be sure to ‘Activate’. The device will then reboot.
Once rebooted select ‘Configure MQTT’ and enter in your MQTT broker details (IP address or FQDN and topic information)
{"NAME":"Sonoff Basic R4","GPIO":[0,0,0,0,224,0,544,0,0,32,0,0,0,0,0,0,0,0,0,0,0,0],"FLAG":0,"BASE":1}
At this stage I would suggest wiring the device in to its final location as you now have IP connectivity to your Sonoff Basic R4. As this is AC power consult the rules and regulations in your jurisdiction, just remember AC voltage can be lethal.
Follow Sonoff’s wiring diagrams which will differ depending on your use case.
Step 5: Integration In To Home Assistant
For integration in to Home Assistant there are two methods to which you can use.
- Configuration.yaml – You can define your switches directly in to you Home Assistant configuration file and you state and command topics will be based on your device topic name. You can use a tool such as MQTT Explorer to provide a structured overview of the MQTT topic
switch:

  - platform: mqtt
    unique_id: your_unique_name
    name : "Your Friendly Name "
    state_topic: "stat/device_name/POWER"
    command_topic: "cmnd/device_name/POWER"
    value_template: "{{ value_json.STATE }}"
    payload_on: "ON"
    payload_off: "OFF"
    state_on: "ON"
    state_off: "OFF"
    qos: 2
- HomeAssistant Tasmota Integration – After your define your MQTT settings, your device will start publishing messages to ‘tasmota/discovery’ with the devices name and a payload of its attributes and it’s capabilities.
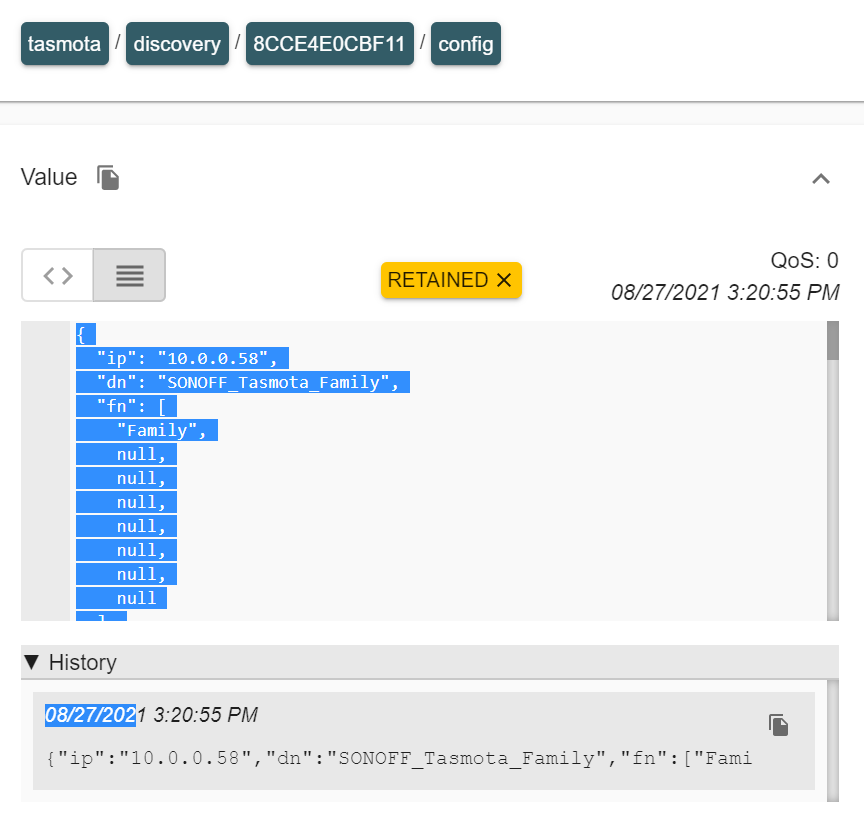
You can now leverage the Tasmota integration in Home Assistant which will detect your new device based on the auto discovery message published by the device on startup to ‘tasmota/discovery’
The device and its entities can now be added to LoveLace UI and added in to the relevant cards.
Summary
Whilst not providing information on a macro level, I hope this guide provides you some insight on how Tasmota can be flashed on a Sonoff Basic R4.
The Sonoff Basic R4 is an excellent value appliance module that is incredibly simple to modify with Tasmota. Tasmota will unleash an array of functionality and should be part of your home automation journey.
Thanks
Shane Baldacchino
Hi – I’ve bought a bunch of these – flashed the first successfully with Tasmota, however I see no AP to connect to. Any tips ?
Hey Pete,
If you flashed successfully, then an AP should appear.
Given I have flashed hundreds of Sonoff devices, I am going to have to say either you didnt flash successfully OR you may need AC voltage to bring up the AP. Disconnect from the your USB TTL, reassemble and apply power. If you need a hand, I will be monitoring this thread (I was away on holidays).
Hi Shane,
Do you have any that are flashed and ready to install? I am not too savy with the flashing and would like to know if you sell me one that is just ready to connect to my wifi and Google Home Network? If so please let me know so I can Zelle you the funds.
Hey Ramon,
I have plenty available that are flashed and ready to sell. Message me at shane @ baldacchino . net
One other question, in case that I have to attempt it myself, if I find the Original 1M CH340G CH340 USB to TTL Serial Download Cable Convert Wire Adapter Compatible Win 7/8/10 for Arduino Raspberry Pi, what colors go where? The one that I am looking at has 4 wires, Red, Green, Black & White.
Thanks and please excuse me for all the questions..
Regards.
Hey Ramon,
The colours are irrelevant. GND to GND, RX to TX, TX to RX and VCC to 3.3V
Hope that helps.
Shane
Hi, is please Magic mode working with this?
Unsure what you mean by magic mode, can you elaborate?
Yes in recent versions of Tasmota, but see the comments on the PR which indicate it’s not very reliable on some switches (it relies on timing of the power interruption).
Could you please explain a little bit more how you put the R4 version into flashing mode? I have this same boards as you judging by the photos and I never succeeded flashing them 🙁 Keeping button pressed while powering on make led solid light and flashing fails. I have seen some advice about connecting GND to GPIO0 but I am really struggling to understand that part.
Hey Jakub,
How you described is pretty much what I do. the GPIO button needs to be depressed when powering on. The other thing you may try is whilst keeping the button depressed either add the GND connection last or disconnect it and reconnect it again.
It really should be a simple issue.
What is the error message you are getting?
Thanks
Shane