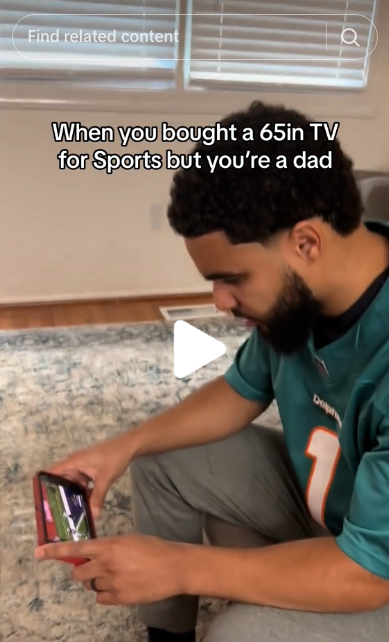
How many TV’s do you have in your house? I only have one that is connected to a DVB-T (Digital Video Broadcasting) network, and whilst I stream the majority of content, there are times where I wish to watch free to air television. The problem with that is our primary TV is consumed by others in my house. You have seen the memes, replace football with motorsport and that’s me.


Streaming in many ways does not replace DVB-T, streaming can be slower, streaming can be gated, streaming can require a login account, and more may not have the content you are wanting to watch.
The effort in running an antenna or cost of buying another TV may not be palatable for the few times you may need a TV. What if I said you could add another TV (DBV-T) to your environment for $40 AUD that you could access over your phone and other IP based devices? I would say, sign me up.
So in this post post I am going to show you how you can use a Raspberry Pi and a DBV-T Tuner HAT to add that extra TV to your environment in a cost effective way.
Parts & Software Required
- Raspberry Pi (2 to 5)
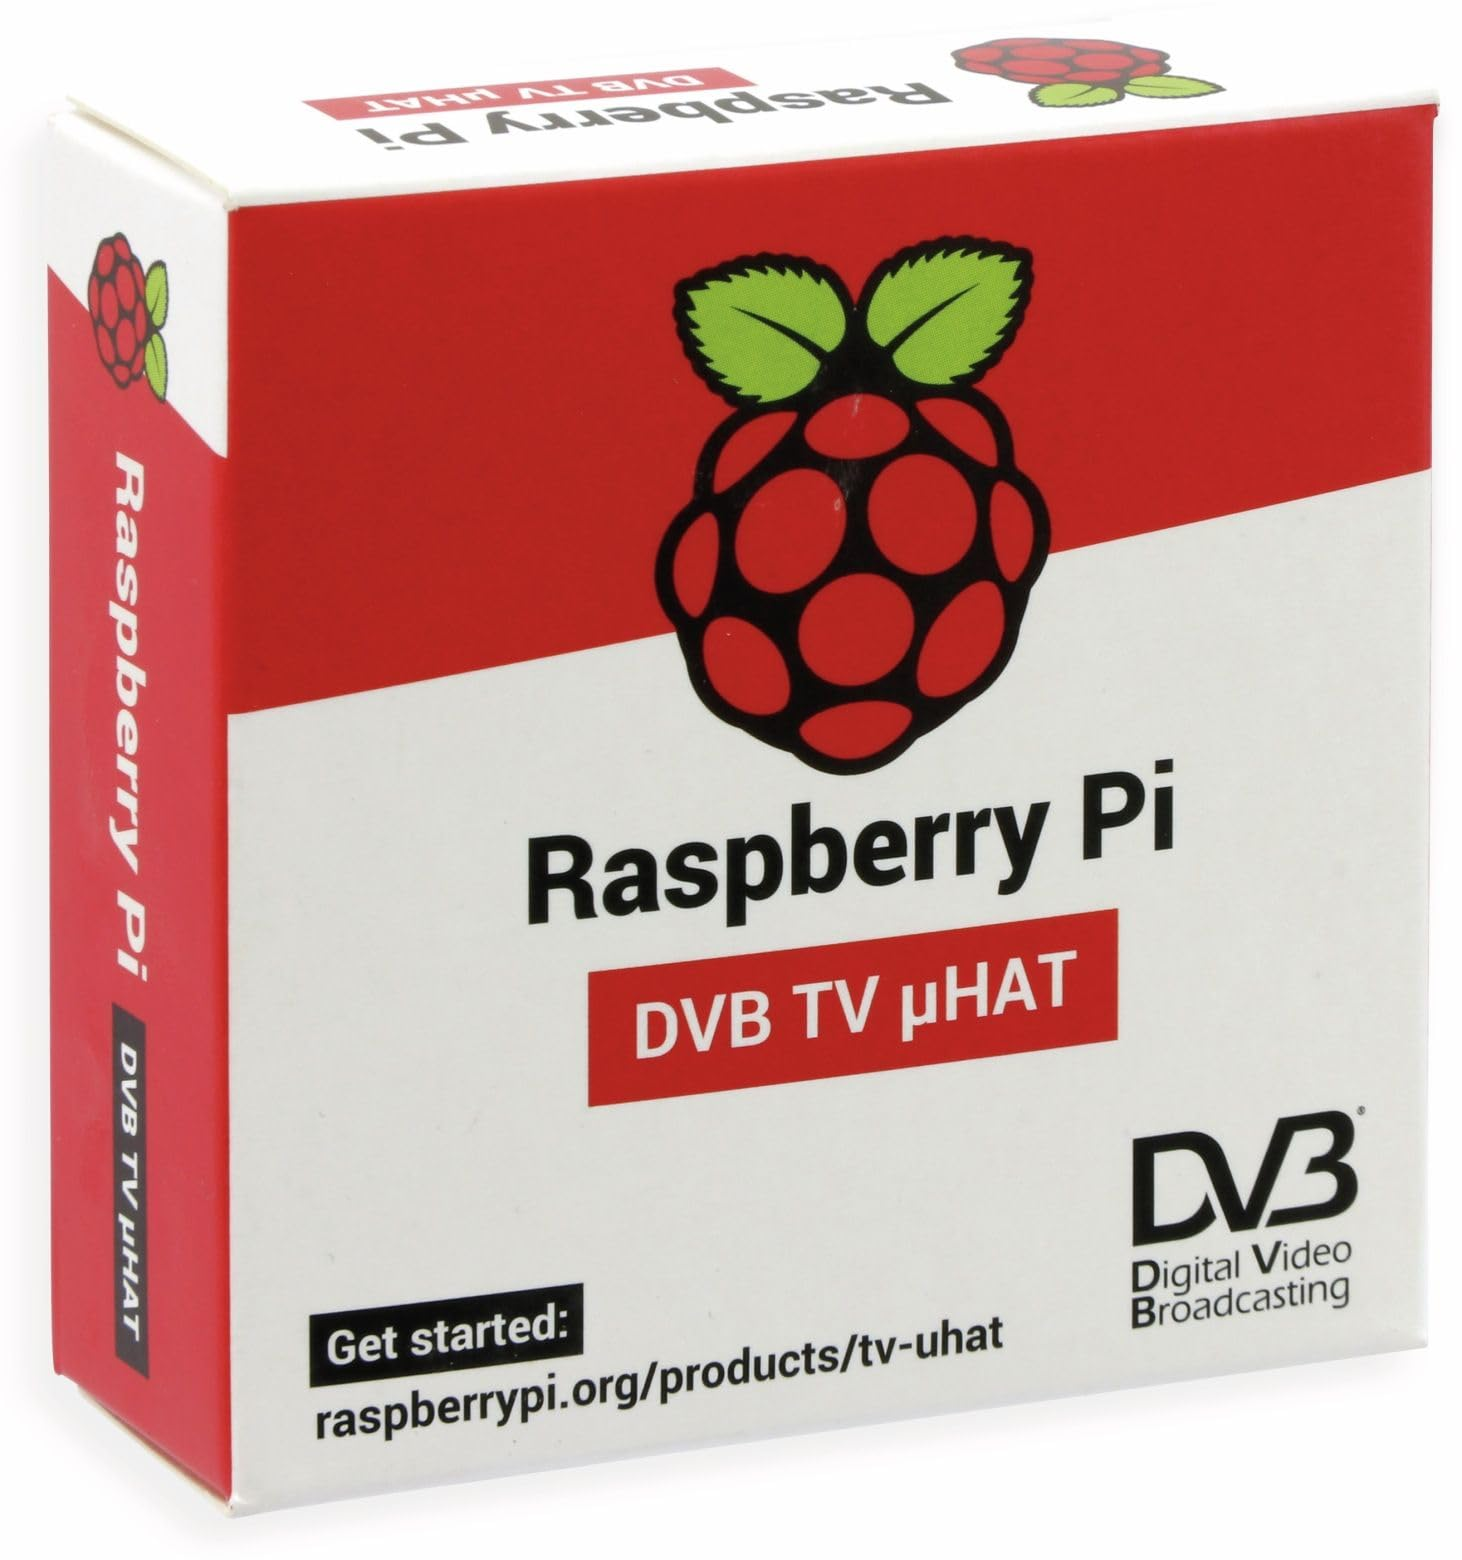
- Raspberry PI TV Tuner HAT (or alternative Tuner supported by TV Headend)
- Ubuntu 24.04 (Or Debian based OS)
- TvHeadEnd
- Coaxial Connection to Raspberry PI TV Tuner HAT
- Internet Connection with Router that can perform NAT/PAT
Build Summary
In this post I a going to walk you through setting up TvHeadEnd on a Raspberry Pi 5 and as a bonus we will use NAT (Network Address Translation) / PAT (Port Address Translation) to expose this publicly with access control, allowing you to access your TV on the go.
The high level tasks we need to perform is
- Install Raspberry Pi TV Tuner HAT
- Install TvHeadEnd
- Configure TVHeadEnd (Tune / Access Control)
- [Optional] – Network & Port Address Translation
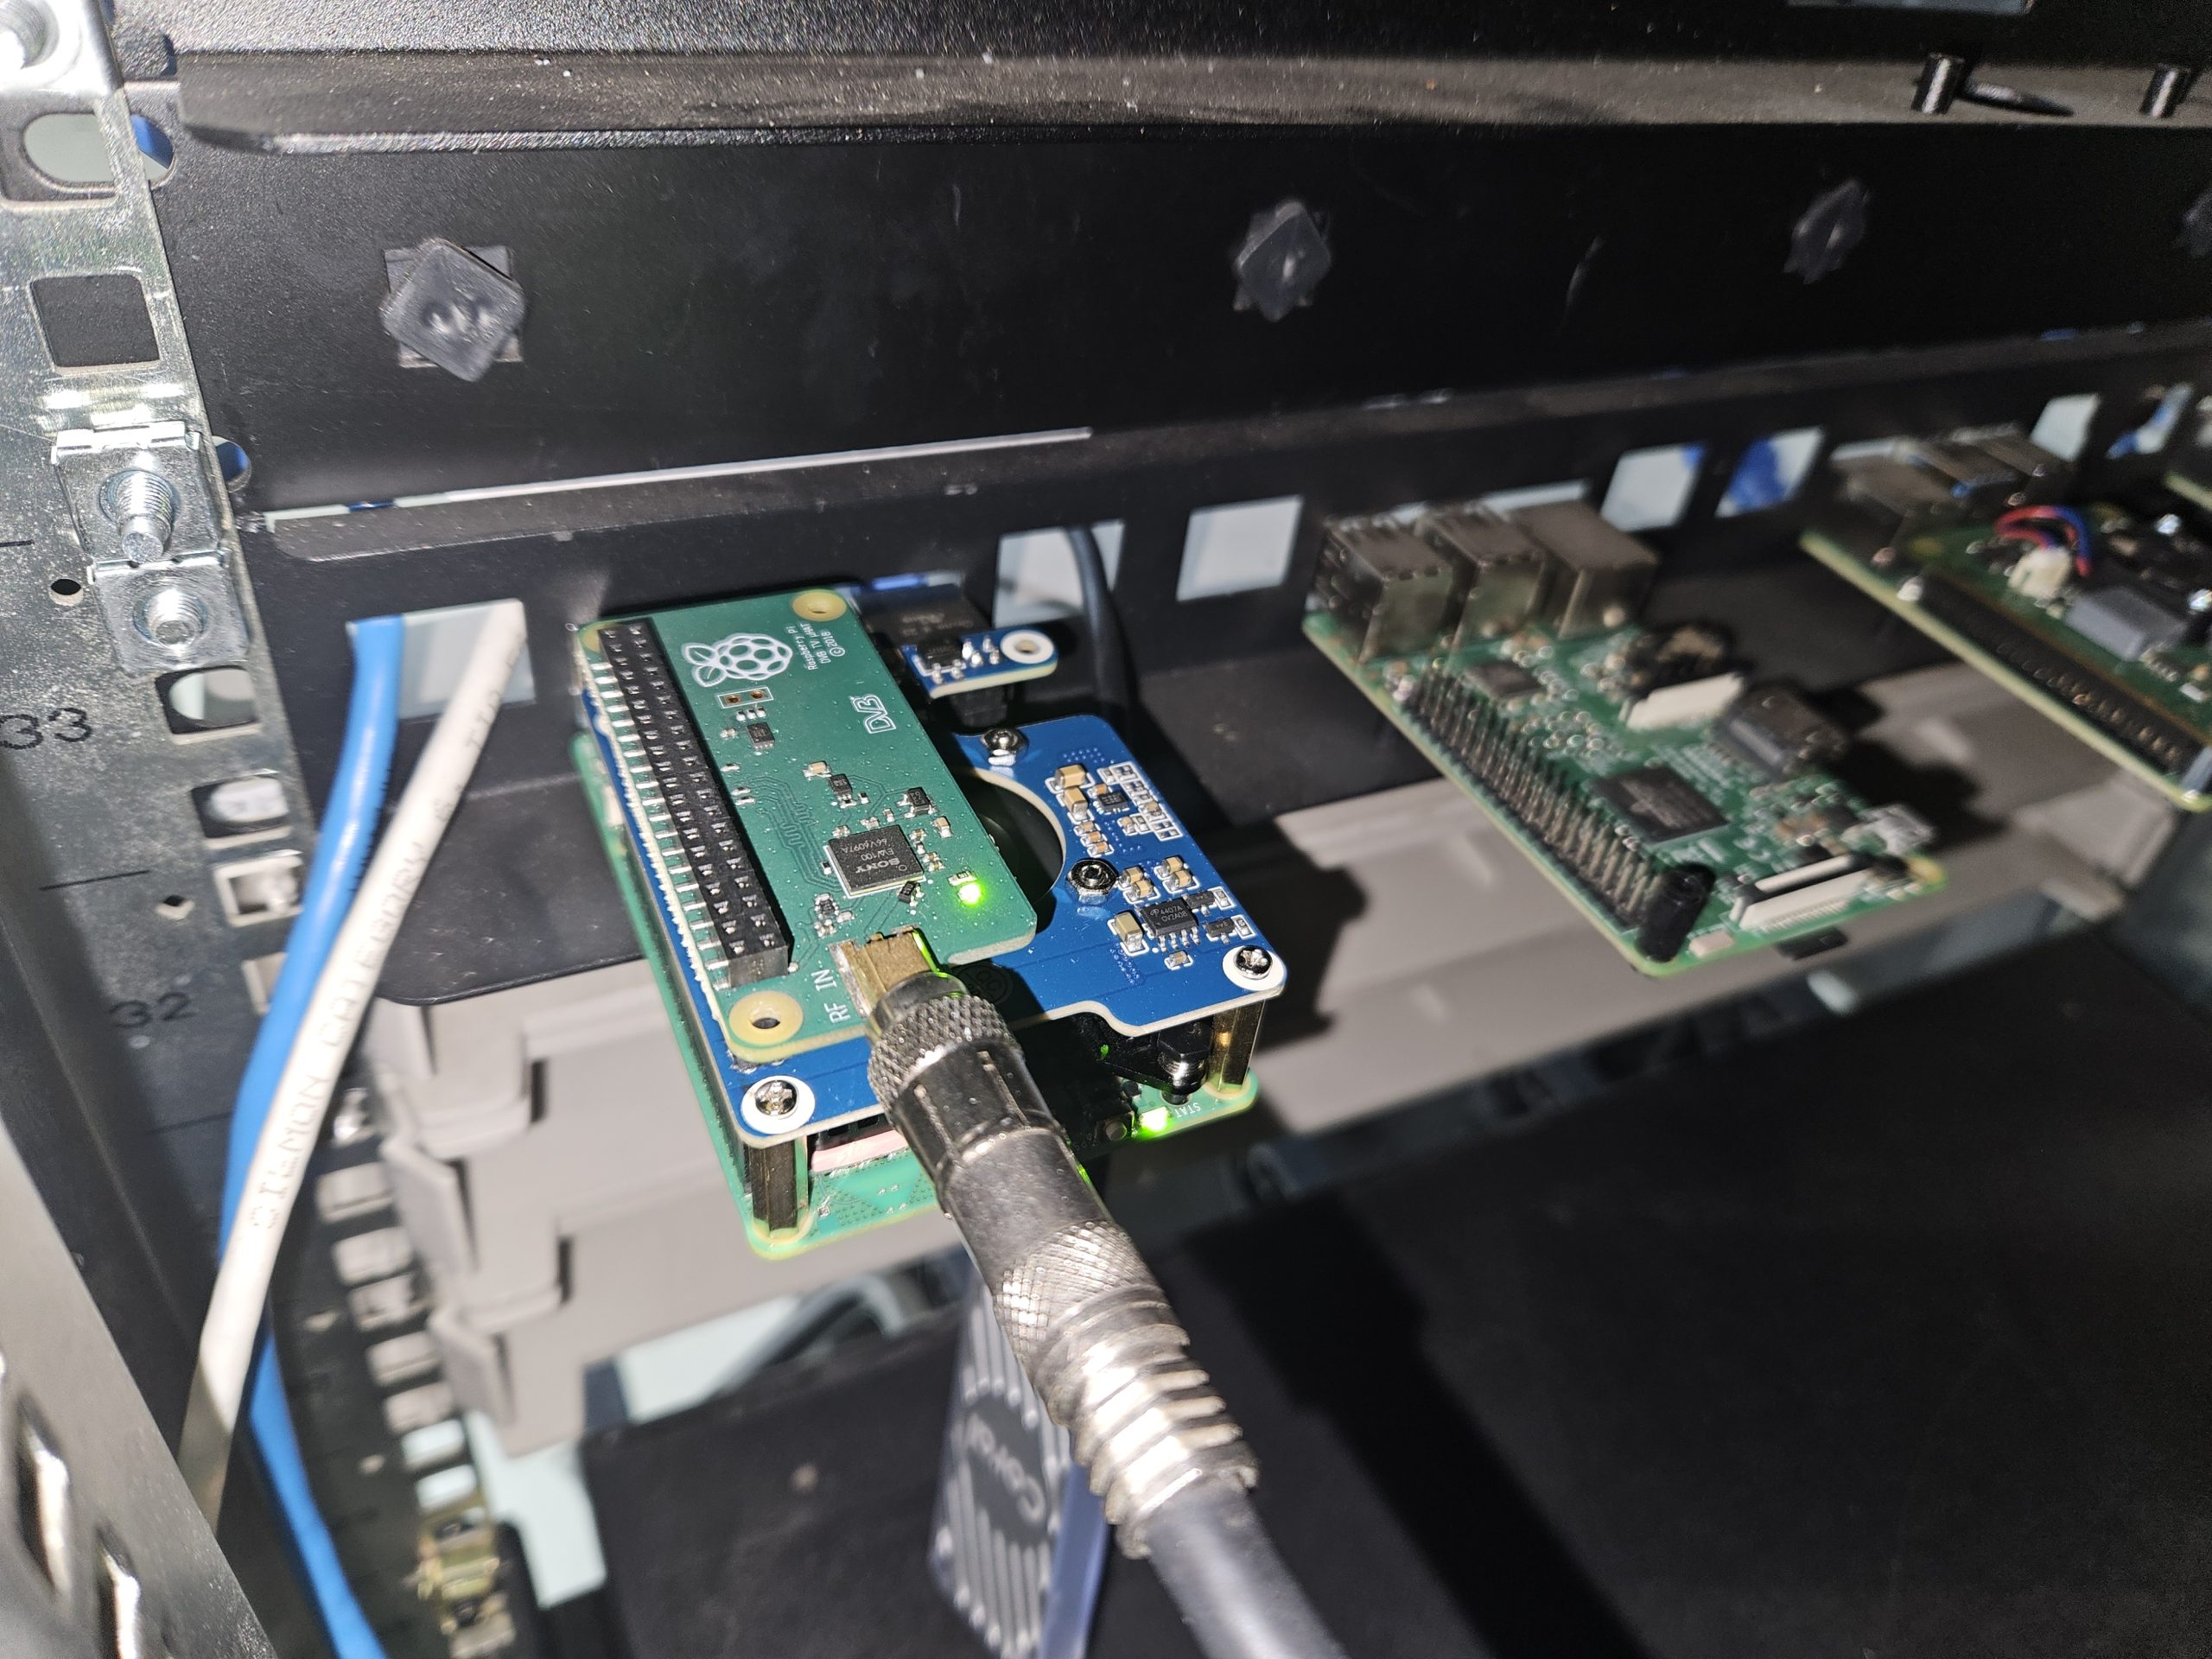
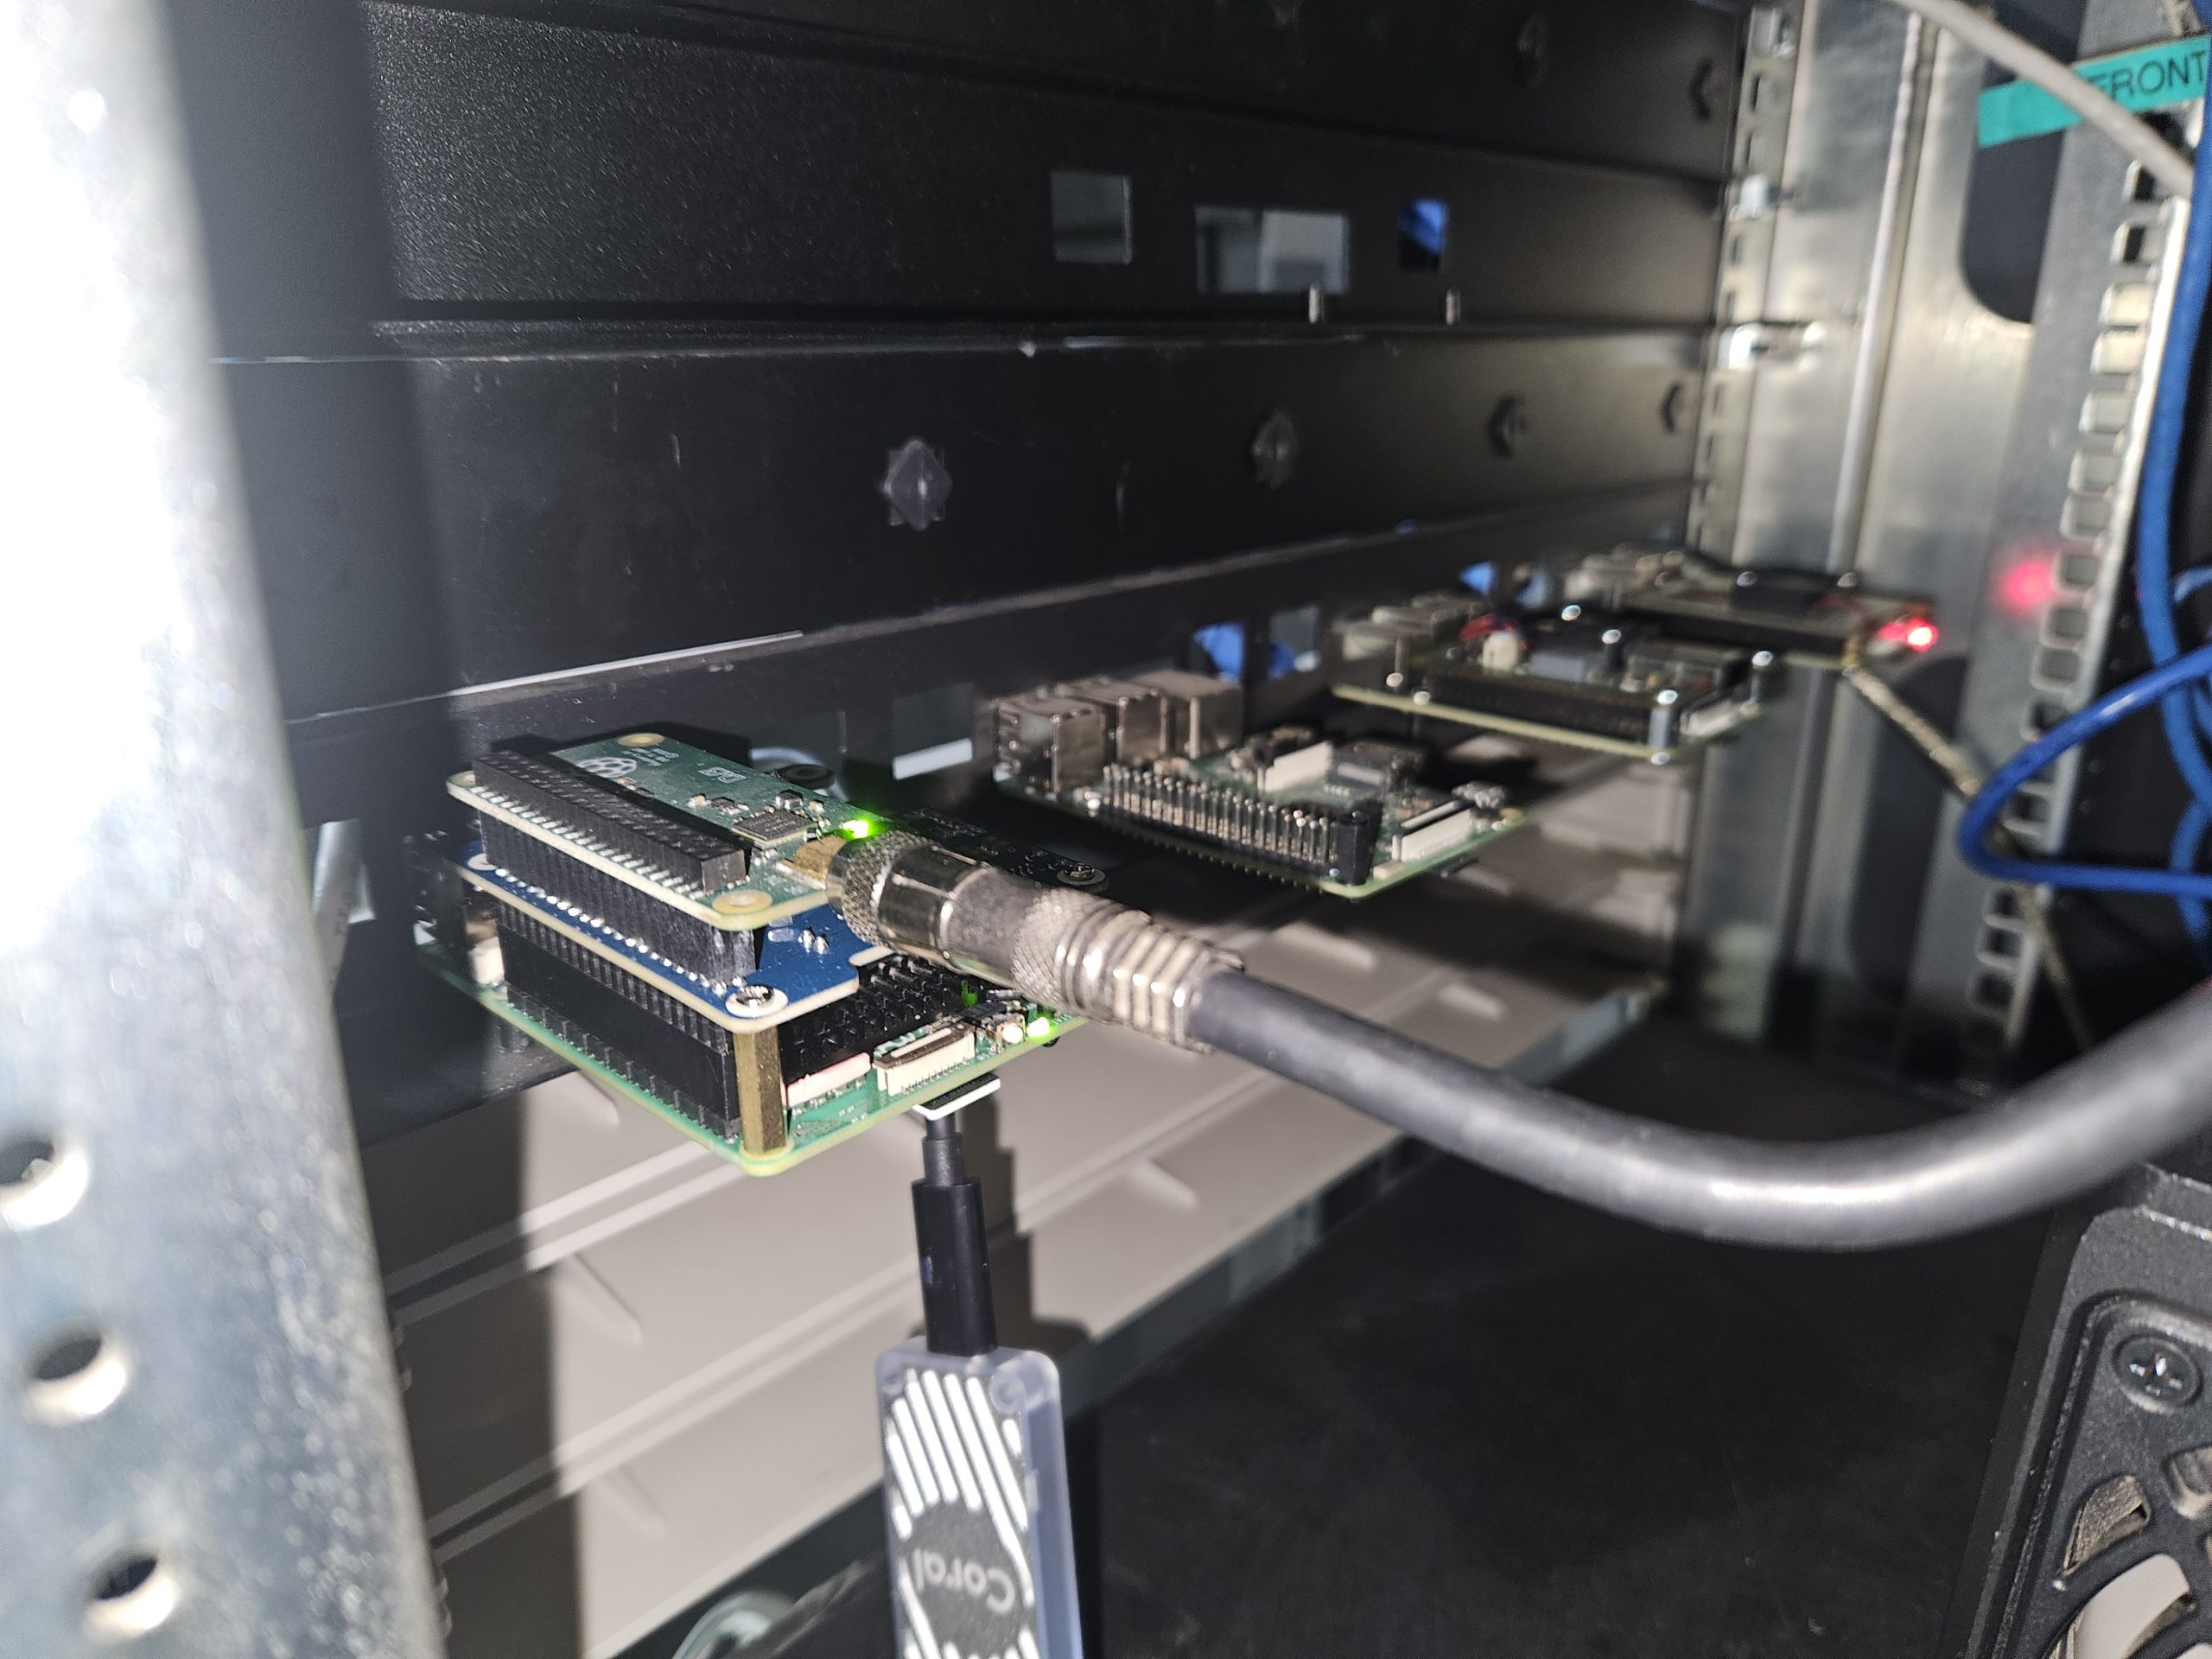
Install Raspberry Pi TV Tuner Hat
This is a very simple process, the Raspberry Pi TV HAT will mount on to any Raspberry Pi with 40-Pin GPIO models. Whilst this would work with earlier models, I would recommend a Raspberry Pi 3 and above due to the network bandwidth required to stream TVHeadend’s output. I have tested this on a Raspberry Pi 3B and a Raspberry Pi 5 both over WiFi and Ethernet, you will need approx. 10-12 megabits for HD TV channels (1080i h264)
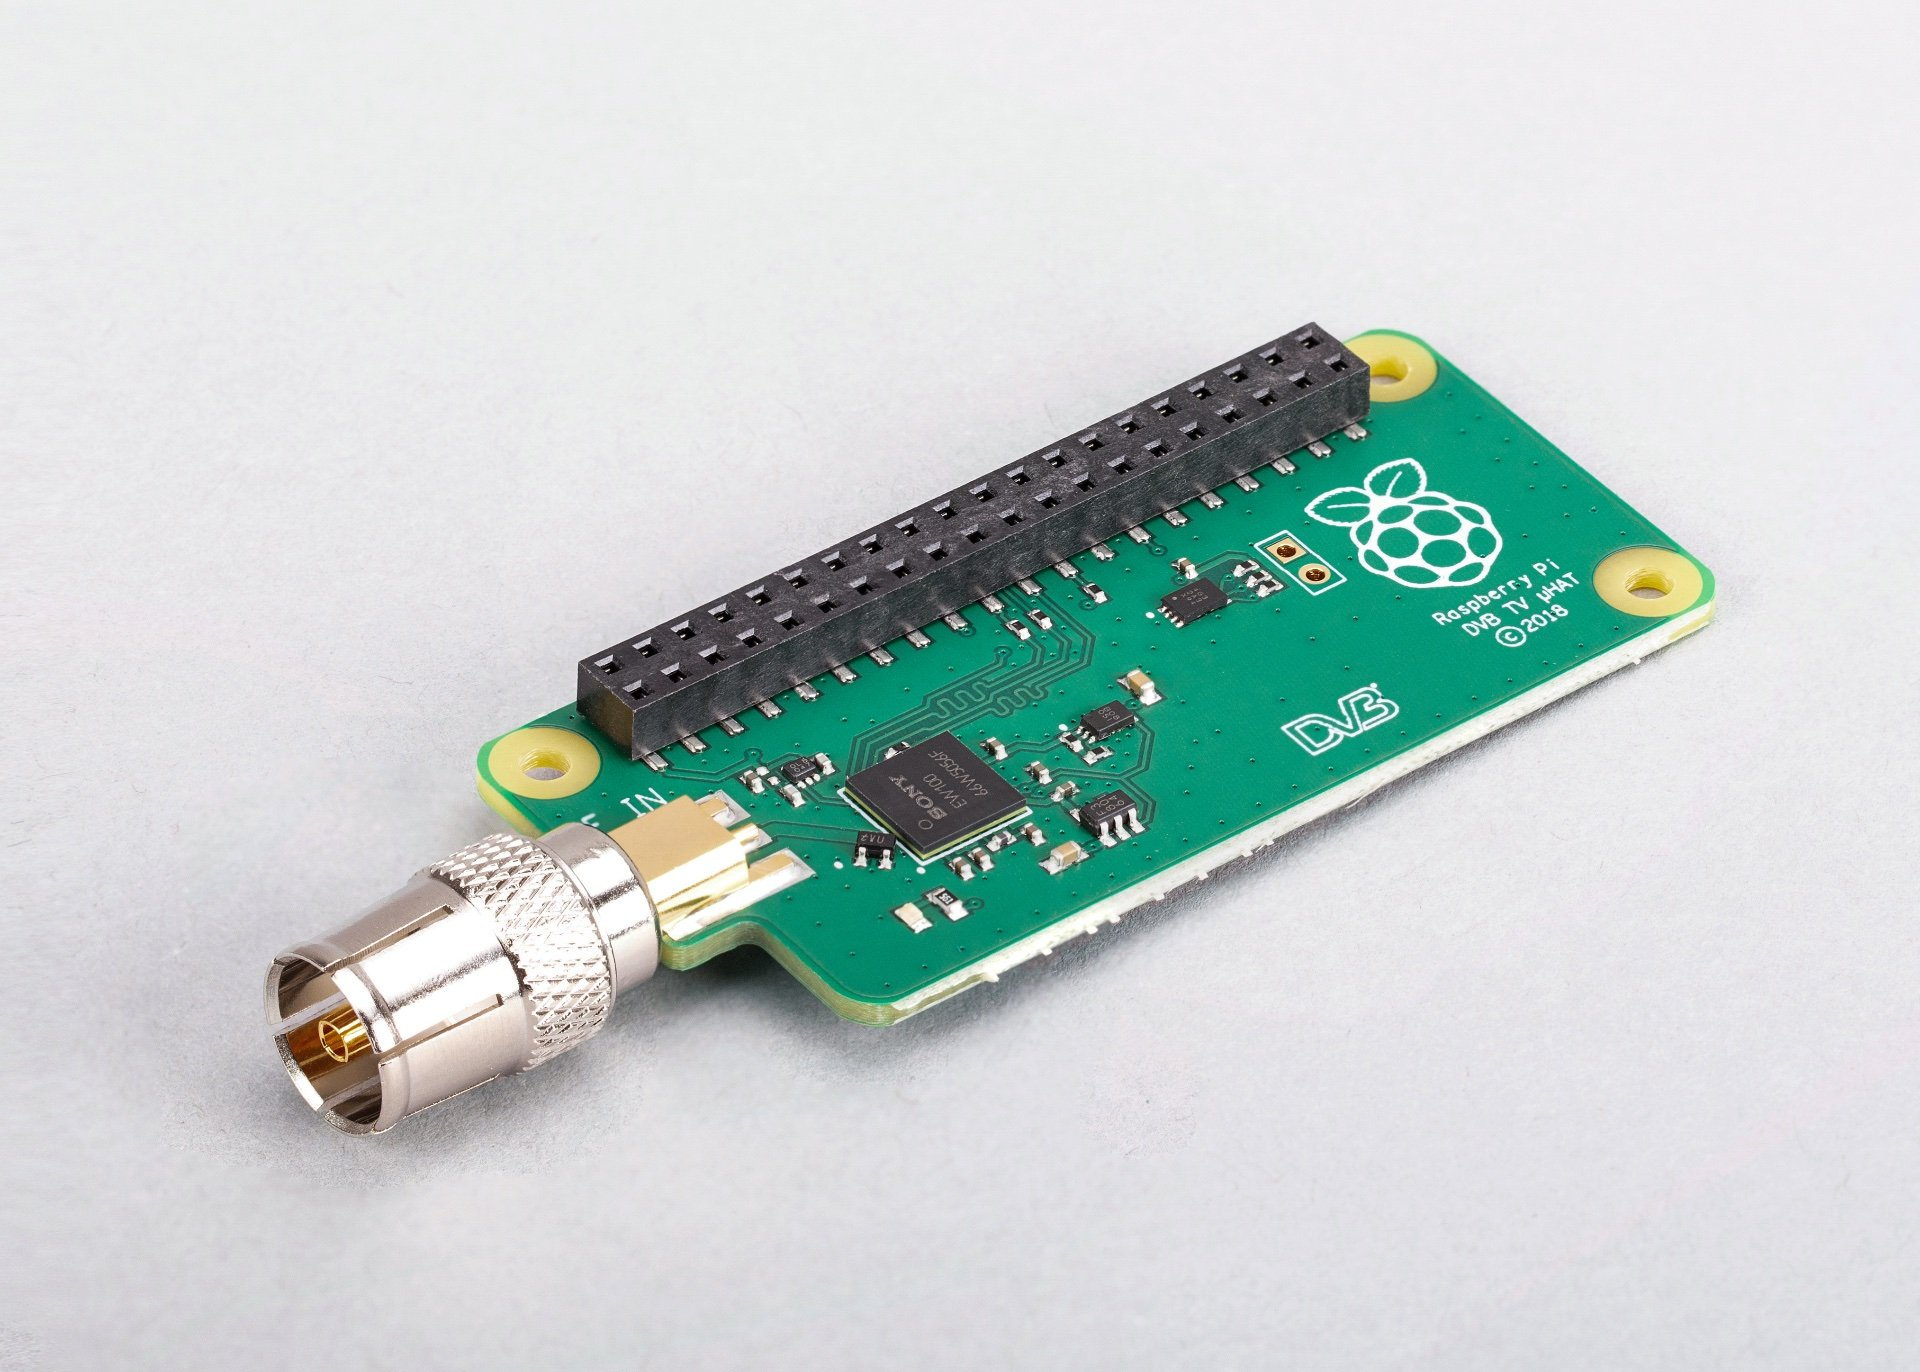
Power off the unit, follow the instructions and mount. A green LED on the HAT will indicate power to the unit. The Raspberry PI TV Hat’s TV tuner is based on the Sony CXD2880 TV tuner connected via i2C, which is important as below I have a link on supported TV tuner devices. This tuner chipset is as common as it gets.
Install TVHeadEnd
Lets firstly talk about, what TvHeadEnd is?
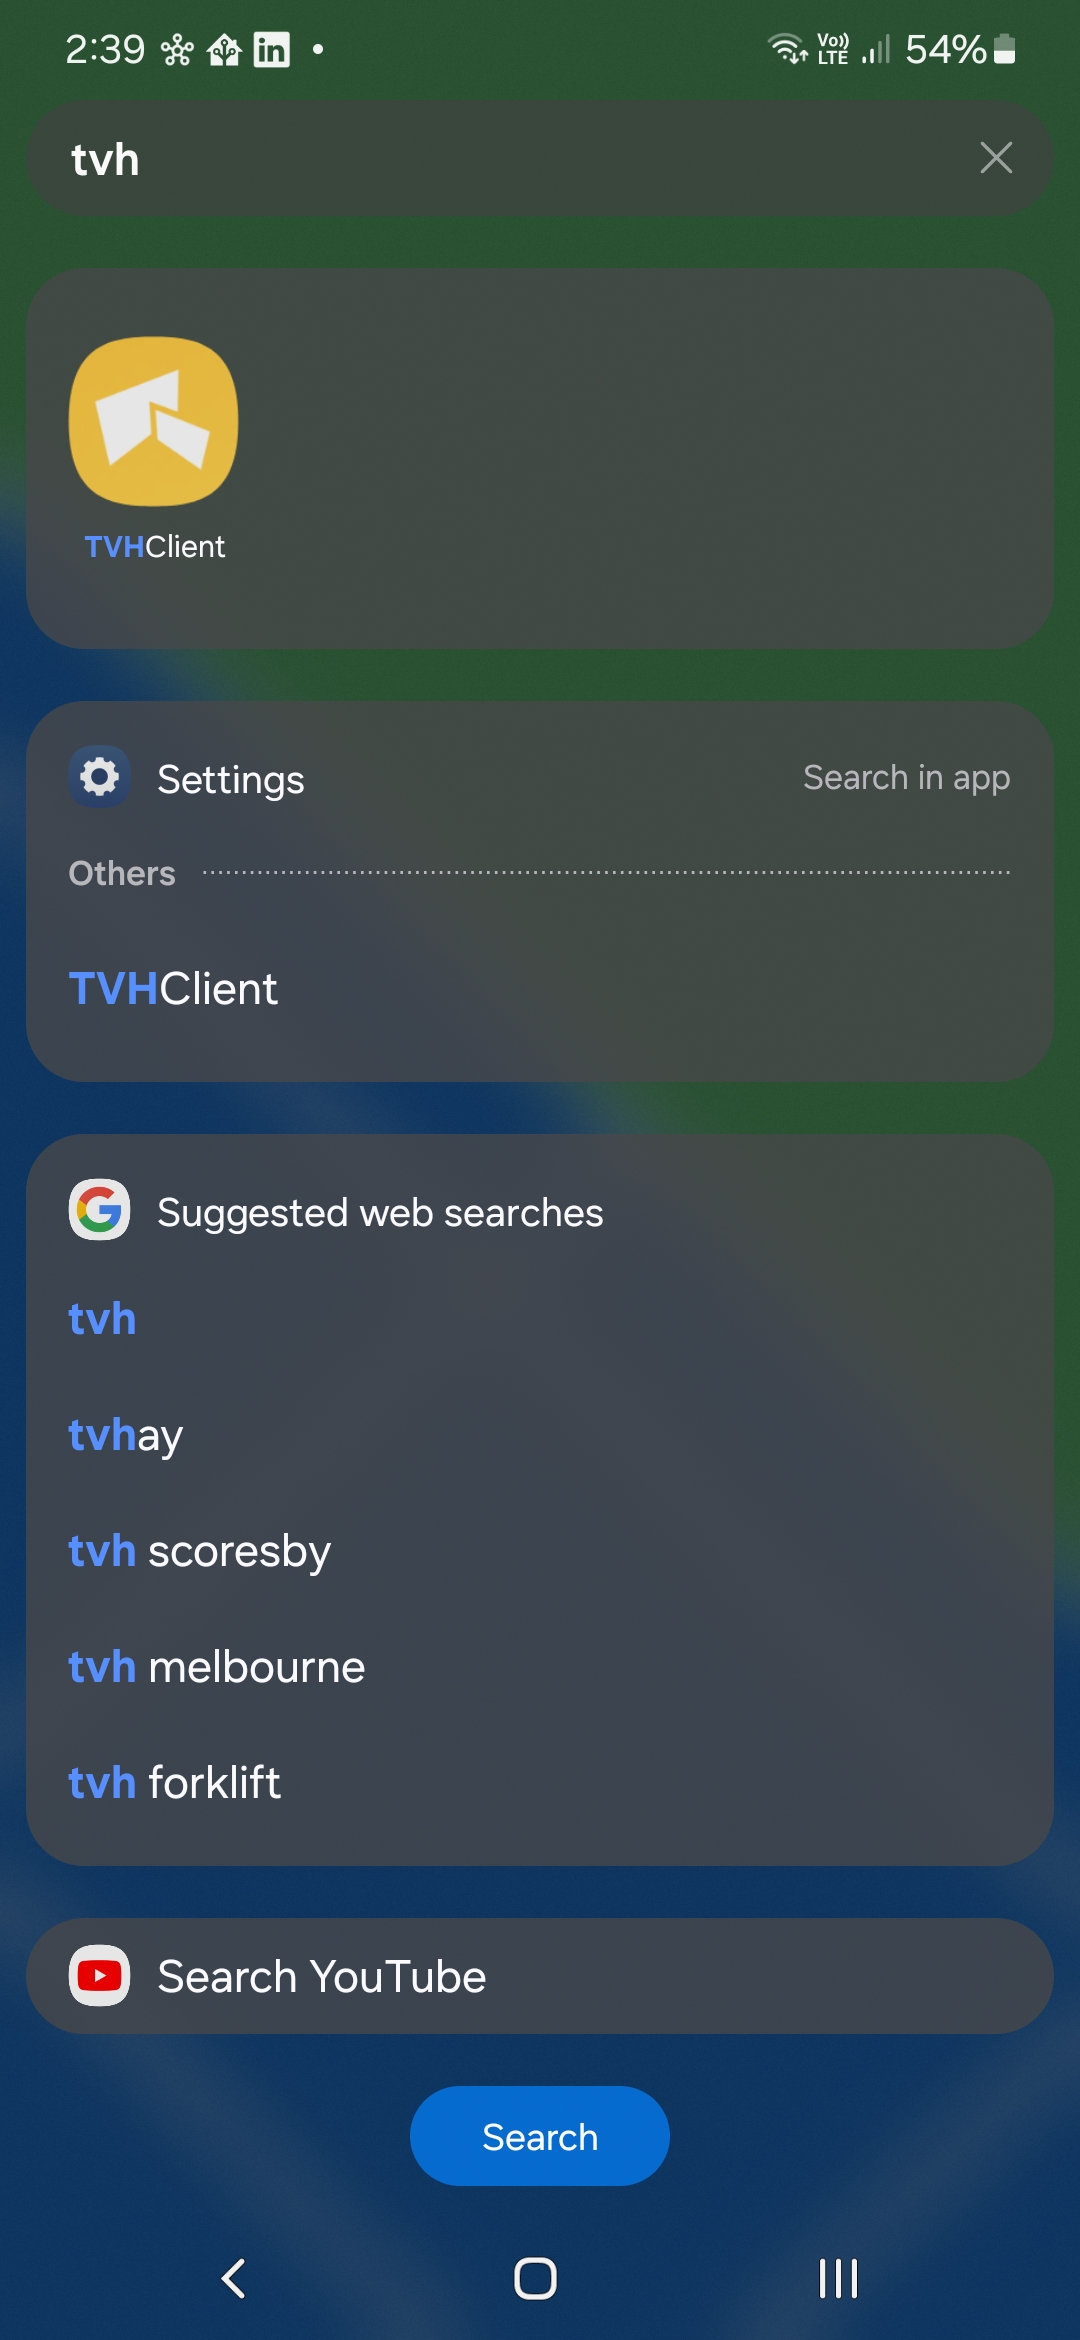
TVHeadend, sometimes TVH for short (the Android and Apple apps are called TVHClient), is a server application that reads video streams from LinuxTV sources and publishes them as internet streams. It supports multiple inputs, a DVB-T USB tuner sticks, combining them together into a single channel listing. TvHeadend servers are themselves IP signal providers, allowing networks of TvHeadend servers to be combined.
TvHeadend is typically used to send video to receiver devices like smart televisions and set top boxes throughout a household network, but is also used to forward signals over long distance links, even between countries. It also includes electronic program guide information (if available) and the ability to record programs like a DVR, including the ability to transcode from MPEG2 to h264 and h265.
TvHeadEnd is the core of this post and whilst I am using a Raspberry PI TV Tuner hat you can use a USB dongle of other supported DVB-T devices. See https://docs.tvheadend.org/documentation/installation/tuners for a list of supported TV tuners. The PI TV Hat is supported and is a low friction way to add a TV tuner to your Raspberry Pi,
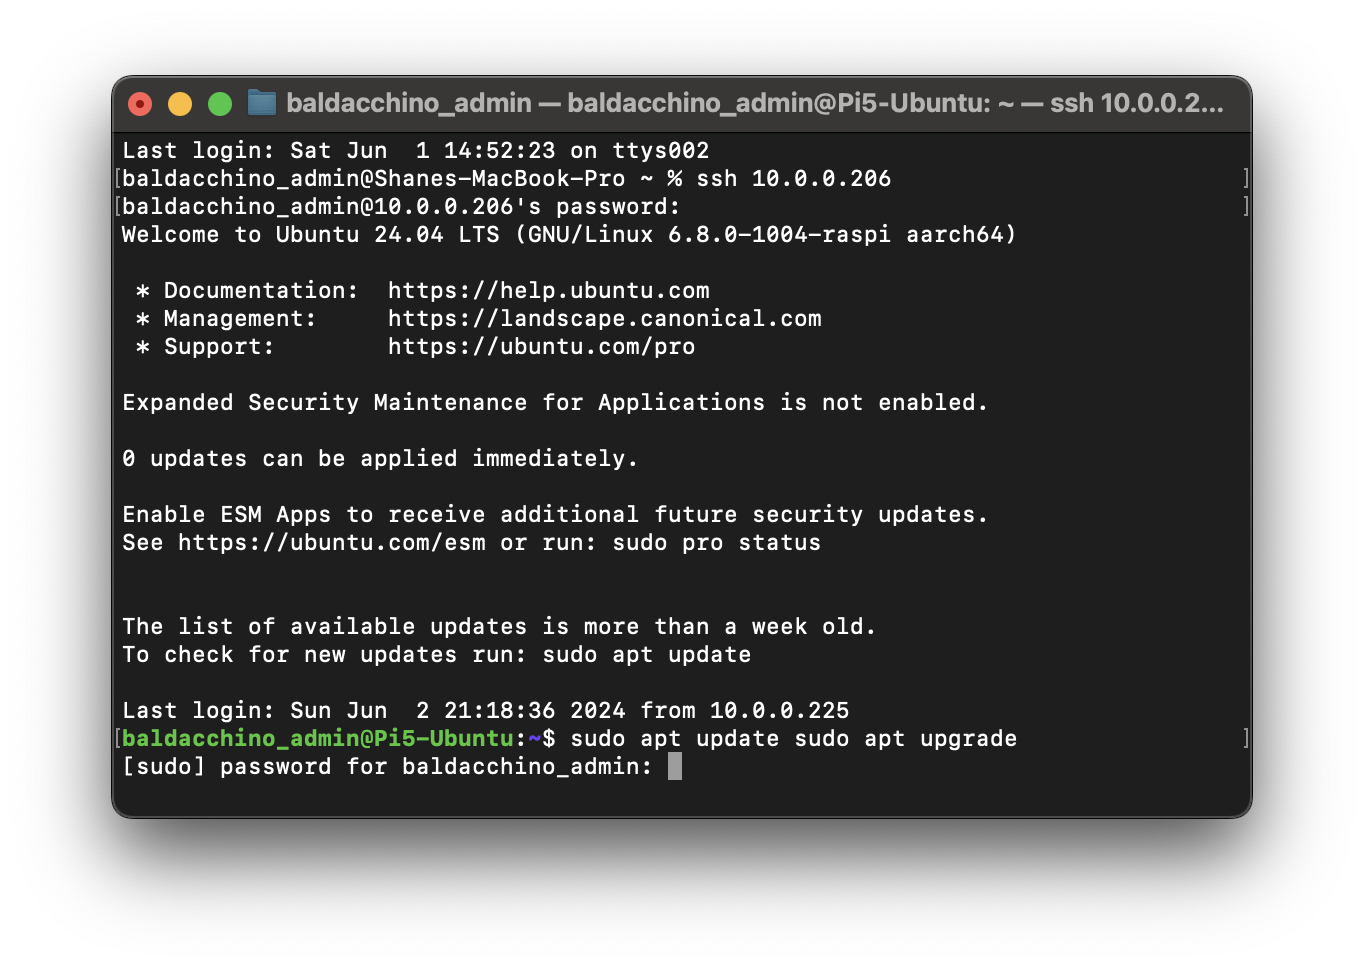
Installation is pretty easy under Ubuntu 24.04 LTS. After a few false starts the easiest way to install is to use ‘snap’. I would recommend an update prior of all packages
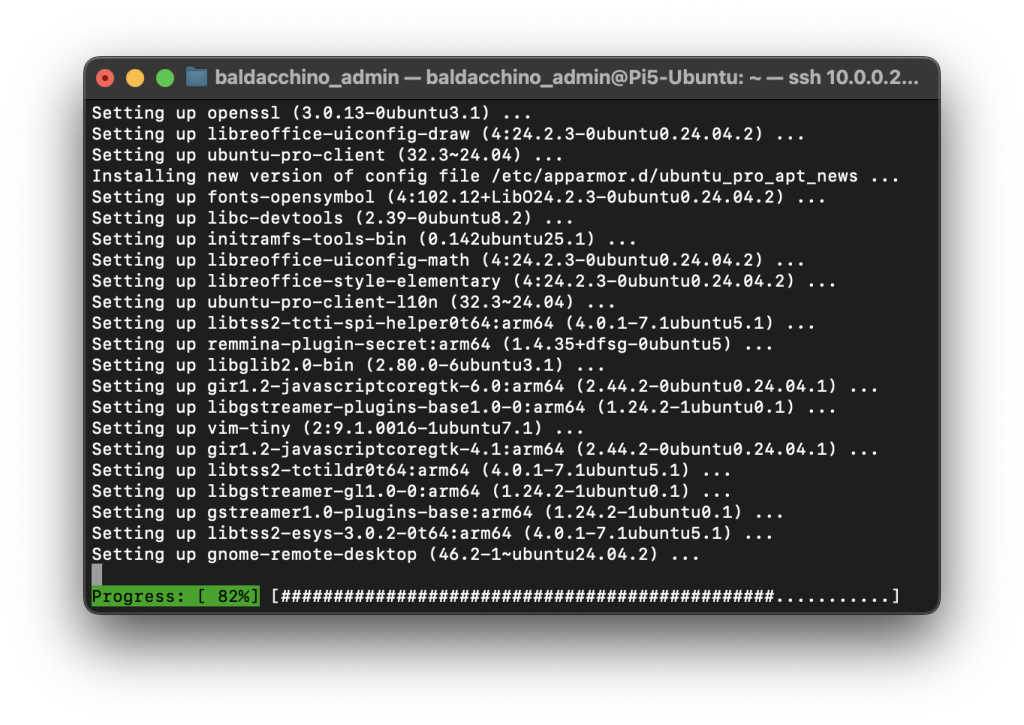
sudo apt update
sudo apt upgrade
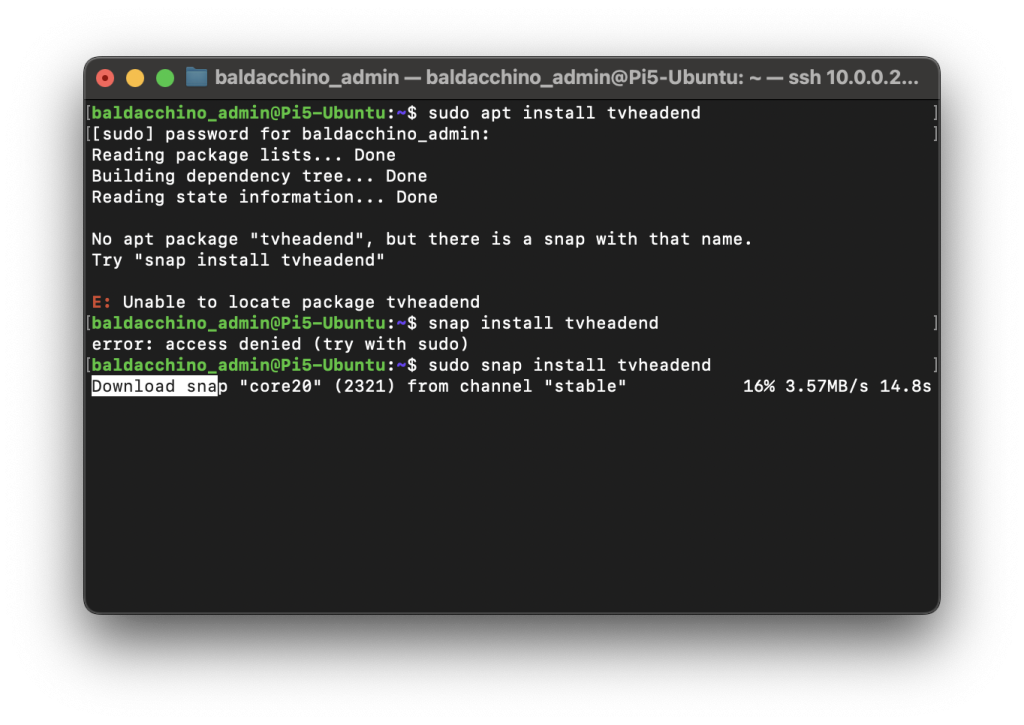
Then install TVHeadend
baldacchino_admin@Pi5-Ubuntu:~$ sudo snap install tvheadend
tvheadend 4.2.8 from Lucy Llewellyn (lucyllewy✪) installed
baldacchino_admin@Pi5-Ubuntu:~$
Configure TVHeadEnd (Tune / Access Control)
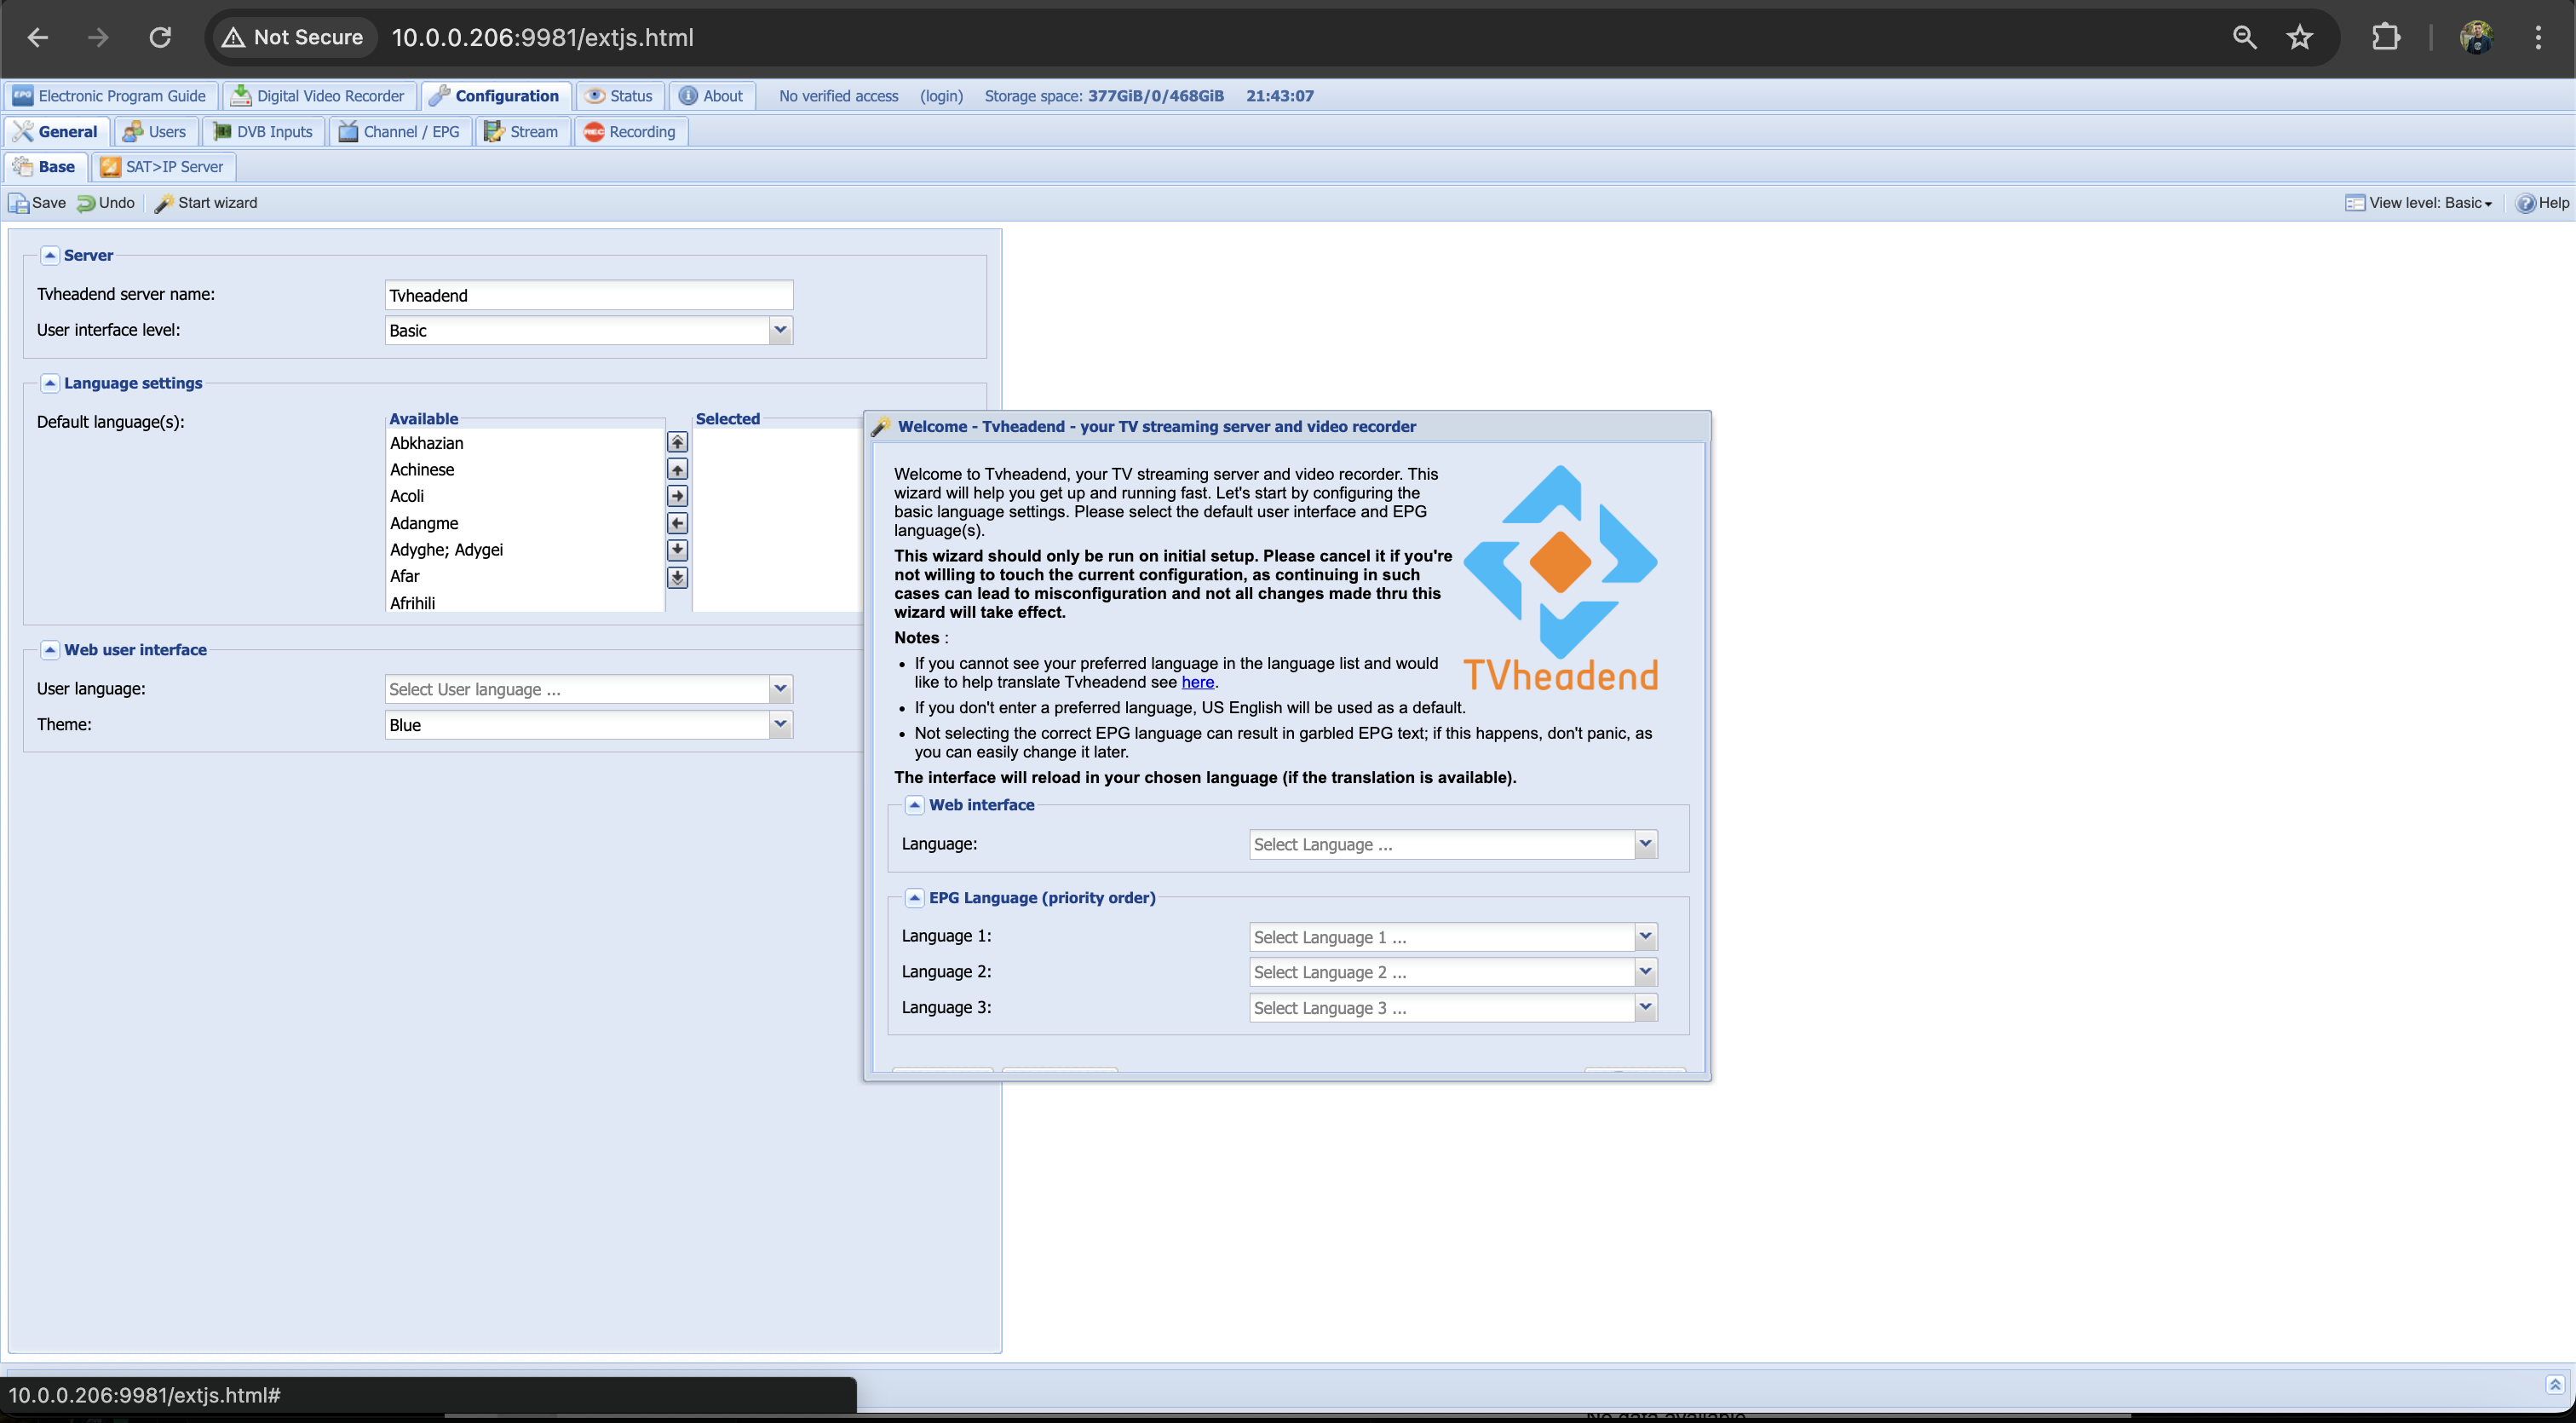
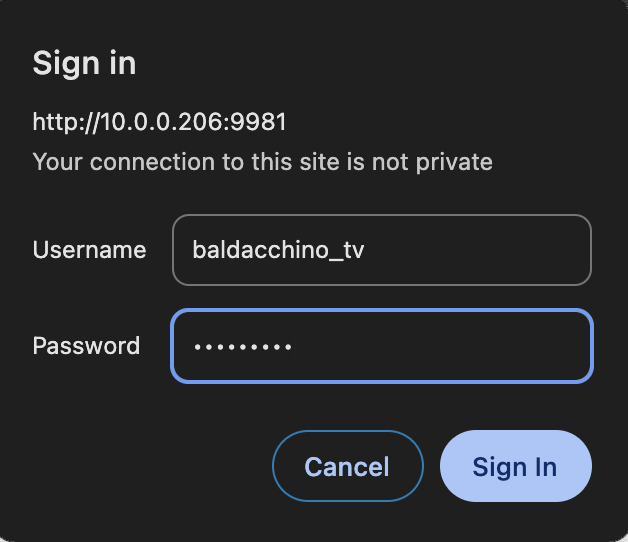
After ‘snap’ installation TVHeadend will be listening on TCP 9981 on the device IP address. I suggest if you are not using a static IPv4 address you, pause now and either shift of DHCP, use a DHCP allocation or access your installation via DNS and a FQDN (Fully Qualified Domain Name).
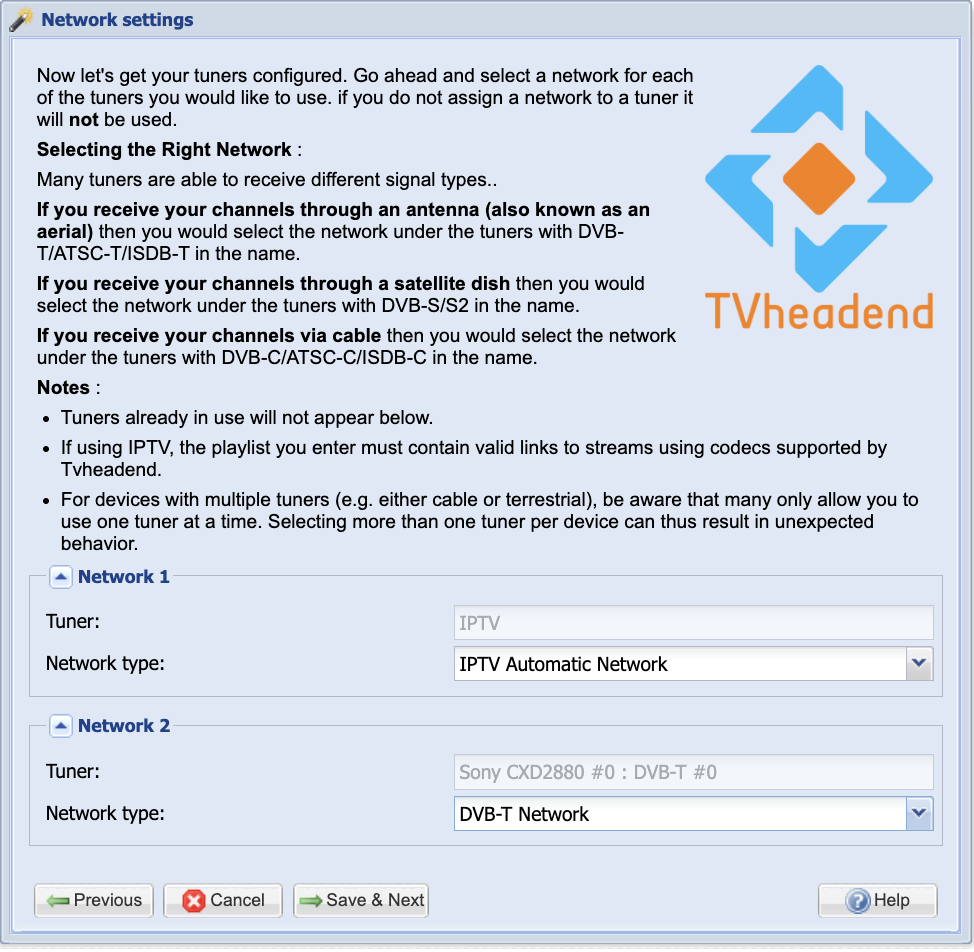
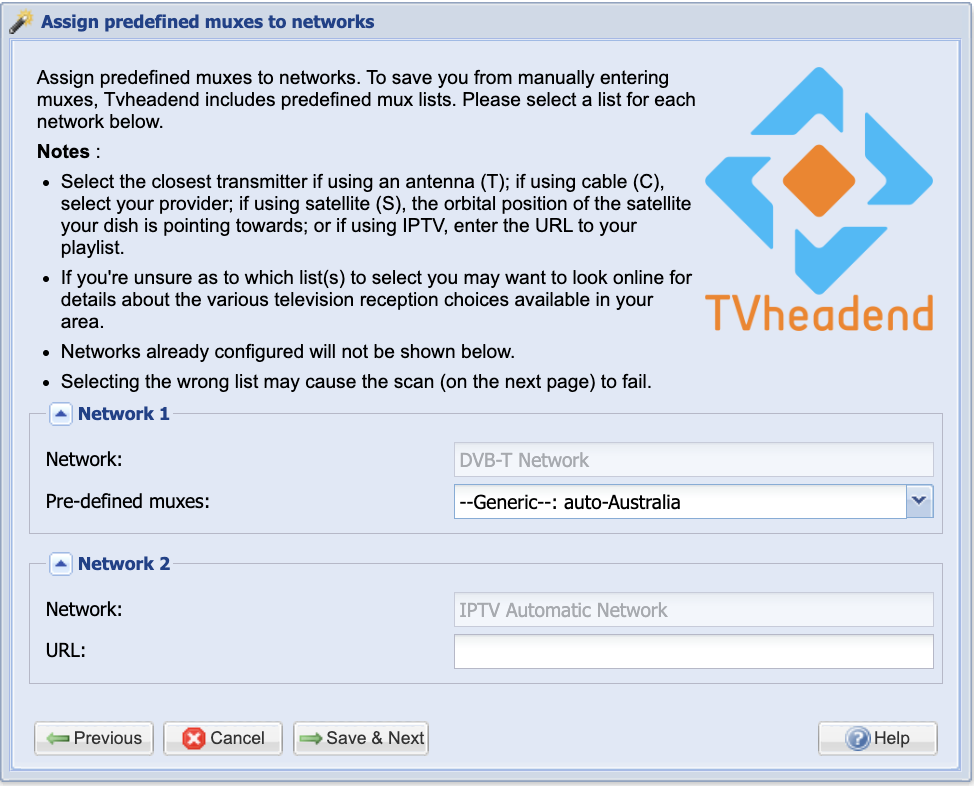
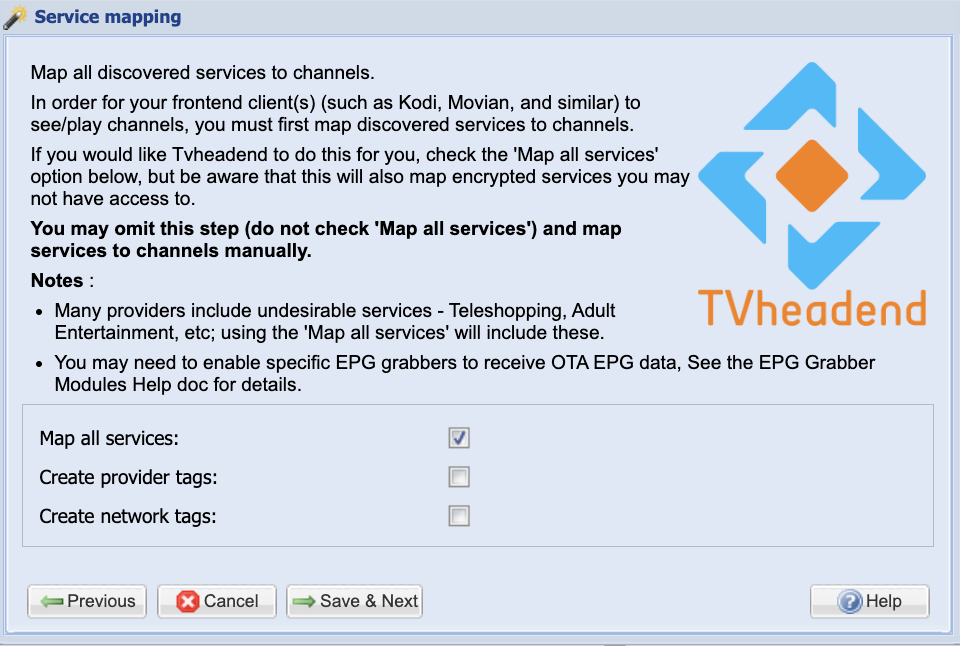
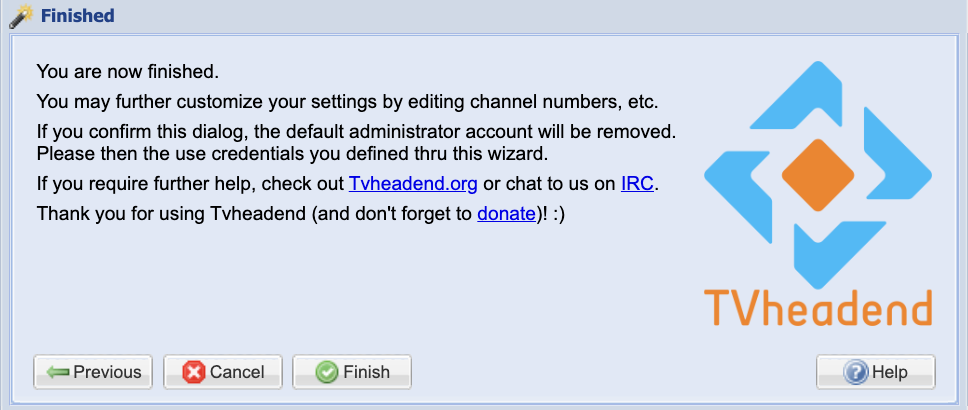
Upon accessing the device at http://device_ip:9981 you will be prompted with a setup wizard. You will be guided to setup an admin user along with questions regarding your location, if you wish to IP restrict to a CIDR range before scanning for channels and so on.
If your tv tuner is not detected at this step you will not be able to continue. If you are using the Raspberry PI Tv Tuner Hat, ensure the green light is on and you have your coaxial arial connected, other wise this step will fail.
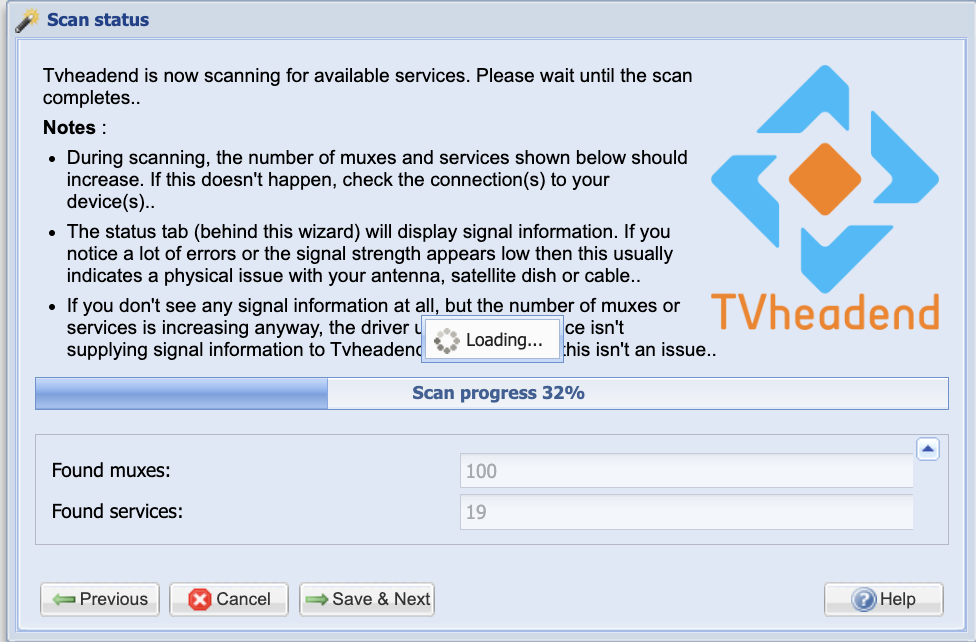
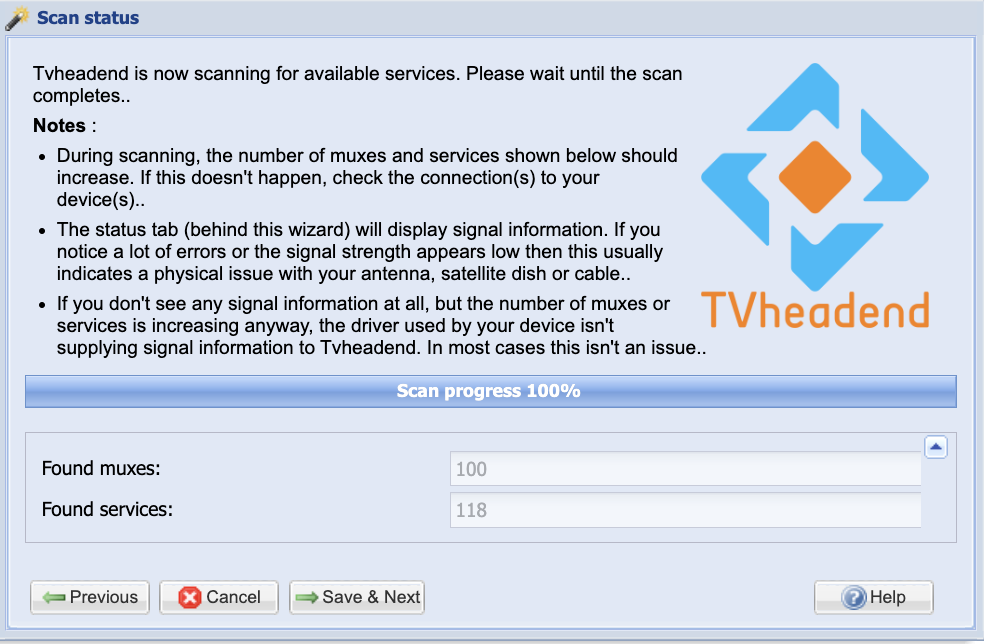
Scanning of channels will take some time, approximately 5 minutes.
You can choose to create additional users. I leverage multiple users as an RBAC best practice. The user I have provided for this demo has no administrative capabilities.
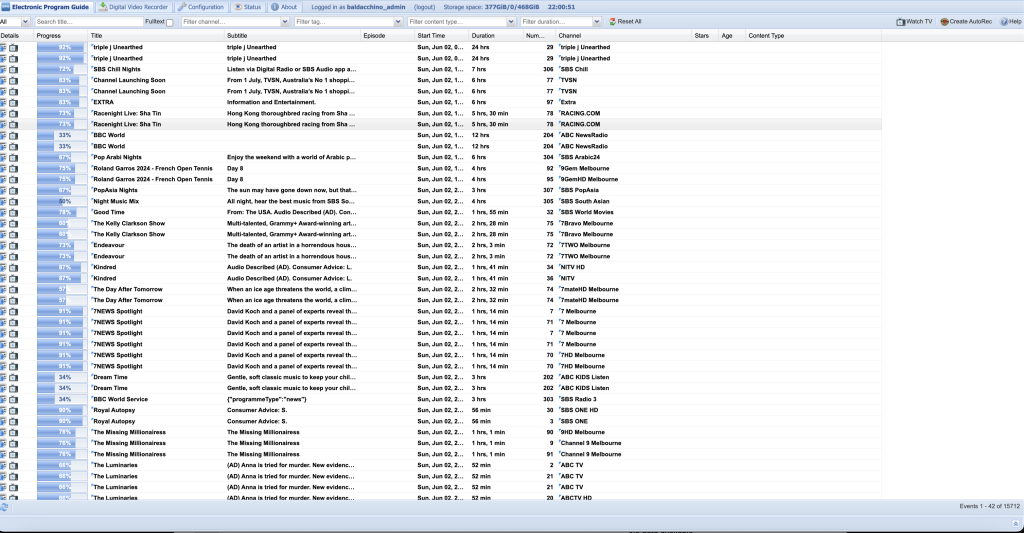
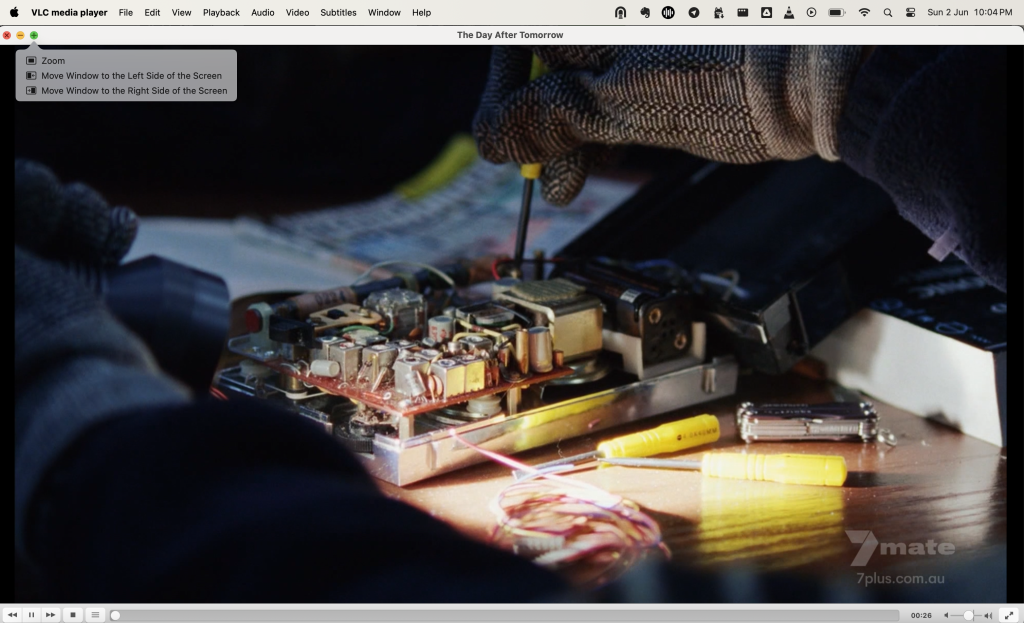
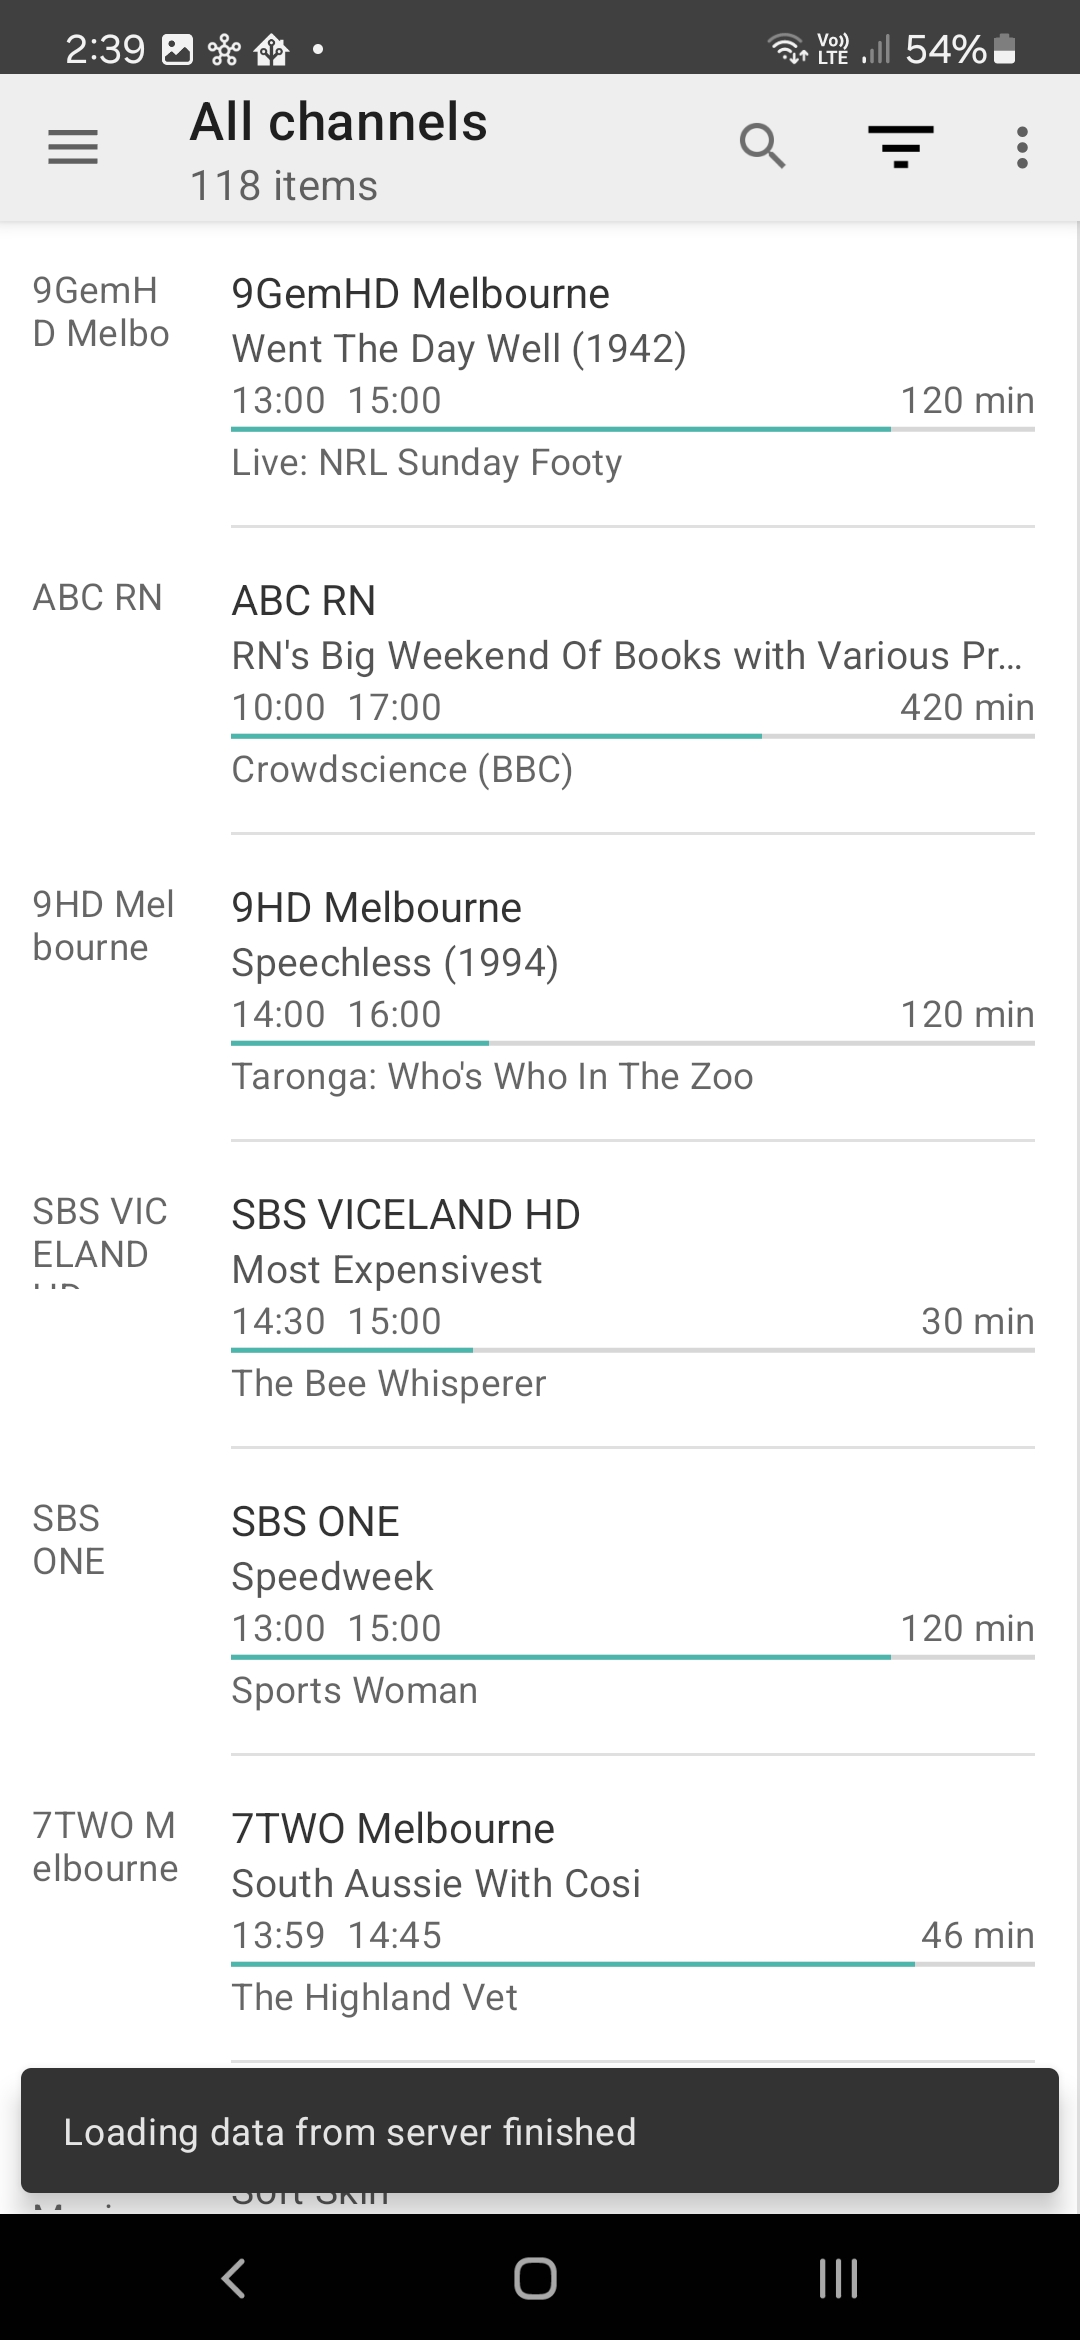
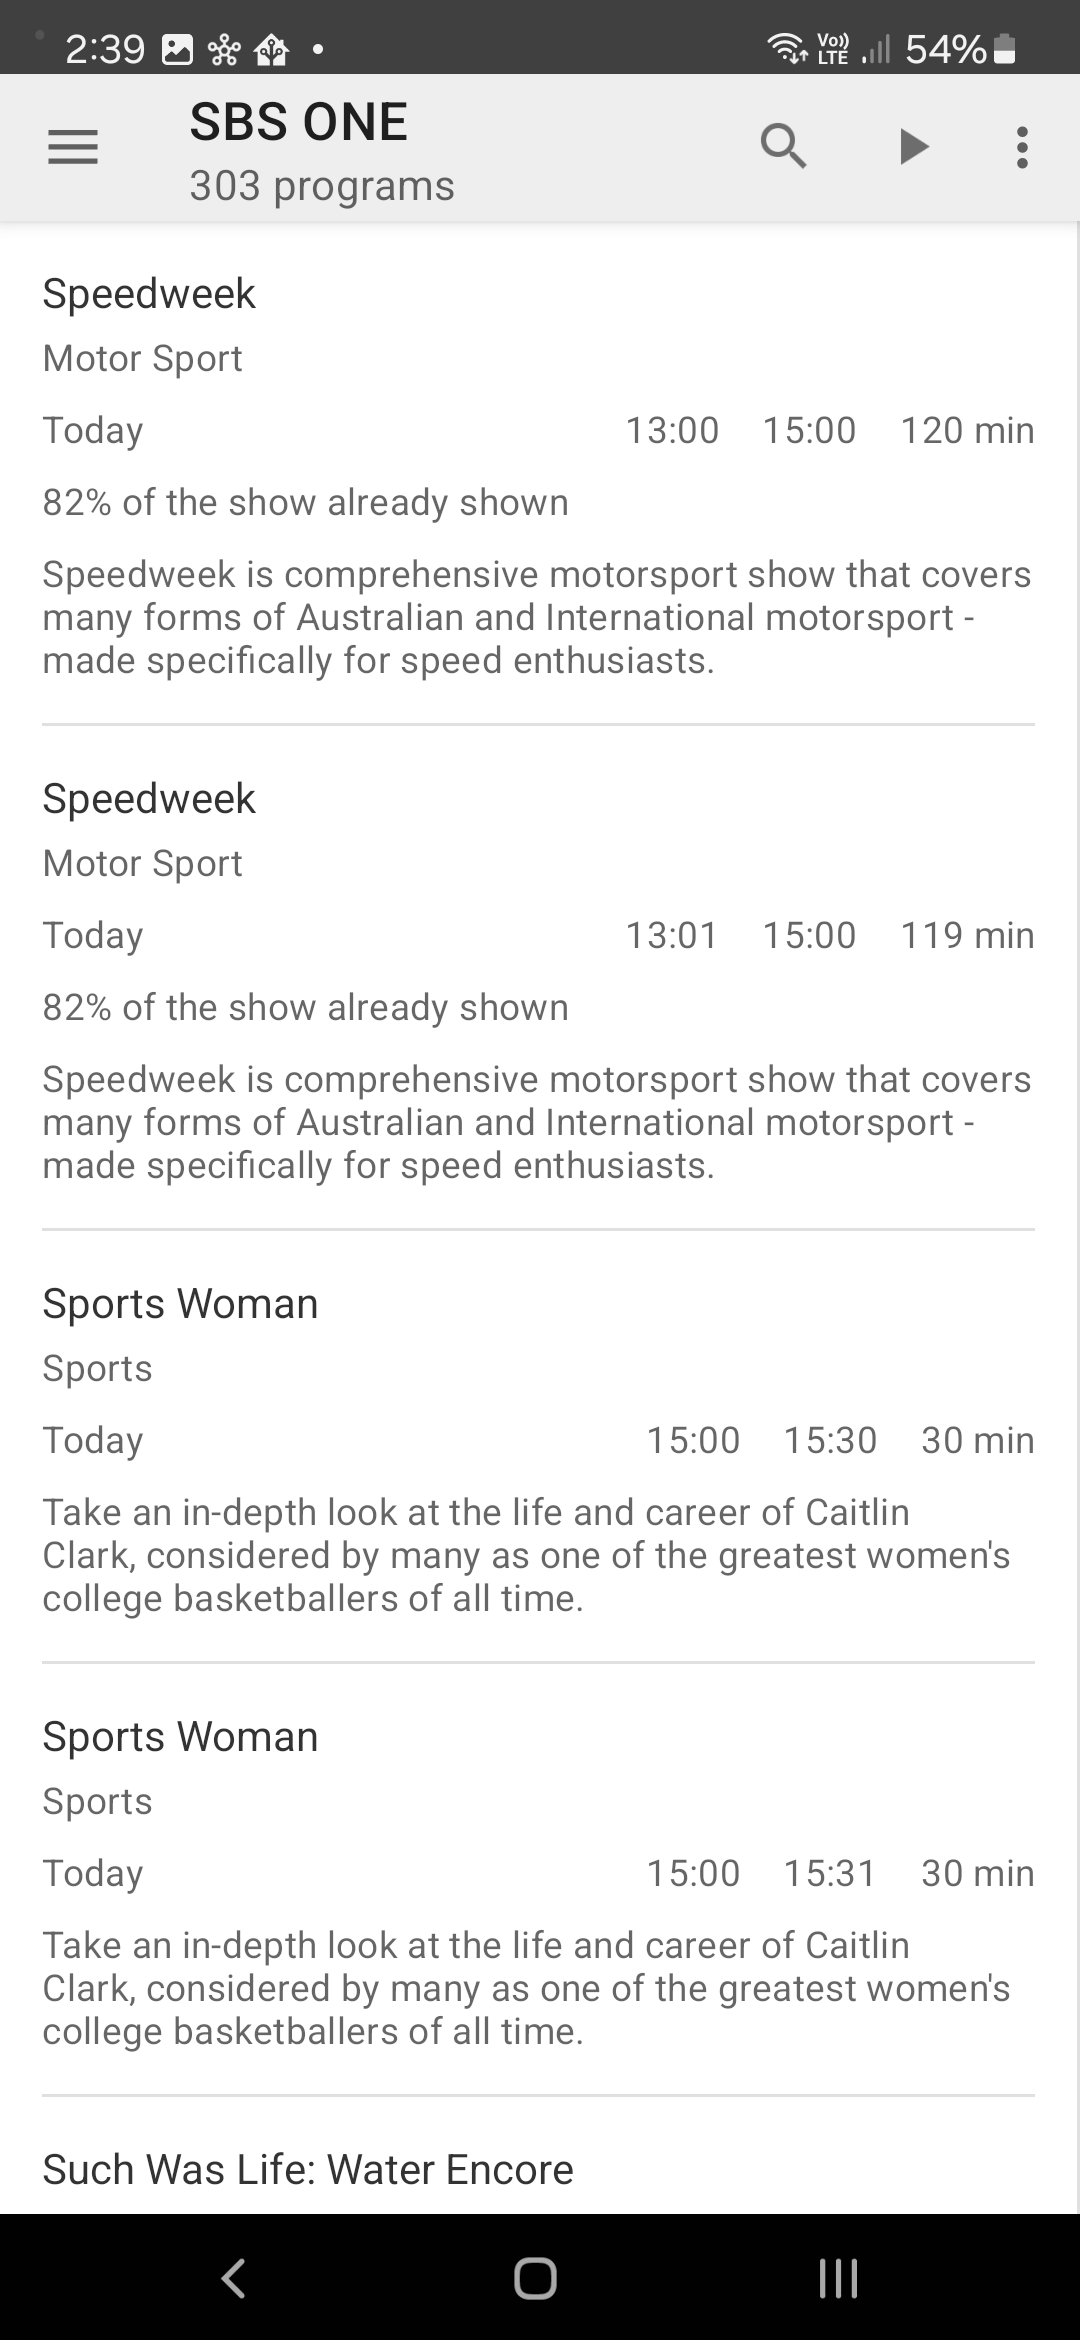
Once scanning of channels is complete you will be able to view channels and play these either via your web-browser or via an application such as VLC
[Optional] – Network & Port Address Translation – Making TVHead End Available Publicly
We can now make TvHeadEnd publicly available to provide IP DVT-B access. The easiest way is to NAT TCP Ports 9981 and 9982 (If you require HTSP or Kodi integration). This will require a public IPV4 (No Carrier Grade-NAT). You could run a VPN overlay / SSH reverse tunnel if you are using a computer for playback but if you are using a mobile phone client (TVHClient) then it becomes more complex.
I have an Ubiquit Edge Router 10x presently, and will provide an example of performing NAT on this device. The principle is the same from PfSense through to a domestic router and beyond.
- Access the EdgeRouter Web UI by entering its IP address into a web browser.
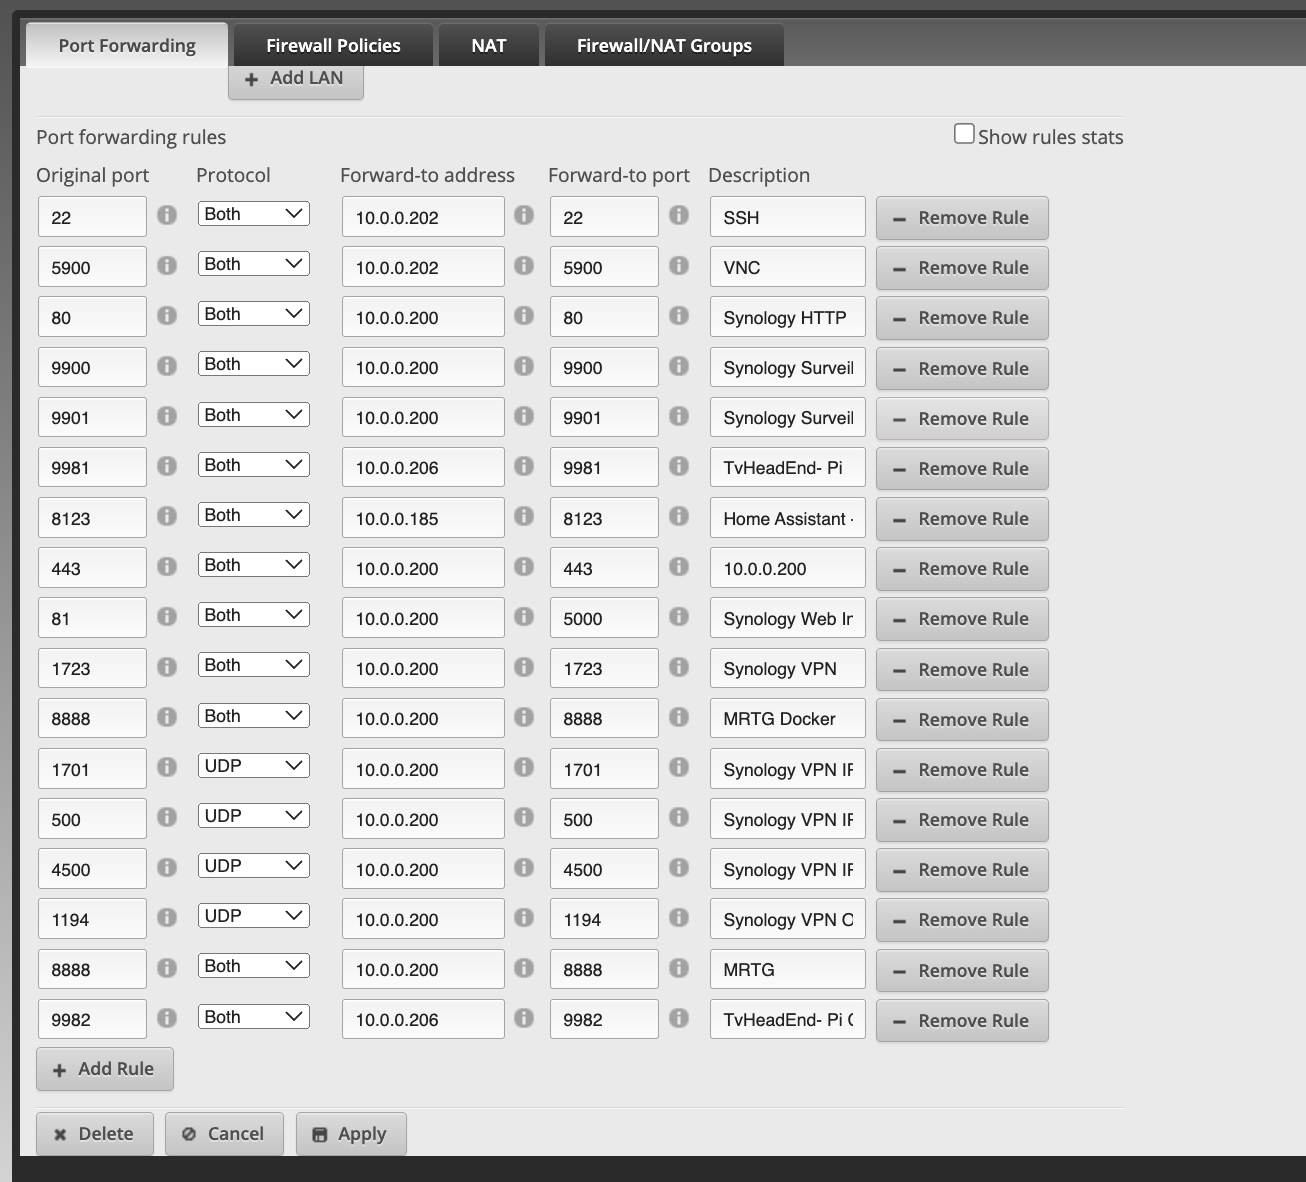
- Navigate to the Firewall/NAT tab.
- Go to the NAT section and then select Port Forwarding.
- Click on + Add Rule to create a new port forwarding rule.
- In the Original Port field, enter
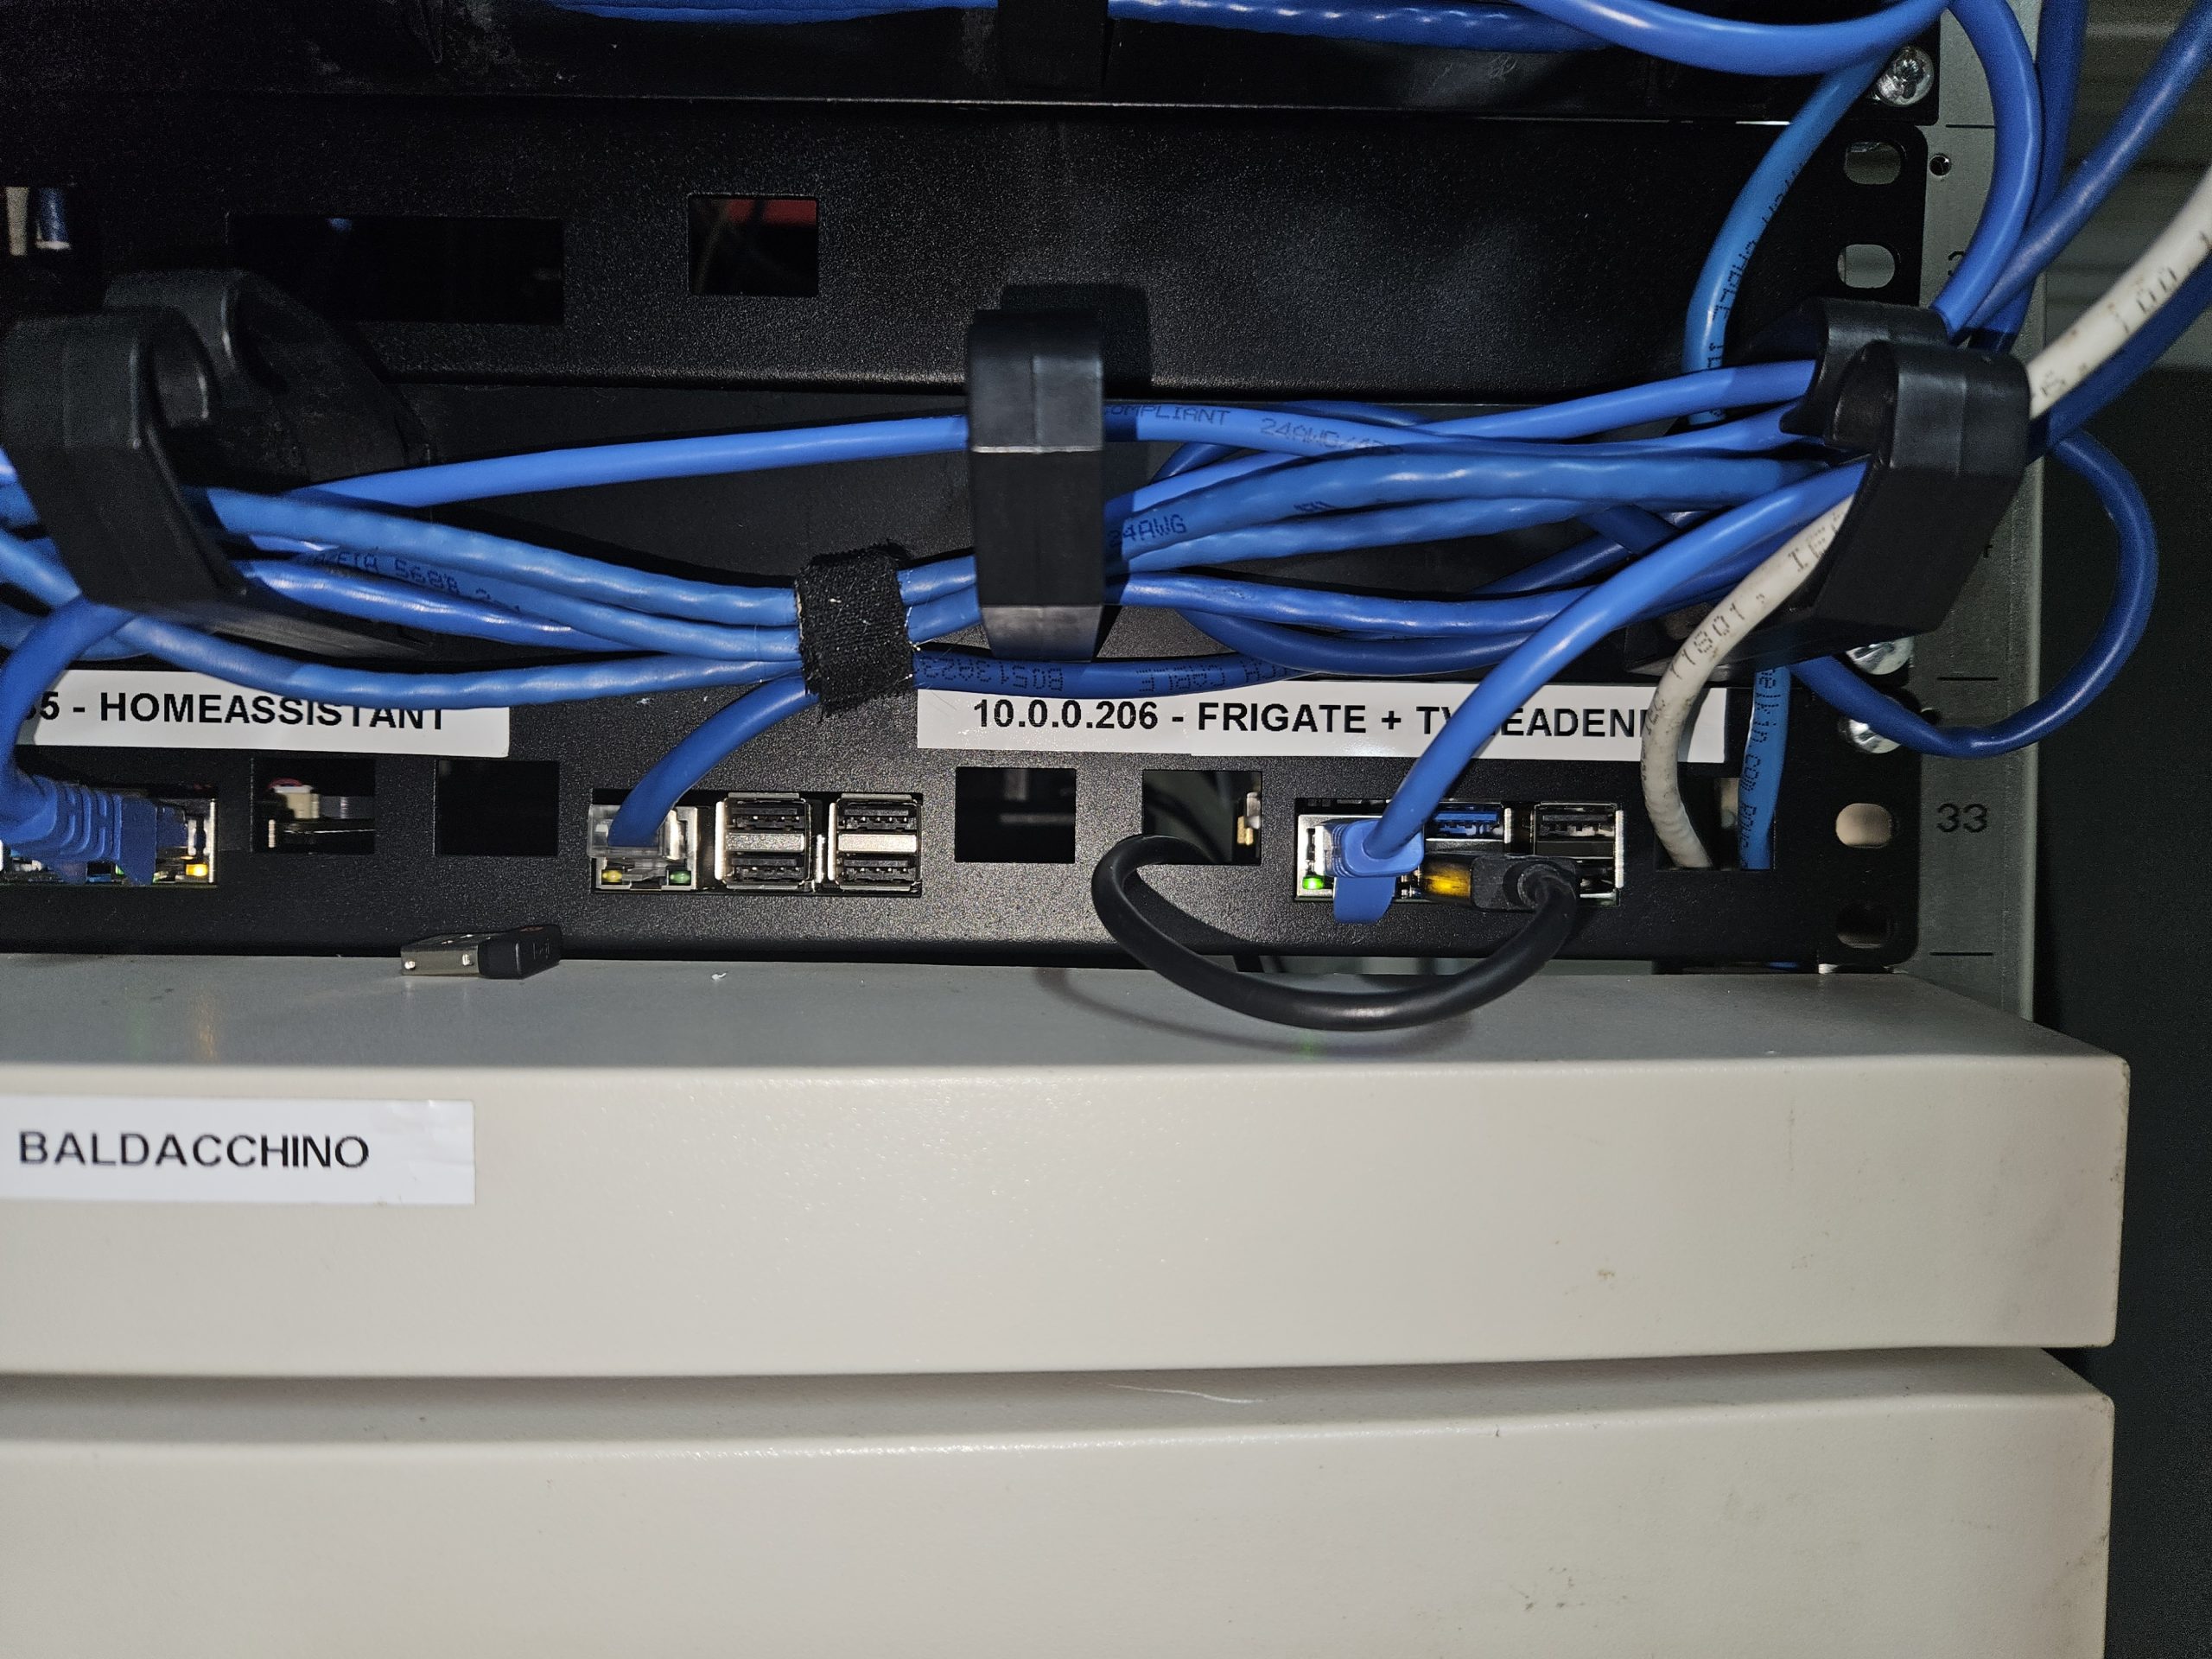
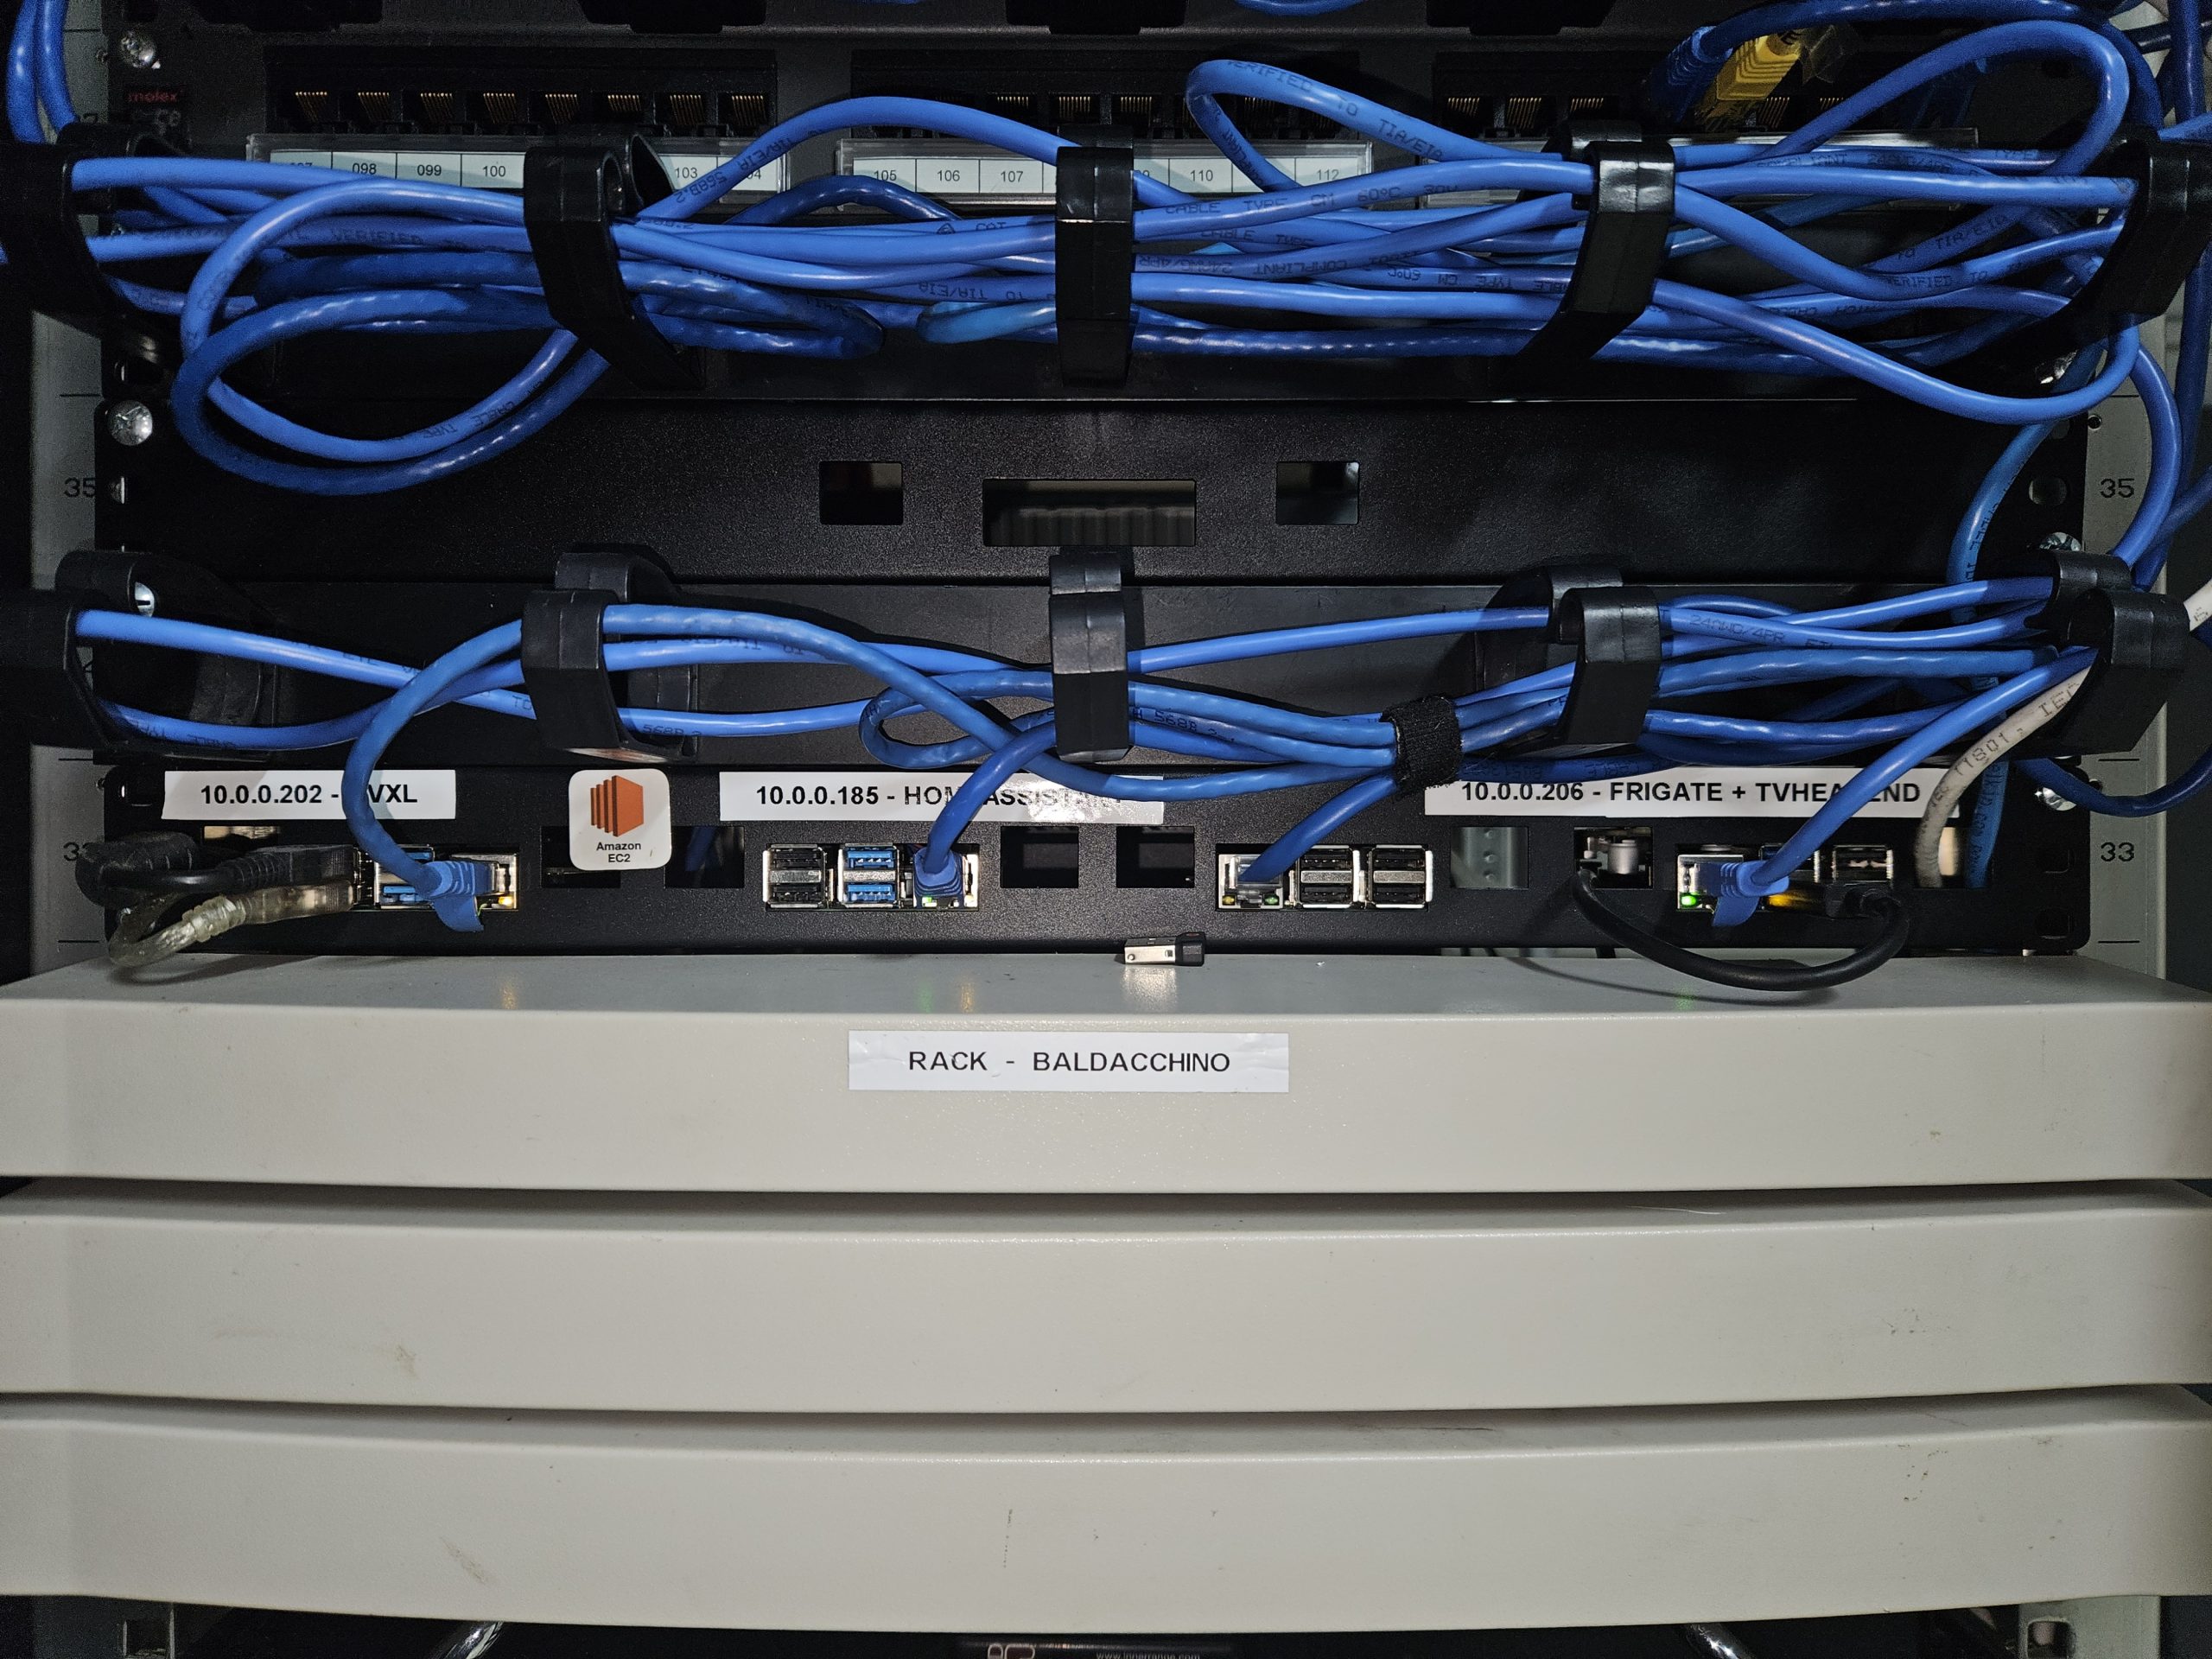
9981. - For the Forward-to Address, enter
10.0.0.206. - In the Forward-to Port field, also enter
9981. - Ensure the Protocol is set to
TCP.
And via the CLI (SSH)
# Enter configuration mode
configure

# Add the Destination NAT rule for TCP port 9981
set service nat rule 5000 description 'NAT for TCP 9981 to 10.0.0.206'
set service nat rule 5000 destination address <your WAN IP>
set service nat rule 5000 destination port 9981
set service nat rule 5000 inbound-interface <your WAN interface, e.g., eth0>
set service nat rule 5000 inside-address address 10.0.0.206
set service nat rule 5000 inside-address port 9981
set service nat rule 5000 protocol tcp
set service nat rule 5000 type destination

# Add the firewall rule to allow the traffic
set firewall name WAN_IN rule 10 description 'Allow TCP 9981 to 10.0.0.206'
set firewall name WAN_IN rule 10 action accept
set firewall name WAN_IN rule 10 destination address 10.0.0.206
set firewall name WAN_IN rule 10 destination port 9981
set firewall name WAN_IN rule 10 protocol tcp

# Commit the changes
commit

# Save the configuration
save

# Exit configuration mode
exit
From here, you can access your installation externally on your public ip address. I like to use telnet to validate external access by tethering to an LTE network, how you troubleshoot and triage is up to you. I use TVHeadend via either TVHClient (Android/iPad) or via VLC on my PC (on a somewhat big screen 34inch).

Summary
That was easy, $40AUD, a Raspberry Pi and 30 minutes of time and you could have this up and running. DBV-T is still a valid medium amongst the slew of streamed services. This pattern gives you flexibility to add an extra TV or two without breaking the bank, whats more given its IP accessible, I would argue your TV is now even more flexible. Go build.
Thanks
Shane Baldacchino
Test
Do not use the snap version if you want to record. It won’t work due to permission issues, better off installing from the official repository.
Thanks Paul,
I can’t say I have ever tried to record, so I will take that comment onboard.
Cheers Shane