Sonoff
Showing 1–16 of 18 results
-

10 Hours of IoT Consulting (Copy)
$750.00 Add to cart -
5 Hours of IoT Consulting
$500.00 Add to cart -
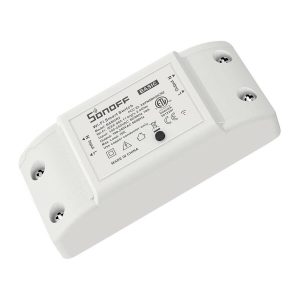
Sonoff Basic R2 WiFi Smart Switch
$12.95 Add to cart -
Sonoff Basic R2 WiFi Smart Switch – Tasmota
$16.95 Add to cart -
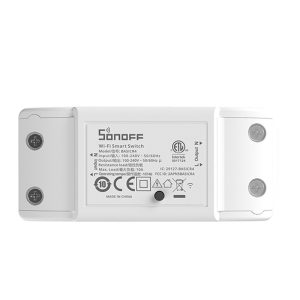
Sonoff Basic R4 WiFi Smart Switch
$11.95 Add to cart -
Sonoff Basic R4 WiFi Smart Switch – Tasmota
$17.95 Add to cart -

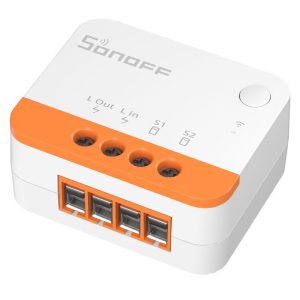
Sonoff Dual R3
$35.00 Add to cart -
Sonoff Dual R3 – Tasmota
$40.00 Add to cart -
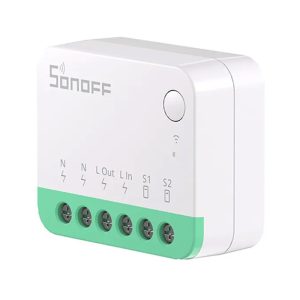
Sonoff MINI Extreme Matter
$27.50 Add to cart -
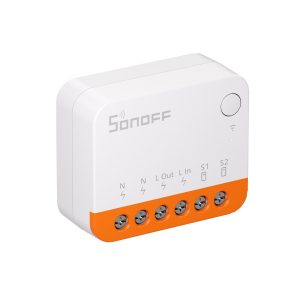
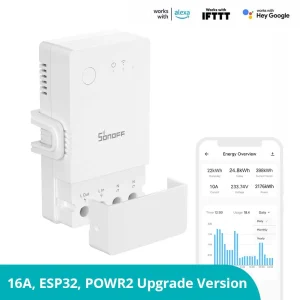
Sonoff MINI Extreme Wi-Fi Smart Switch MINIR4
$21.50 Add to cart -
Sonoff MINI Extreme Wi-Fi Smart Switch MINIR4 – Tasmota
$29.00 Add to cart -
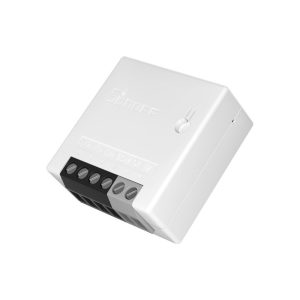
Sonoff MINI R2
$20.00 Add to cart -
Sonoff MINI R2 – Tasmota
$25.00 Add to cart -
Sonoff POW Origin Revision 2
$30.00 Add to cart -
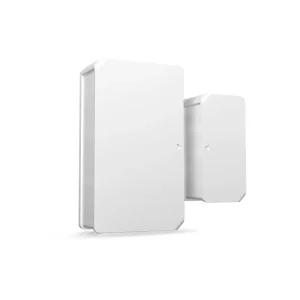
Sonoff SNZB-04 – Zigbee Wireless door/window sensor
$18.95 Add to cart -
Sonoff ZBMINI Extreme Zigbee Smart Switch
$26.50 Add to cart