Recently I installed a 40kw battery and as a result of doing this and complying with Australian Standards, I needed to install an additional smoke alarm. Given the need to add a new alarm and my drive for consistency throughout my house I was on the hunt for smoke alarms that can integrate in to my smart home and again meet Australian Standards AS3786. I am after protocol over proprietary standard, such as Tasmota (MQTT), Zigbee, Serial or REST.
After assessing the market I landed on square 240v Clipsal Wiser Smoke Alarms. I did have hesitations as there is a lot of mentions around the use of a Clipsal Wiser Hub, which is not only $629 AUD (ouch), but looks to just be a Zigbee Co-Ordinator (it also has some RF magic for inter Smoke Alarm Communication).
No one could easily confirm these would work with Home Assistant, but again these are protocol so they should work, right?
So in this post I will show you how do multiple things
- How to link up multiple Clipsal Wiser Smoke alarms together, with one being a master, without a Clipsal Wiser Hub
- Integrate each Clipsal Wiser Smoke Alarm in to HomeAssistant via ZHA (Zigbee Home Automation)
- Create automations based on Clipsal Wiser Smoke Alarm Events, specially
- Injecting Speech in to Amazon Alexa devices via the Amazon Media Player Integration
- Flashing Lights in Bedroom and Main Living Room areas.
- Messaging phones of Home Assistant Users
Installation
For the purpose of this of this post I am going to assume you have your Clipsal Wiser smoke alarms installed and wired up. Below are a few pictures of my square 240V units, but this post is applicable for both square and round units, 240v versions and battery versions, and it goes without saying installation without 240v is considerably easier.
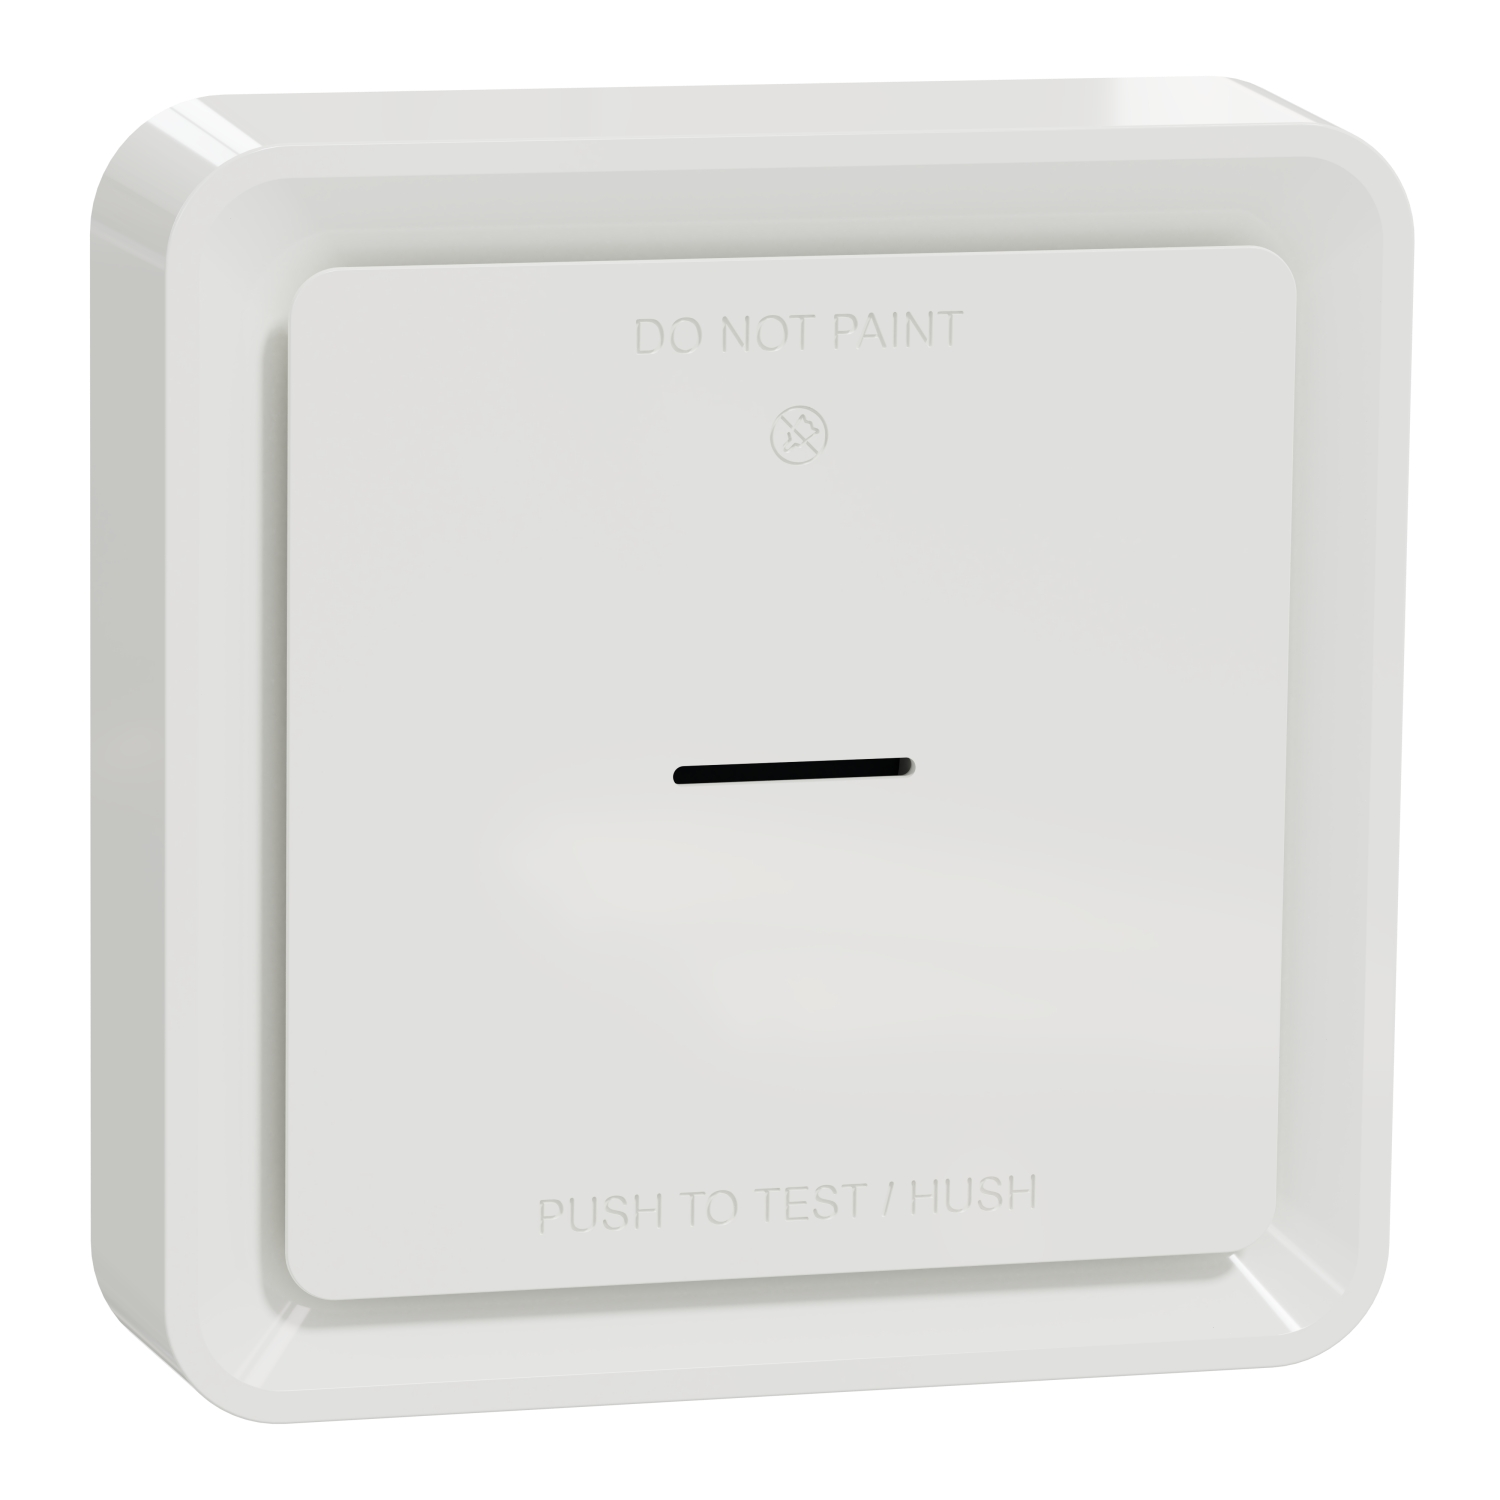
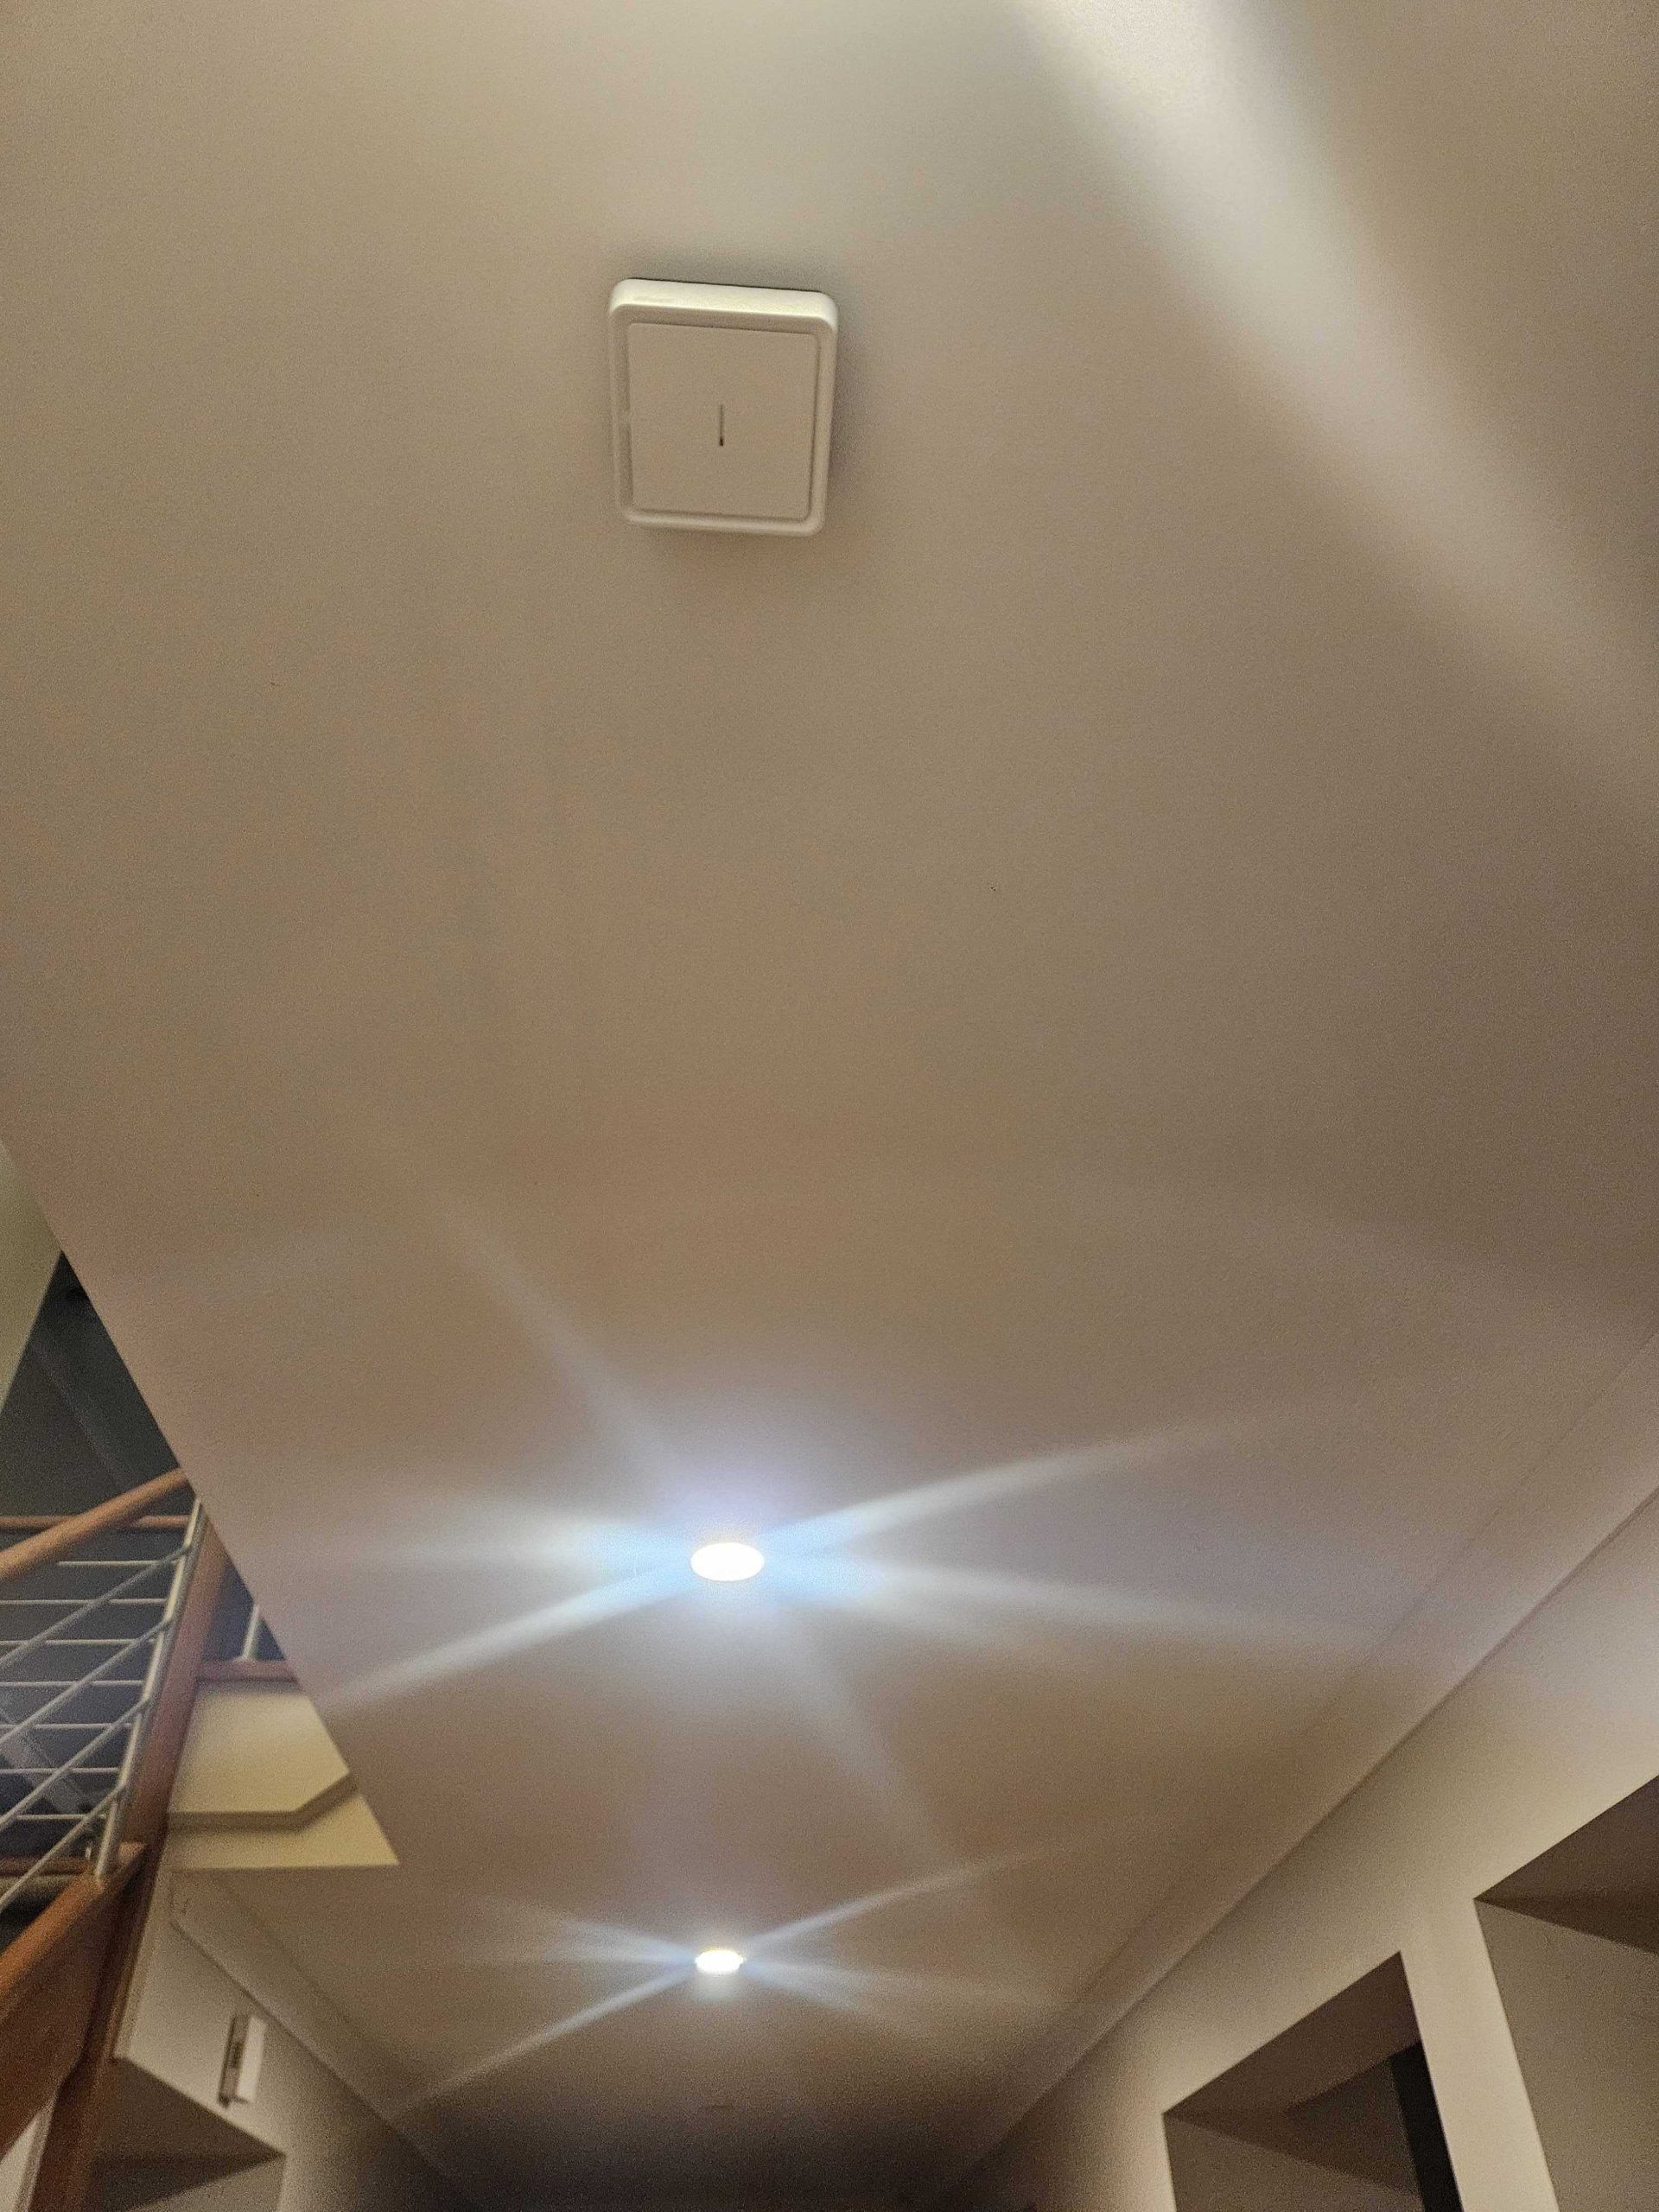
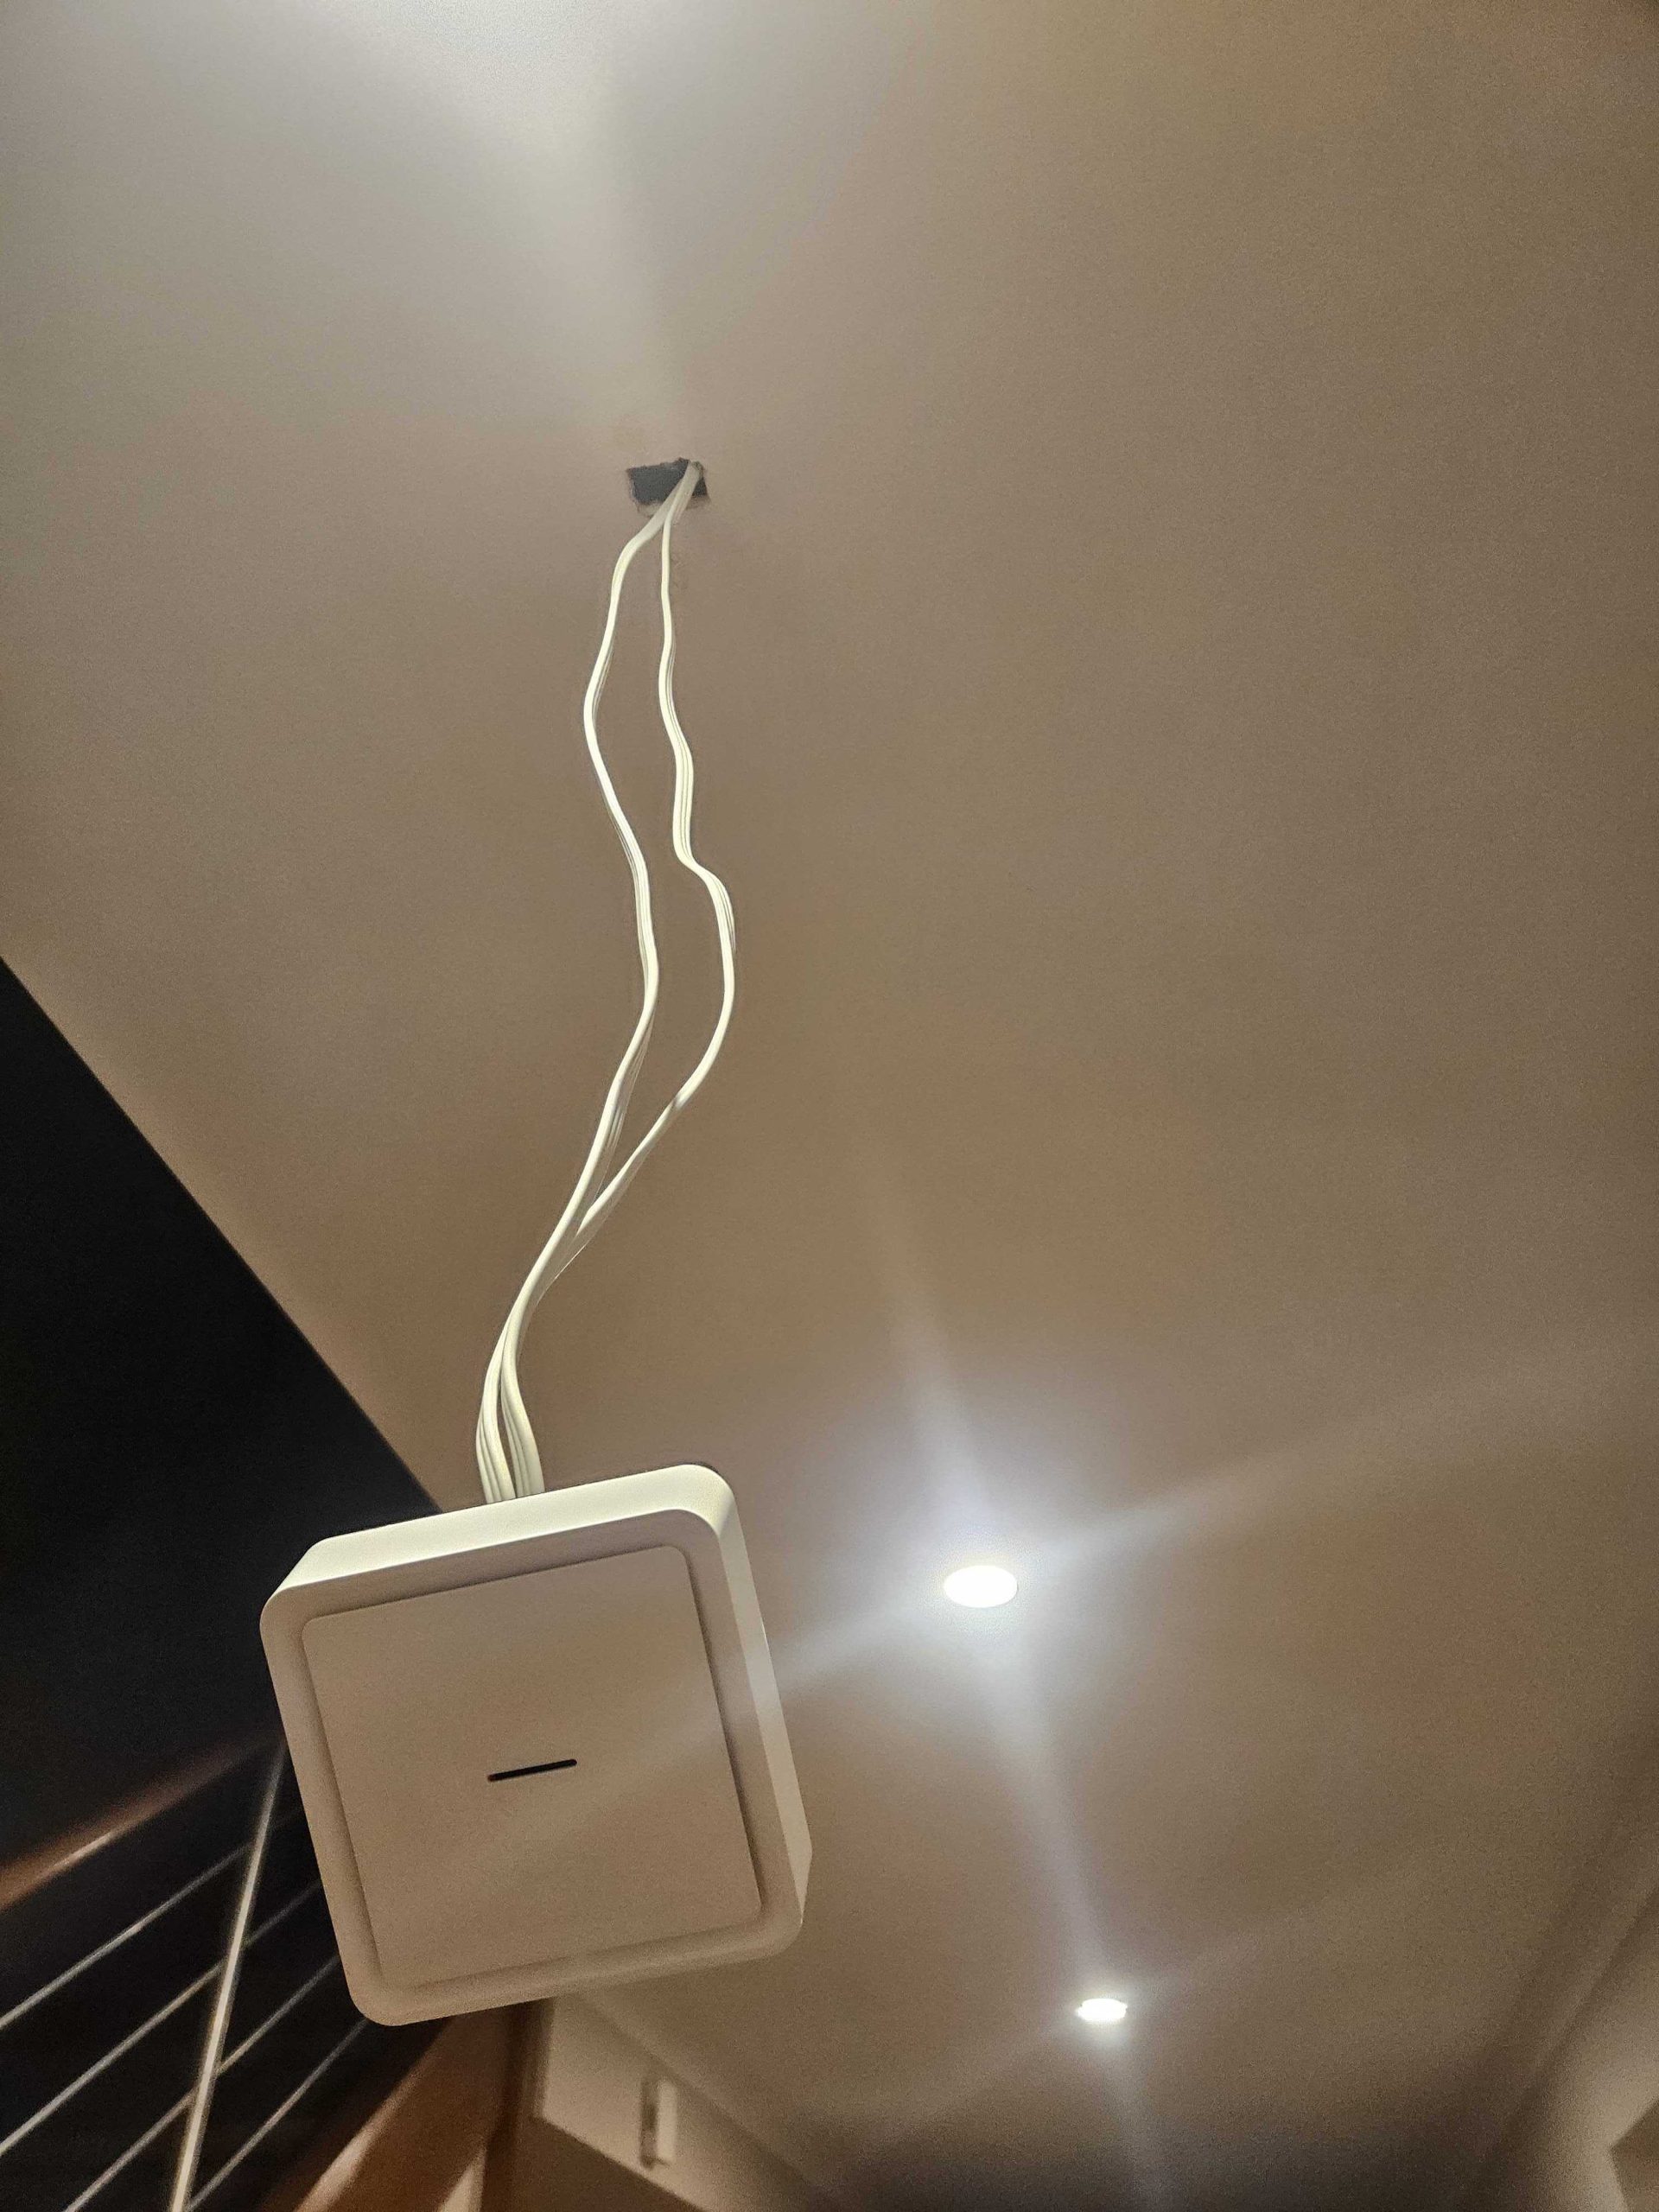
I have attached manuals below for both square and round 240V units. The button locations for pairing may be slightly different but the approach and pattern for pairing to Zigbee Home Automation in Home Assistant is the same.
Pairing Units Together Without A Clipsal Wiser Hub
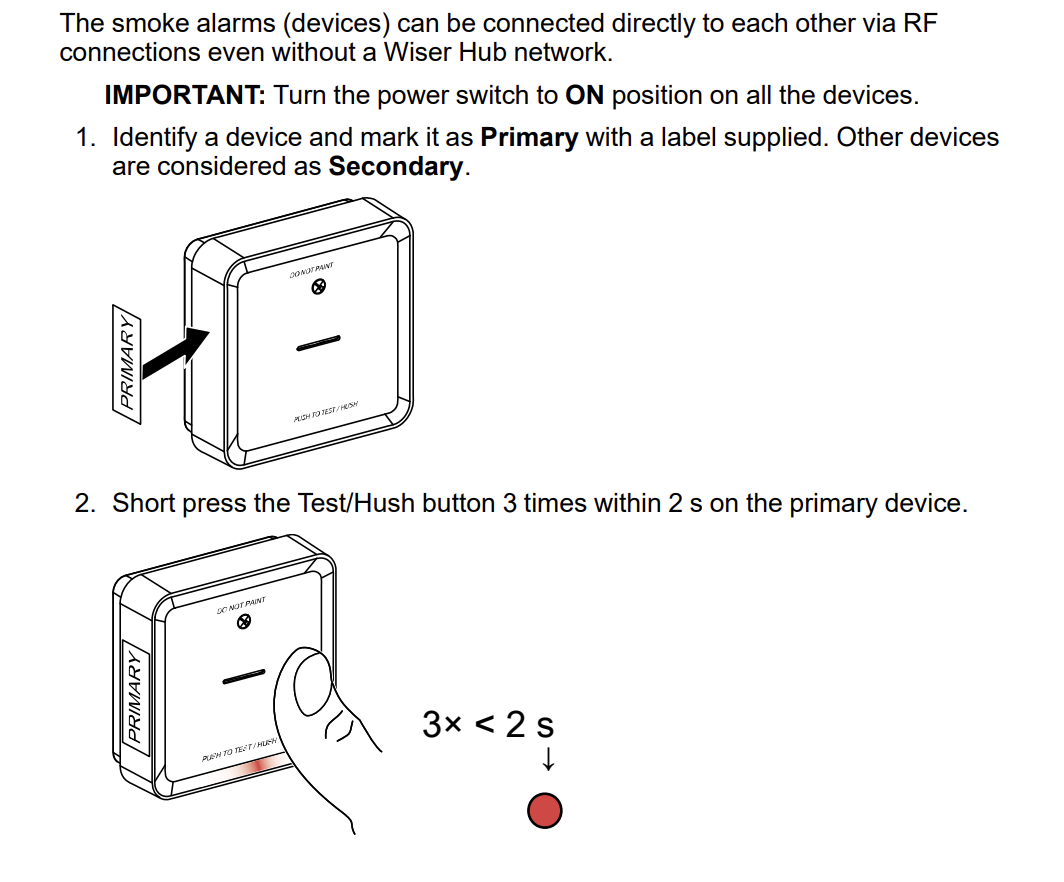
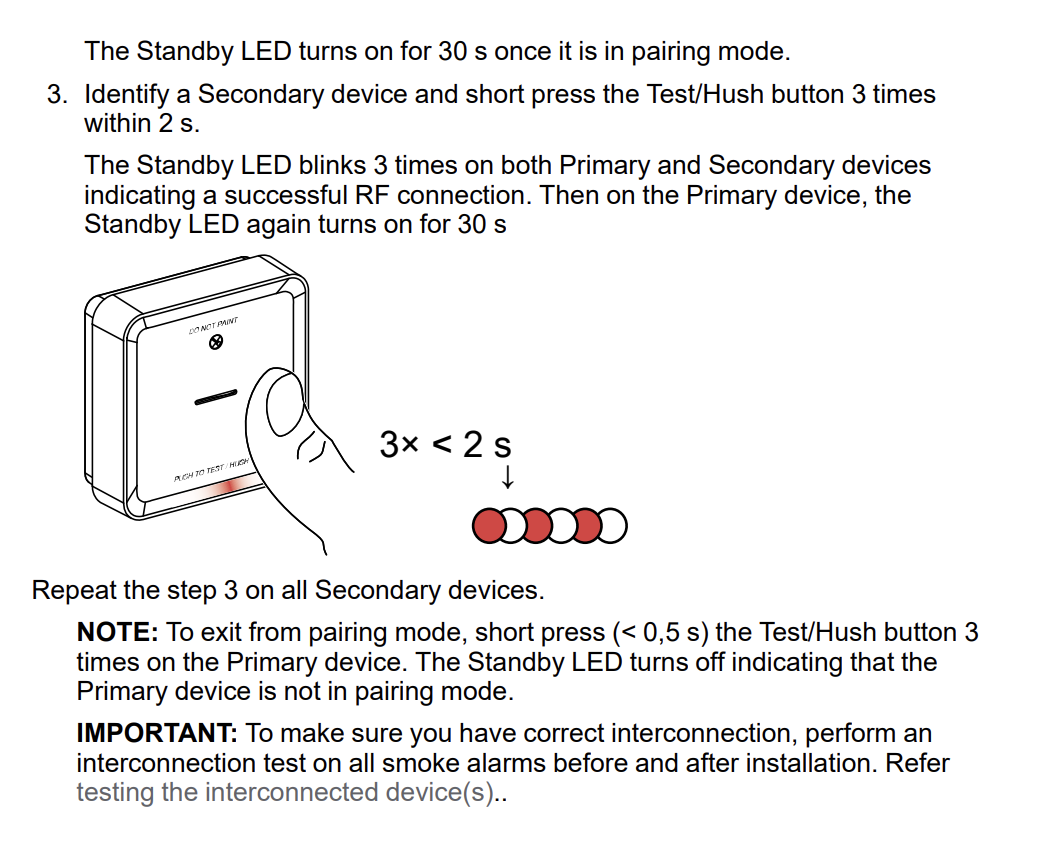
These smoke alarms can run as individual units or can be linked together so that when one alarm is activated all alarm, and this can be done without the use of a Clipsal Wiser Hub.
Please see the manuals above but specifically this is the process will allow you to interconnect Wiser Alarms without a Wiser Hub. At this point and as indicated by the ‘IMPORTANT’ section in the manual, it is a good idea to test that you have linked up your devices. As of the time of posting this article (November 2025) in Australia all alarms must comply with Australian Standards AS3786, which means by construction date. If you happen to have that is constructed after August 1, 1997 I would suggest where possible all should be AC based up, but if you just have one that is AC based that it should be the Primary with battery based smoke alarms being Secondaries.
- After May 1, 2014: For homes with more than one smoke alarm, they must all be interconnected 240V alarms with a backup battery.
- Before August 1, 1997: Standalone, battery-powered smoke alarms are required.
- After August 1, 1997: Mains-powered 240V smoke alarms with a backup battery are required.
Integration With Zigbee Home Automation (ZHA)
Fundamentally these Clipsal Wiser Smoke Alarms are just like any other Zigbee unit. For the purpose of this post I will assume you have Home Assistant installed, along with the Zigbee Coordinator running where you can pair devices.
For each unit follow the following two steps to add them to ZHA
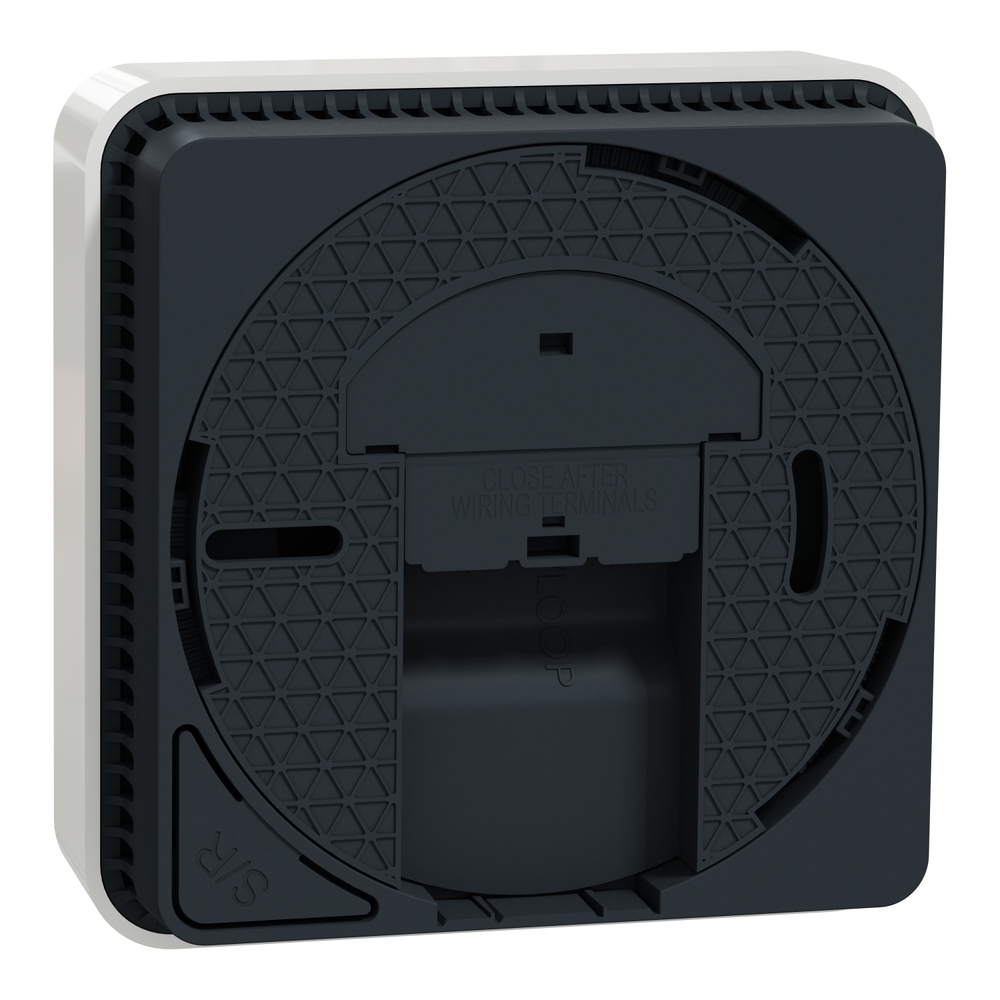
Step 1 : Place Wiser Alarm In Pairing Mode
On the back of the unit short press the Setup/Reset button 3 times. The LED blinks yellow.
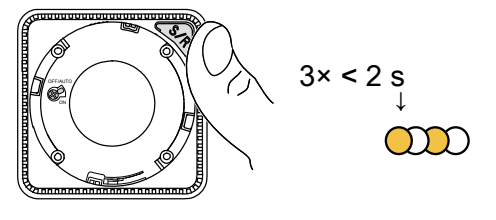
Step 2 : From here in ZHA you willl need to add a device. This shoudl result in the device being fond and whilst ZHA is interviewing the device the yellow LED will turn a solid green indicating pairing.


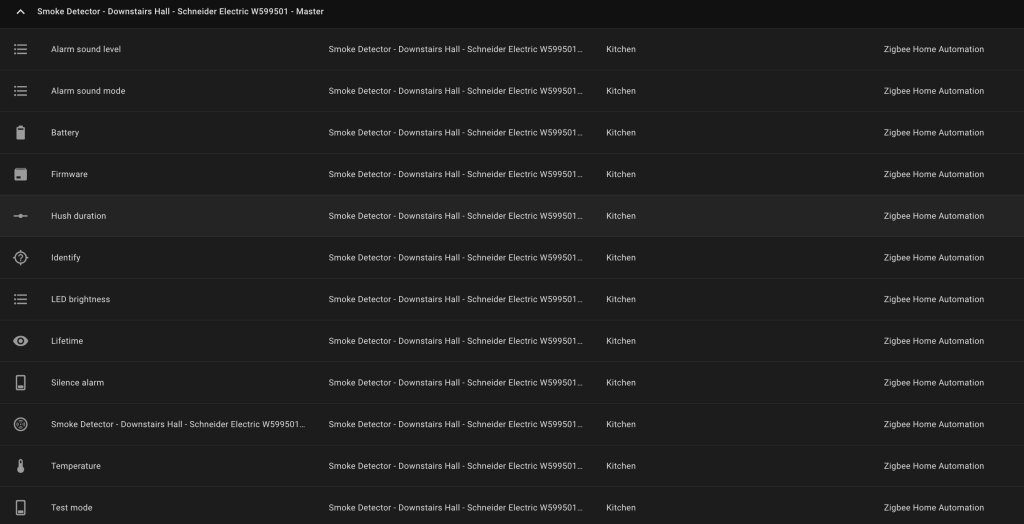
Validate all smoke alarms are visible in your Zigbee Visualisatio in ZHA. From this point on these smoke alarms can be treated as if they are any normal device with entities in Home Assistant
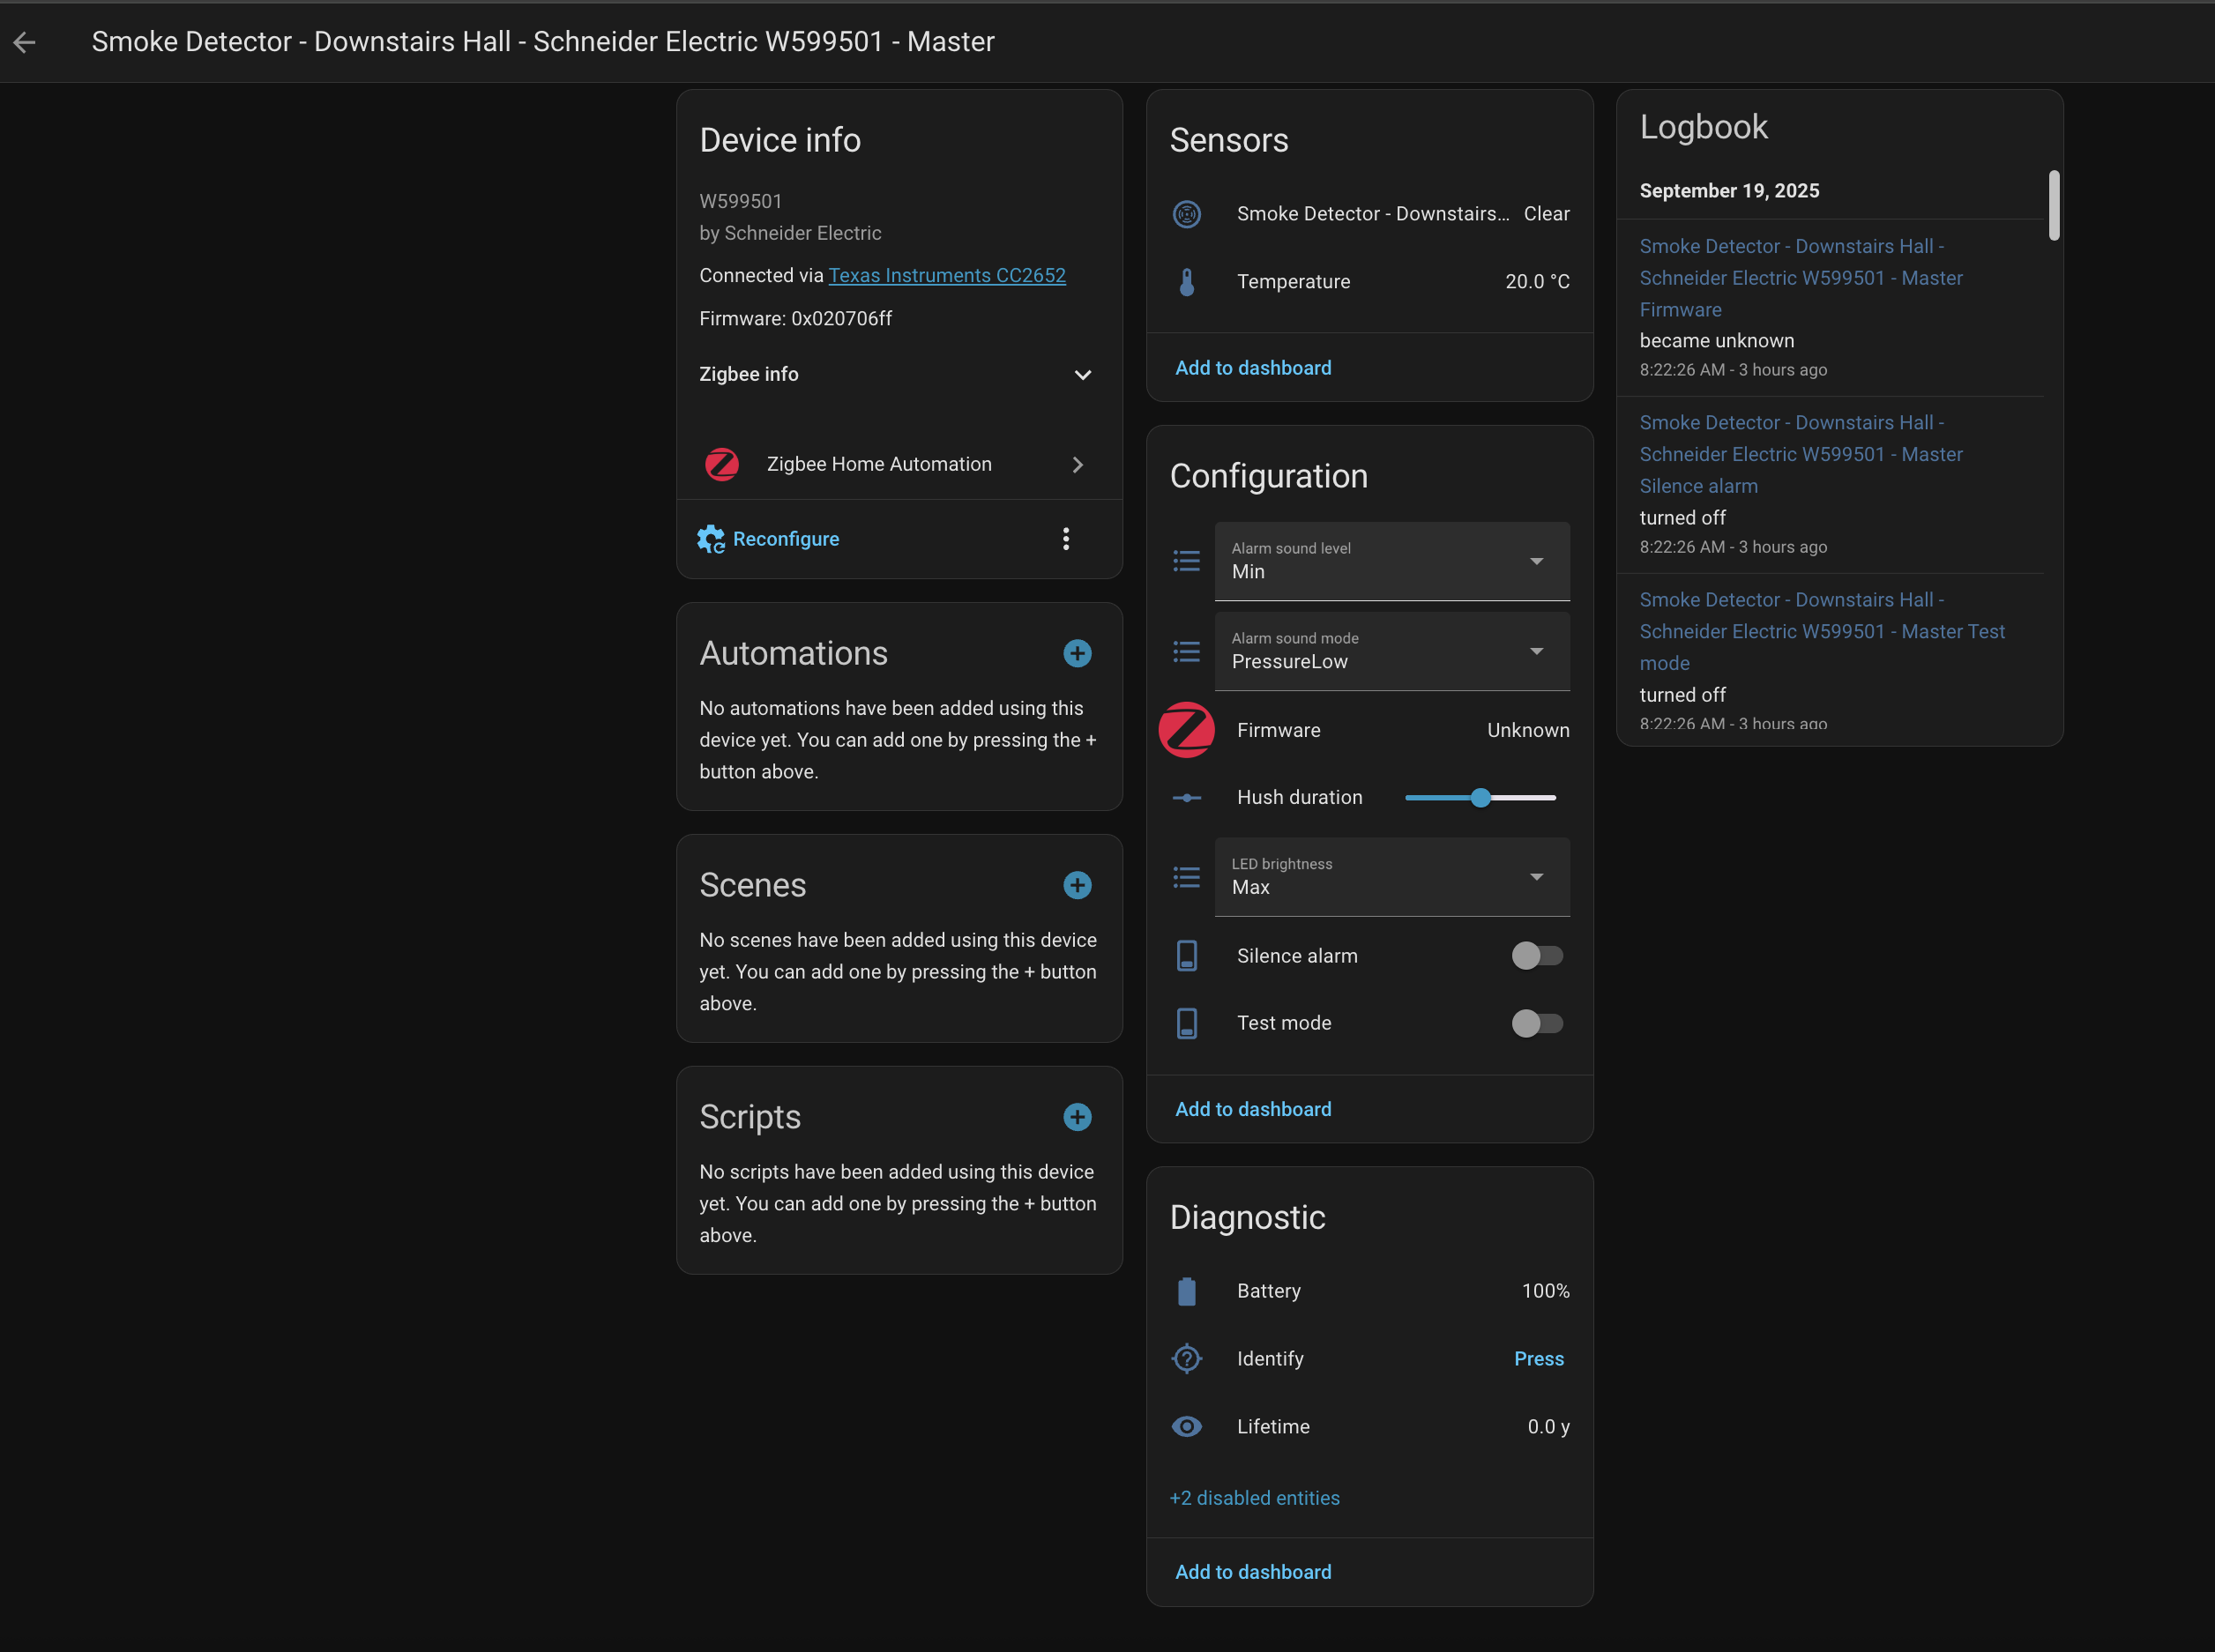
Entities Available
Sure you get a smoke alarm but to my surprise there are a raft of entities available that you can use within your house.
- Smoke Detected : Boolean
- Temperature : Celcius
- Alarm Sound : Min / Max
- Alarm Sound : Pressure Low/Mid/Max
- Hush Duration : Scale
- LED Brightness : Min/Max
- Battery (Internal Battery) : %
- Identity (Press)
- Lifetime : Years
Automations With Lights, Phones & Alexa Media Player
From entities we can now drive Home Assistant Automations. My automations are pretty simple
If a Smoke Alarm detects smoke
- Send a message to every Alexa & Phone in the house
- State which Smoke Alarm Was triggered
- Unlock the Front Door
- Toggle Lights In Bedrooms
If you are not familiar with Alexa Media Player you can read my blog post on how I leverage this for my Door Bell. Alexa Media Player is a Home Assistant custom component, the easiest way to install Alexa Media Player is to use HACS (Home Assistant Community Store). This post is not a guide on how to install this plugin, I suggest you follow this installation guide by the creator Alan Tse on GitHub.
Alexa Media Player allows Home Assistant to send TTS (Text To Speech) messages to Alexa, allowing you to inject messages and have Alexa speak.
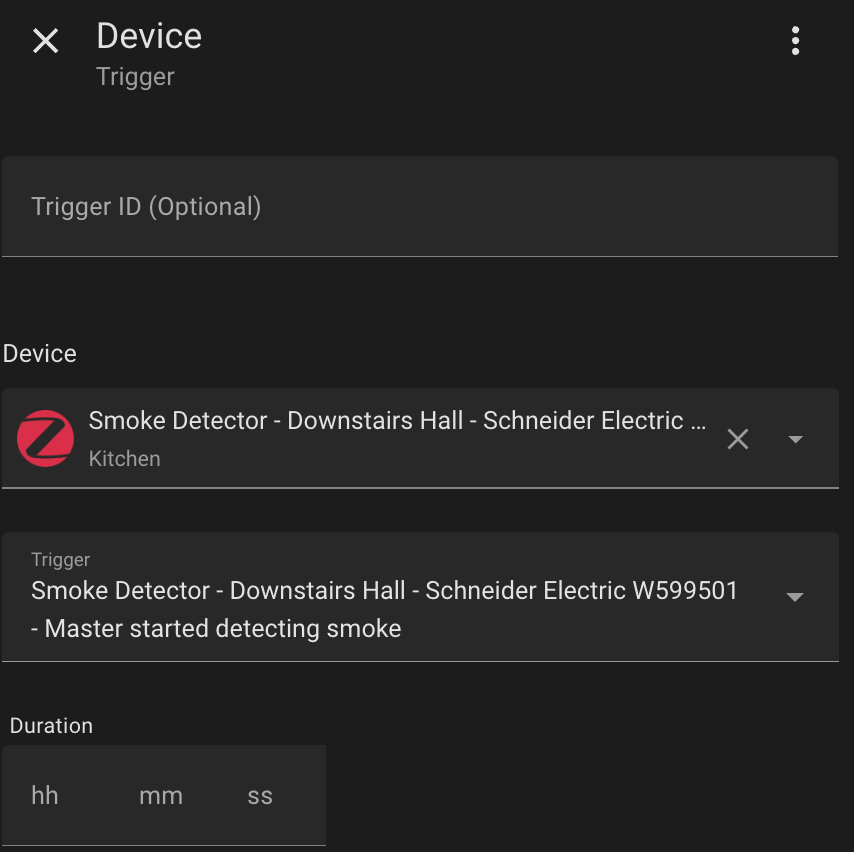
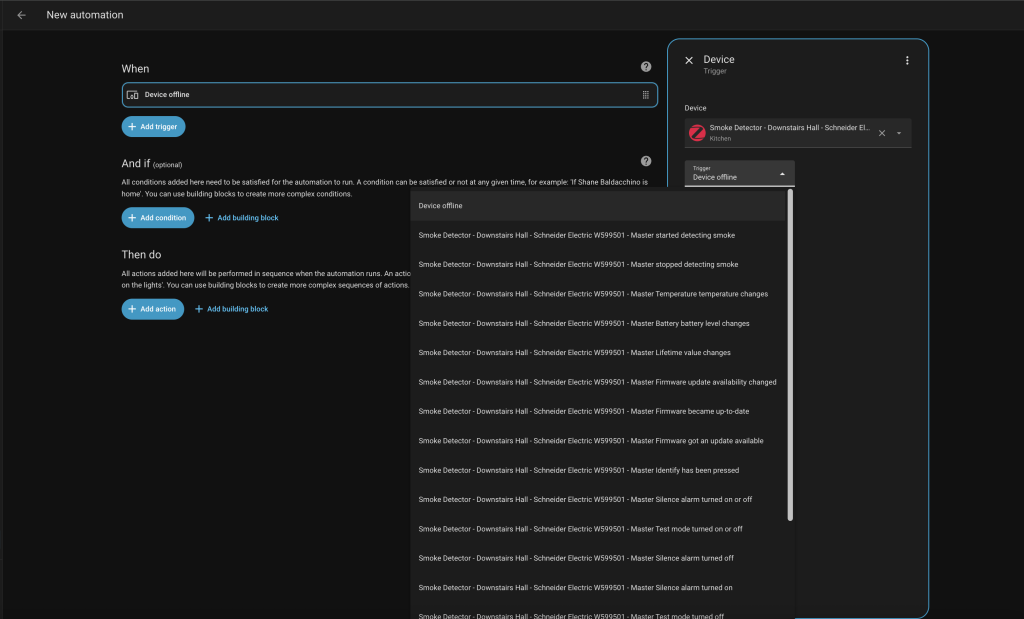
This automation can be visualised in the screen shots and code below, note I have removed all messaging to phones in these screen shots.
As I am using a template, it is not possible to visualise the TTS in the HomeAssistant GUI as this allows the use of one automation, regardless of how many Clipsal Wiser Smoke Alarms, but having the source trigger being injected in to the Alexa Media Player TTS message.

alias: Smoke Alarm --> Alexa Media Player
description: ""
triggers:
  - type: smoke
    device_id: 90e56611fce0de78e5f9c92cfa414354
    entity_id: e474474a926df2c71e8d65e8086f23ac
    domain: binary_sensor
    trigger: device
  - type: smoke
    device_id: aa7851ee577cbf6d4de12fab9ec31921
    entity_id: d77c75fdb9e39ec6e5f1aa129f692ed4
    domain: binary_sensor
    trigger: device
  - type: smoke
    device_id: 1df33bb2436ece556fbd600cb323dc2b
    entity_id: 585b6a8b164e584c96aa3db243d25ebe
    domain: binary_sensor
    trigger: device a
  - type: turned_on
    device_id: 6666082e3ca47ea74061f5a97f54effc
    entity_id: 4b1681821749fbcc24f07e3098d20906
    domain: binary_sensor
    trigger: device
conditions: []
actions:
  - variables:
      smoke_source: "{{ (states[trigger.entity_id].name) | default(trigger.entity_id) }}"
      message: Smoke alarm triggered at {{ smoke_source }}
  - data:
      message: "{{ message }}"
      data:
        type: tts
    action: notify.alexa_media_kitchen
  - data:
      message: "{{ message }}"
      data:
        type: tts
    action: notify.alexa_media_frances
  - data:
      message: "{{ message }}"
      data:
        type: tts
    action: notify.alexa_media_oscar
  - data:
      message: "{{ message }}"
      data:
        type: tts
    action: notify.alexa_media_parents
  - data:
      message: "{{ message }}"
      data:
        type: tts
    action: notify.alexa_media_rumpus
  - data:
      message: "{{ message }}"
      data:
        type: tts
    action: notify.alexa_media_shed
  - data:
      message: "{{ message }}"
      data:
        type: tts
    action: notify.alexa_media_study
  - data:
      message: "{{ message }}"
      data:
        type: tts
    action: notify.alexa_media_zoe
  - target:
      device_id: f66fa4f085f290dd9775af7891b3bef7
    action: light.toggle
  - target:
      device_id:
        - cb913e81701c898ed869030d83c5a65e
        - 74e6e70d942cb22b16d9f8c441c5c4b5
        - 311682a4a6c6b9cdfcf5023434f0e2a8
        - f66fa4f085f290dd9775af7891b3bef7
    action: light.toggle
mode: single
Summary
That was actually pretty easy. Whilst not documented by Clipsal and not being in there interest, this is why protocols are preferred over propritary systems. This is Zigbee and these devcies can be treated just like any other Zigbee device.
My Example is for ZHA but this should work with any other Zigbee Cordinator (Zigbee2MQTT, deCONZ). I also illustrated an integration with Alexa Media Player, If you are using Alexa this is. great way to take your Clipsal Wiser Smoke Alarms to the next level. Leverage those entities, perhaps you dont have temperature sensors in your house, well now you do. Break free of the Clipsal eco-system and build.
Reach out if you get stuck and if you have extended this and gone down another path leave a comment.
Hi Shane,
Firstly thank you for your post which I thought would be really helpful with my project. your opening said you would show several things:
1) How to link up multiple Clipsal Wiser Smoke alarms together, with one being a master, without a Clipsal Wiser Hub
2) Integrate each Clipsal Wiser Smoke Alarm in to HomeAssistant via ZHA (Zigbee Home Automation)
3) Create automations based on Clipsal Wiser Smoke Alarm Events, specially
Injecting Speech in to Amazon Alexa devices via the Amazon Media Player Integration
Flashing Lights in Bedroom and Main Living Room areas.
I don’t know if this is unfinished blog but cant see any of these objectives being outlined above. Unfortunately the screenshots are too small to read and not in any discernible order explaining how they relate to the end goal
Hey John,
Let me finish this on the course of this weekend.
I will cover all of these points. My aim will be to have this complete by Monday, so please check back.
Hey John,
Finished, keen to know if this process works for you and if there is anything missing please let me know.